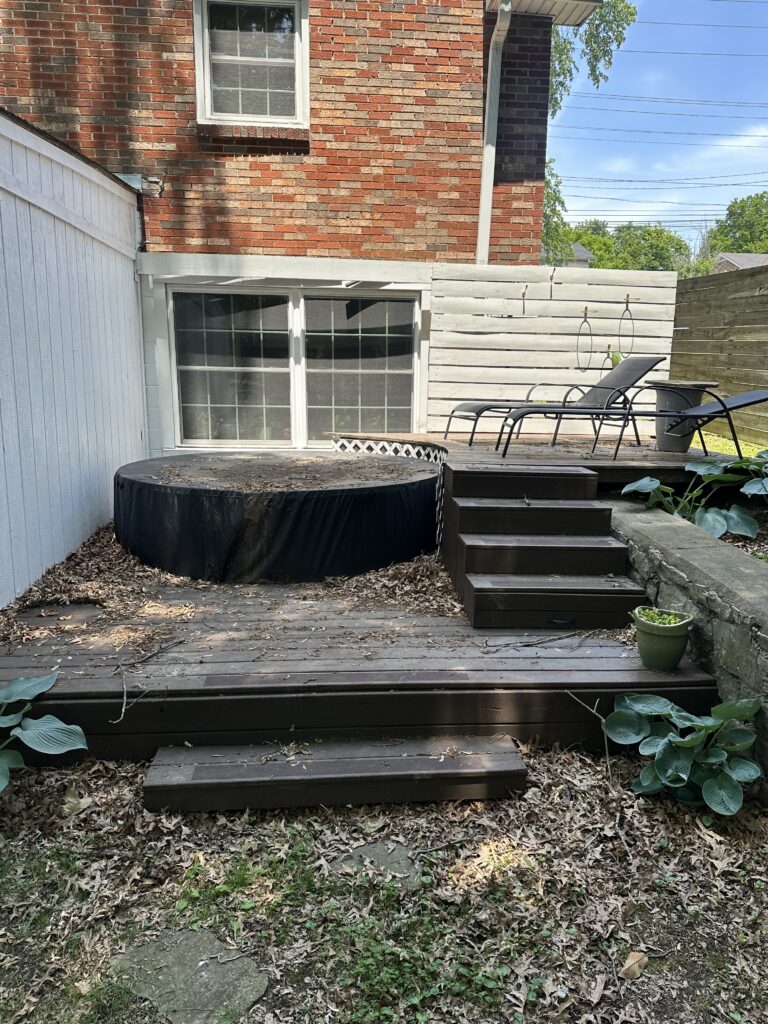
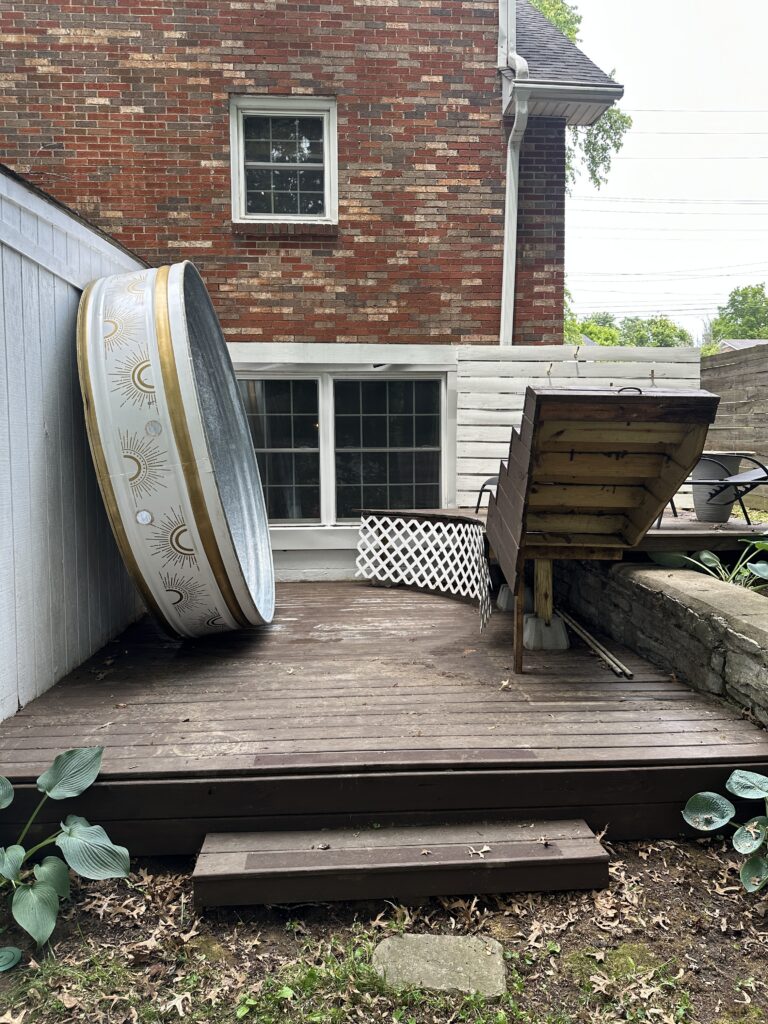
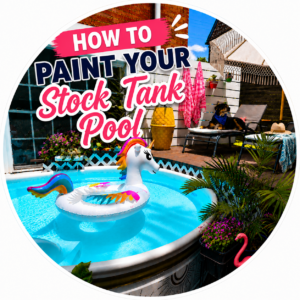
Because my original paint job wasn’t adhering well, I wanted to completely remove it before repainting. To do that, I used a pressure washer and paint scraper tool. Working between the two tools, I stripped every bit of paint from the outside of the tank. It took a couple of hours, but starting with a completely clean surface was worth the extra effort.
Step 2: Sand the Tank
Since I already heavily sanded the galvanized metal during my original paint job, I only needed to do a light sanding this time.
The goal was to just get off any remaining paint residue and rough up the surface a bit for the primer to adhere.
After sanding, I cleaned away all of the dust so the surface was ready for primer.
Step 3: Prime
This is the step that makes all the difference.
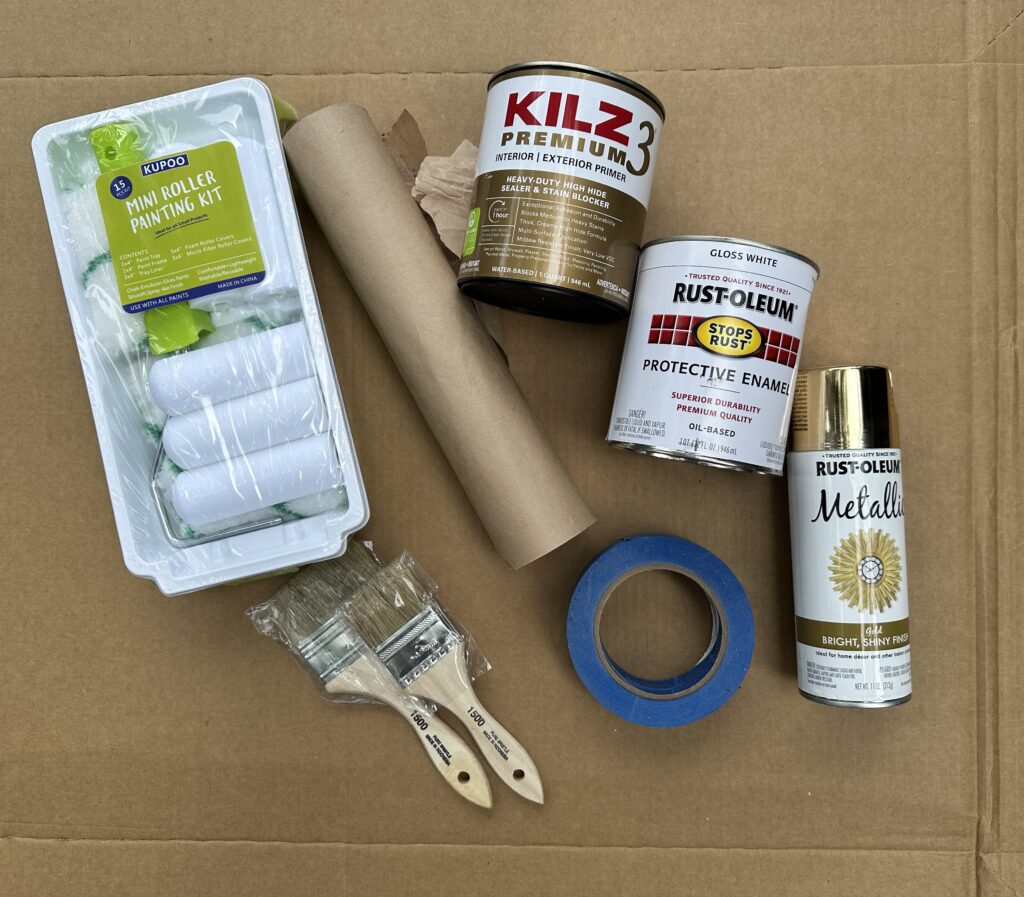
Instead of using a different primer like I had the first time, I went back to one I’ve trusted on countless DIY projects: Kilz Premium Exterior Primer.
I’ve had amazing results with it over the years, and I honestly don’t know why I talked myself into using something else the first time.
Using a combination of a roller and brush, I applied one generous coat over the entire exterior of the stock tank.
Once the primer dried completely, it was ready for paint.
Step 4: Paint Base Color
For the main color, I used Rust-Oleum Oil-Based Gloss Paint.
I rolled the majority of it and hit all the edges and tiny crevices with a brush. Making sure all the seams had a really thick coat to seal it off. I did 2 thick coats and I let that cure for like 2 days before I came back and started using tape on it for my stenciling.
Can you use latex instead? Sure, a good quality Latex exterior paint is totally fine. Especially, if you have your heart set on a custom tinted color. I just think oil based holds up the best against the elements.
Regardless of latex or oil, I definitely recommend going with gloss.
Step 5: Cut Custom Stencils
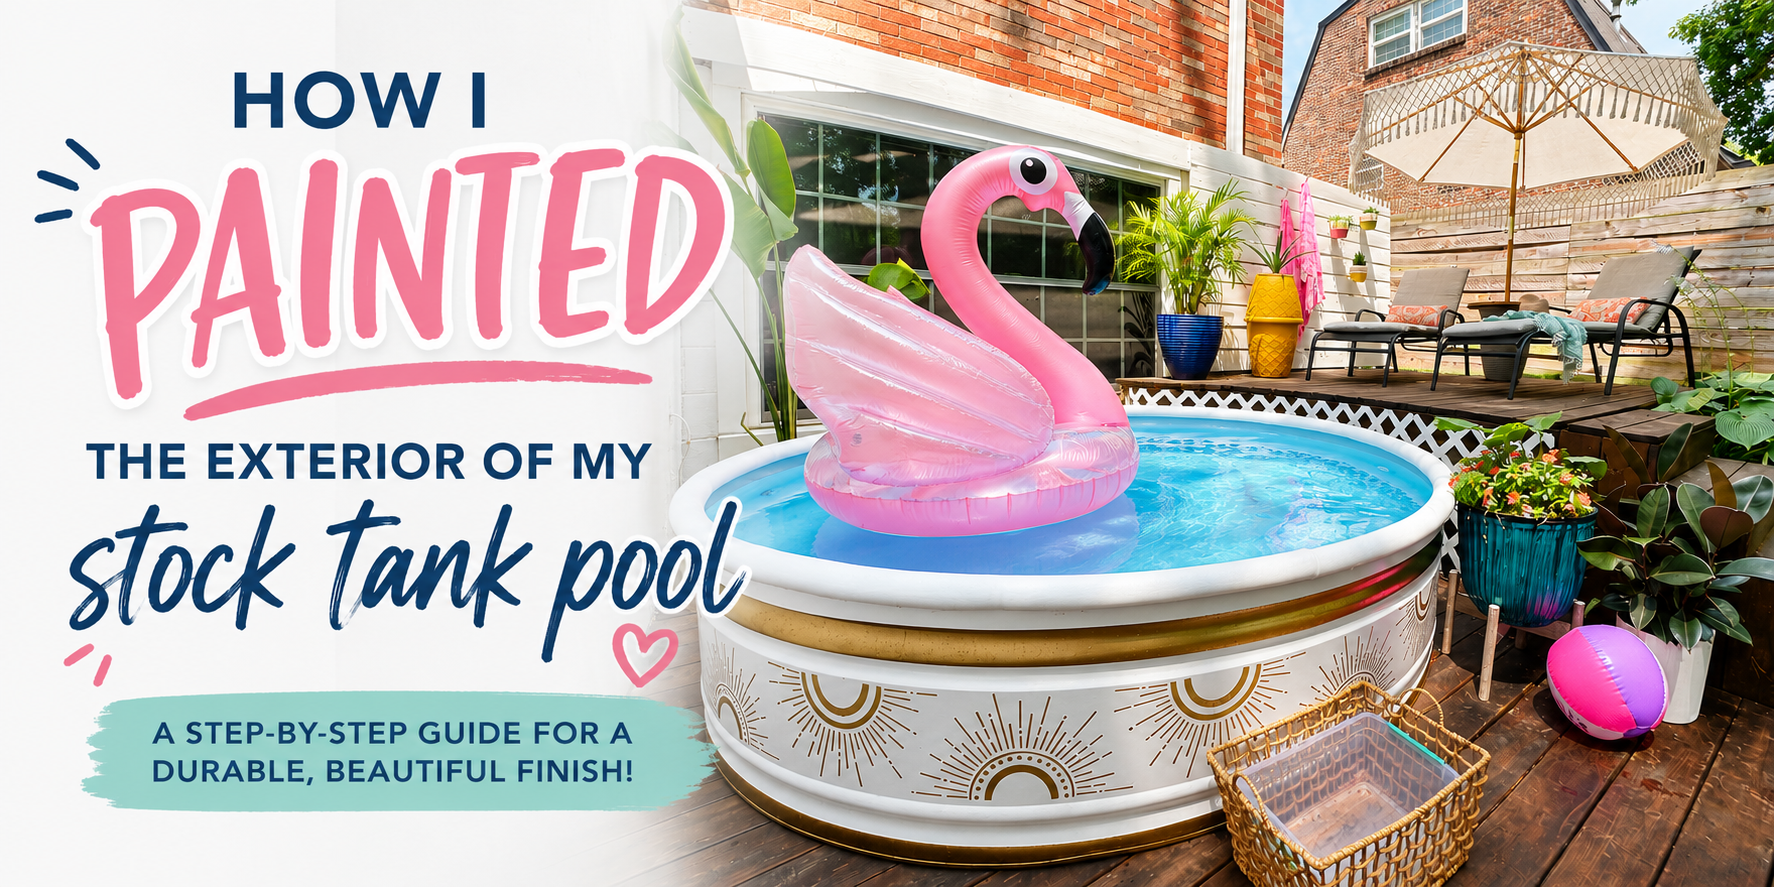
My favorite part about this makeover is the metallic boho sun pattern. It was really hard to let my stripe go, because I really did love it. But I decided I wanted something more unique, since variations of a stripe pattern have become very abundant over the years. But also, I wanted something that would cater to my boho taste, while also keeping it neutral and easily complementing any changes in decor I might want to make in the future. I’ve got a girly girl for a daughter, and we have added a lot of color to our setup in the last couple of years for her.
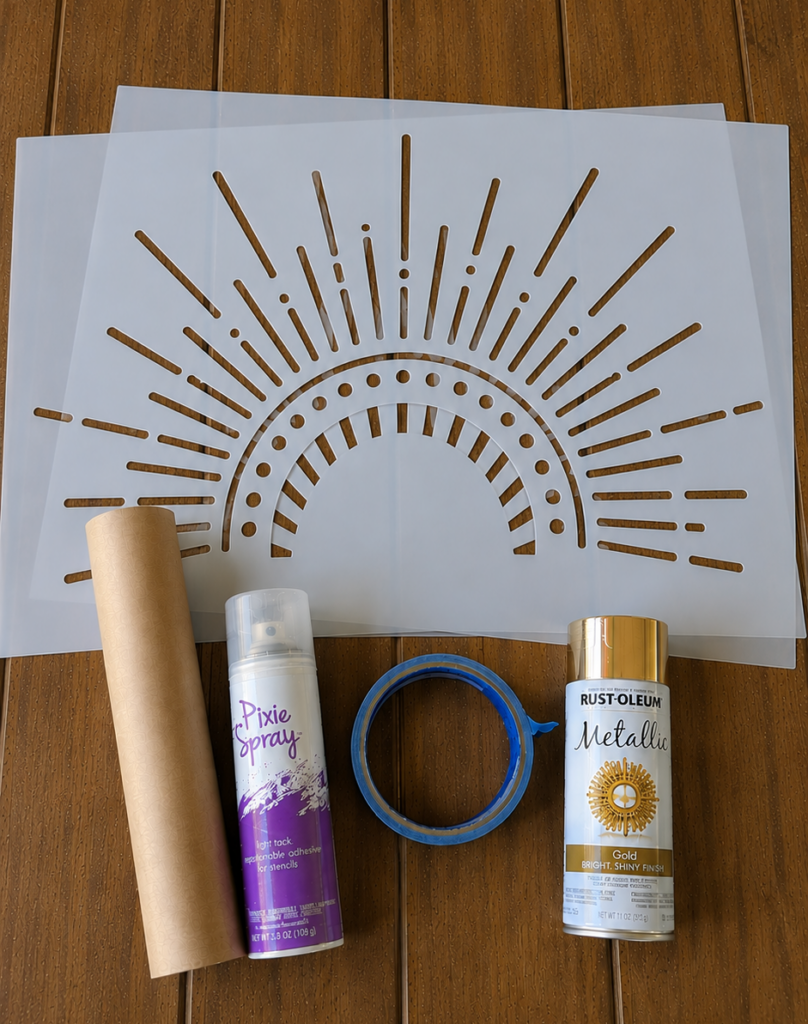
I actually designed/drew this sun pattern myself in Procreate before cutting it with my Cricut machine. I’ve had a lot of folks drop into my DMs this year inquiring about where I purchased my stencil. So against my better judgement, I’ve decided to share that file with you for free! You can load this file into any cutting machine software.
I used stencil blanks purchased from Hobby Lobby. This is the best price I could find for stencil blanks that didn’t require me to buy a large pack, and the larger size of them was perfect for my Hastings tank design.
I used Pixi stencil adhesive. It’s repositionable and leaves minimal residue behind. There are other repositionable adhesives on the market that aren’t specified as being for stenciling that I’m sure would work just as well.
With each stenciled section, I gave the back of the stencil a light coat of adhesive before placing it. This holds the stencil tight against the curves of the tank.
Before spraying the metallic paint, I used one of my favorite stencil tricks.
After positioning the stencil, I masked off the surrounding area with painter’s tape and masking paper.
Then I sprayed a very light coat of white Rust-Oleum gloss spray paint over the stencil first.
This seals the edges of the stencil.
If any paint sneaks underneath, it’s the same color as your base coat instead of your metallic finish, which dramatically reduces visible bleeding.
I let that coat become slightly tacky before moving on.
DIY Tip: Sealing stencil edges with your base color is one of the easiest ways to get crisp, professional-looking paint lines.
Step 7: Spray The Stencil Design
Once the white sealing coat became tacky, I sprayed the stencil using Rust-Oleum Metallic Gold Spray Paint.
This metallic is my tried and true. I haven’t found any other metallic spray that comes close to offering the level of shine and realistic metal-like finish. In addition to that, this stuff dries crazy fast. Which is a big help when you are working in phases and waiting for things to dry in between rounds of stenciling.
Step 8: Repeat the Pattern Around the Tank
Repeat this process around the entire exterior of the stock tank.
To create more visual interest, I alternated the stencil orientation:
one sun upright
the next sun upside down
That simple change helped create a balanced pattern that wraps beautifully around the curved tank.
Allowing the paint to be completely dry to the touch before moving on to the next section. I was careful to reuse as much tape and masking paper as I could as I went along.
Despite my efforts to prevent it. I did still end up with a little bit of bleed. I think that’s just to be expected when you are continually re spraying and reusing the stencils over and over again. But the bleeding was minimal, and nothing a little dab of touch up paint using my white base color didn’t take care of.
Step 9: Add Accents
After finishing all of the sun designs, I completed the look by adding two metallic horizontal stripes that followed the natural curves molded into my Hastings stock tank.
Using painter’s tape, I masked each stripe before spraying them with the same Rust-Oleum Metallic Gold paint.
Those final details tied the entire design together and gave the finished tank a polished look.
If there’s one thing I learned from painting this stock tank twice, it’s this:
Prep is the key to success, and Kilz is my ride or die!
The first time I painted this, I took care to really rough up the surface and get as much of the galvanized coating off as possible. Pair that with a really good primer, and you have laid the foundation for a really durable finish.
A Couple Seasons In And Here's How It's Going
I’m now in my 3rd season since completing this project and we are still going strong! I do have a couple of tiny dings here and there that are clearly from bumping the tank when moving it around. But as far as durability against the elements and time, we are going strong.
How I Preserve My Finish
I know I’m going to get asked about this, so I do want to go ahead and elaborate on my process.
We do close and flip our tank once summer is over. We have huge mature trees in our yard and we basically live in a forrest. So the amount of leaves that pile up is dramatic.
The decomposition of leaves in years past has created some frustrating staining on my white paint. I’ve been able to clean it up with a peroxide based cleaning spray and magic eraser, but it’s still frustrating to have to deal with year after year.
SOOO this past year, I decided to snag a cover from Amazon. I chose this cover because it is a little deeper than my tank and allows me to tug on the drawstring a bit and completely enclose the tank in a protective cover. I still flip it over, but now the cover protects the exterior of the tank from all the elements during off season.
Guys, this was a GAME CHANGER! When I opened our tank this year, I didn’t have to do any scrubbing on the outside of the tank. 10/10 recommend to preserve your finish.
** This post contains affilliate links. Purchasing from these links may eaqrn me a small commission. Thanks so much for supporting my content.**
This year, I decided to ditch the liner and take a big risk. I painted the inside of my stock tank pool using epoxy pool paint that I custom tinted to be the prettiest shade of turquoise!