

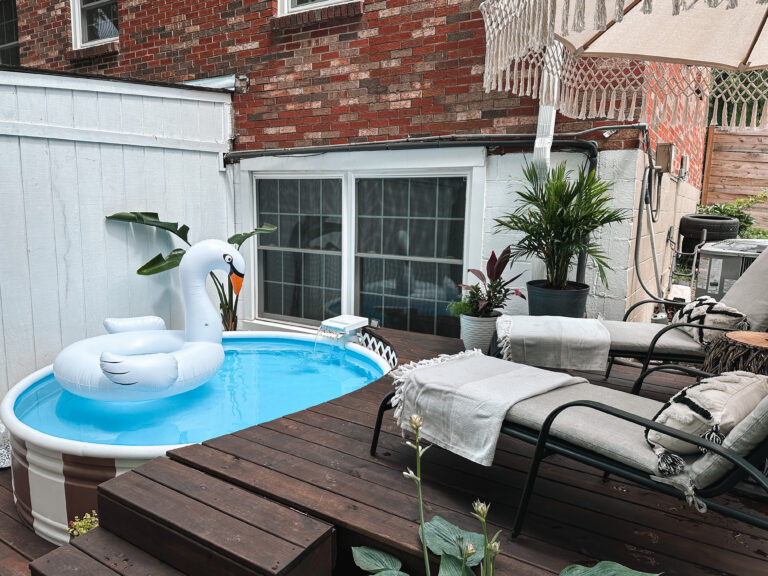
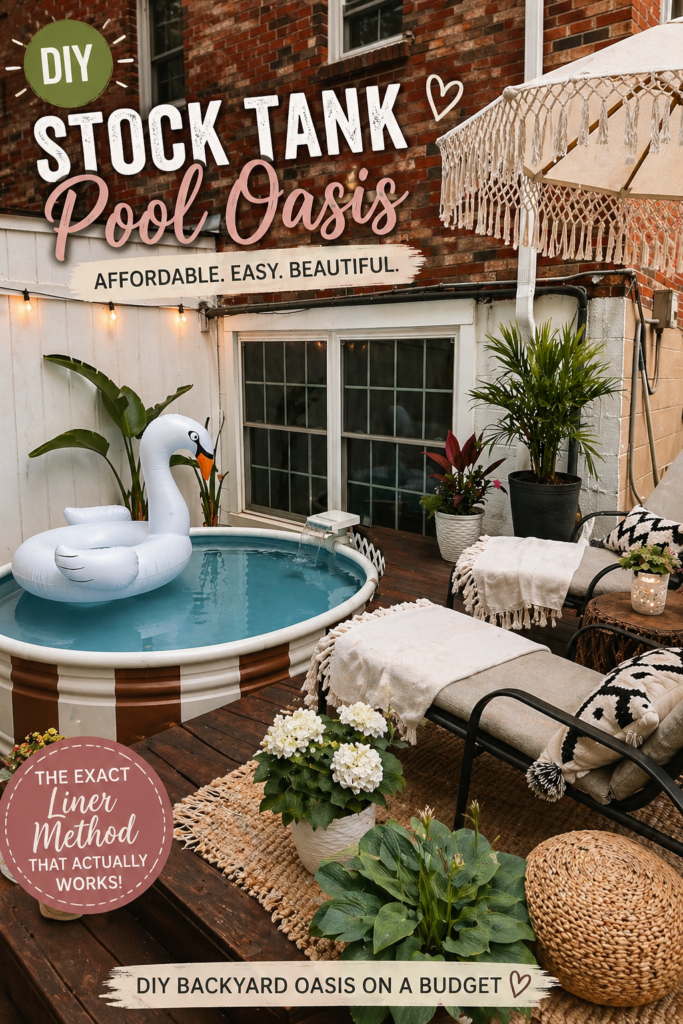
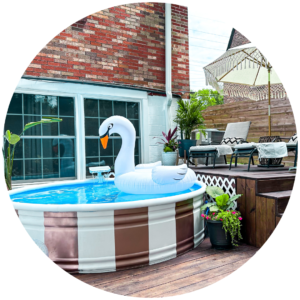
Follow me as I set up my stock tank pool for my 3rd season. While I did DIY my entire setup, from deck to paint, to pump system, this post is providing an up close look at my method for seamlessly installing a liner in your tank.
If you’ve landed here, it’s probably because you’ve been scouring the internet looking for inspiration and information about creating your own stock tank pool oasis. Stock tank pools are all the rage, but only a select few are offering up all the details you need to know before getting started. Before diving into my own setup, I spent countless hours trying to find any and all information I could. What do I need? How much will it cost? SHOULD I PAINT?
Little bits of information collected from countless videos, blog posts, and searches on social media, ultimately provided me with the necessary information. But the hardest question to answer was how to install a liner. I initially grappled with the idea of painting the inside of my tank. At the time, there was a newly tested method using Pond Shield epoxy. However, there was little to no data or feedback regarding it’s durability. I ultimately decided that a liner was the route I wanted to take, and I’m so glad I made that decision. Now that a couple years have gone by, I see countless posts from those who tried the epoxy method and ended up with bubbly finishes, rust, and peeling. I believe a liner is 100% the way to go if you don’t want to leave the inside of your metal tank bare or if your tank has begun to rust.
First, just let me point you in the direction of the “Stock Tank Pool Lovers” group on Facebook. This group is seriously a wealth of knowledge and a quick search within the group will produce loads of information and inspiration pertaining to any and all questions you might have. Don’t see the answer in previous posts, inquire within the group and you’ll surely receive a ton of helpful responses. However, I’m just being honest here… If you are like me, a “liner” search within this group will give some very unsavory results for those who crave aesthetic. No hate on those that are fine with a wrinkled look. That’s just not my vibe.
I get countless DM’s every year primarily asking my methods for painting stripes and for installing a liner. I find that many don’t even realize mine is lined and not painted. I take that as a compliment to my installation methods. Because I know from experience how hard it is to find information regarding this particular topic, I decided to share my process first hand. This year I decided to install a brand new liner. The one I had the last two years had a couple of tiny tears in it. I’m still unsure how exactly they were caused. I did effectively patch them with flex seal tape placed on the outside of the liner. But this year I wanted to replace it with a new one. These things are not cheap though, so I highly recommend doing everything you can to keep yours in good shape.
This post also briefly covers the installation of my brand new Intex waterfall fountain, and how I hookup/install my pump. I do have some photos from my paint process, so be sure to comment below if you’d like me to share that at some point.
About My Process
Here is the link to my video showing the full setup process
LINK TO MY FULL VIDEO HERE
This post contains affiliate links. Purchasing directly from any of my links may earn me a direct commission at no additional cost to you. This allows me to create more valuable content and keep it crafty.
Supplies
Used in the video:
- Foam Underlayment
- 8ft Pool Liner Amazon Option OR Leslie Pools
- Intex Pool Pump
- New Filter
- Inlet & Outlet Valves (Kit that includes Inlet valve here)
- Silicone Caulk
- 3/4″ Snap Clamps
- Chlorine Floater
- Pool Skimmer (Fine Mesh)
- 6 & 1/4 Pool Noodles – 52″ long
- Intex Pool Vacuum
- Outdoor Thermometer
- Intex Waterfall Fountain
- Long Pump Hose
- Scissors
- Box Cutter
- 1″ Chlorine tabs
The Aesthetic Stuff:
- Turkish Towels
- Pillows (stuffed with outdoor fillers & Sprayed with waterproofer)
- Lounge Chairs
- Chair Cushions
- Umbrella Canopy
- Swan Float
- Glitter Beach Balls
- Stripe Paint Color
Overview
I spent an insane amount of time creating a video to show you my full process, so be sure to click the link above and check that out. But here are the cliff notes!
**Be sure to fully read your pump’s manual before beginning this process. You want to completely understand how your pump operates and which valves are which, including where they hookup on the pump. I do not cover this information in depth. And if your tank does not already have holes cut, be sure to check out any of the dozens of videos online showing how to complete this process.**
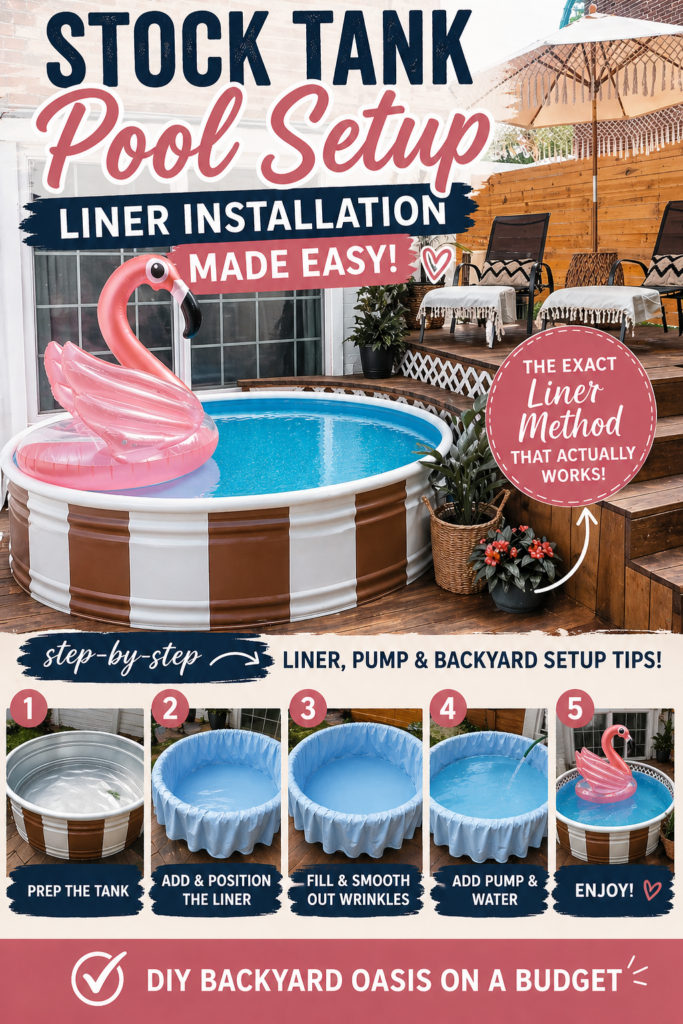
- First, be sure you let your liner heat up in the sun a bit before starting. warm vinyl is way easier to work with for this process.
- If you are using something for cushion, go ahead and put this down. Mine is already pre cut, so I don’t show this process.
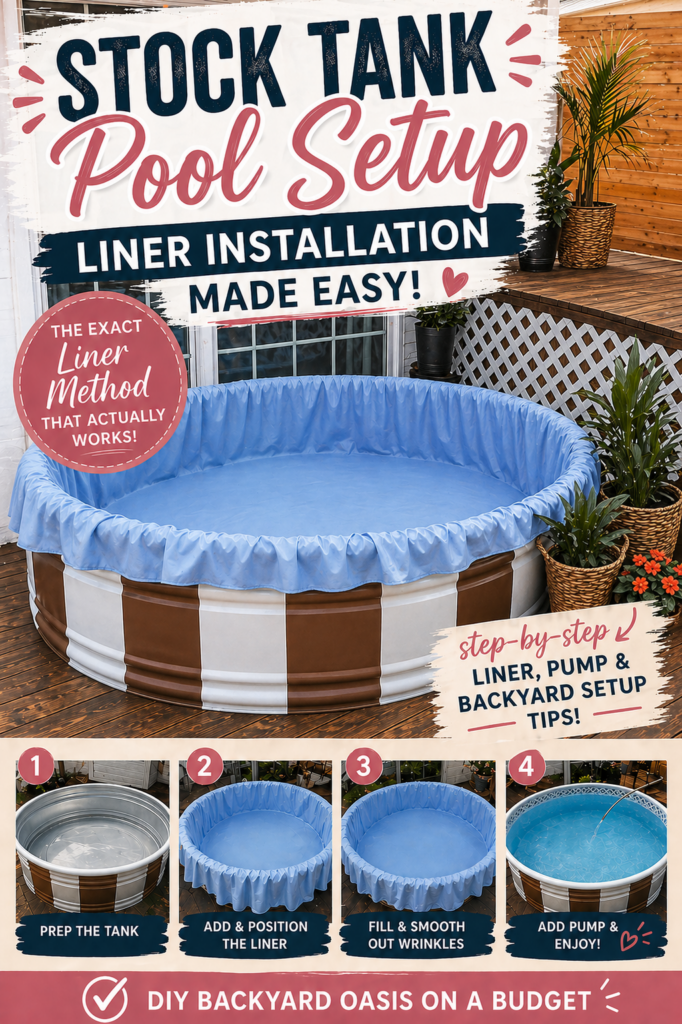
- You want to begin by stretching the walls of your liner over the edge of your tank. The snap clamps I noted come in very handy if you are doing this solo.
- Once the liner is fully secured over the edge, begin sliding it down. Pull all of the excess height over the edge until you are able to line up the seam of the liner with the seam of your tank.
- Make sure your tank is placed exactly where you want it before filling!
- Begin filling your tank and get in. You want to be present for the entire filling process. The water will do a lot of the work for you. But anything it doesn’t get you will remove by manipulating the liner as it’s filling. You do not want to try and smooth wrinkles after the tank is full. Trust me, it won’t work! In the beginning we are focusing on smoothing wrinkles from the floor. Using your feet to push wrinkles toward the walls and tugging at the top of the liner.
- Once the water level is a couple inches from reaching your lower hole, STOP filling.
- Using scissors, cut an X shape that reaches just a cm or 2, smaller than the diameter of the hole.
- Install the outlet valve (valve that sucks water OUT of your pool, into the pump. This piece looks like a strainer) Force the valve through the X and attach the components by hand tightening on the outside of the tank. Use 100% silicone caulk, applied to the rubber gasket, to reinforce the seal.
- WAIT AT LEAST 30 MINUTES before you resume filling (per the tube instructions. Read your tube for drying guidelines!)
- Make sure your outlet valve is toggled to the LOCK position before continuing!
- Resume filling the tank, now focusing on removing wrinkles from the walls by tugging at and stretching the liner. Pay special attention to the area between your two valve holes. Making sure it looks as smooth and tight as possible before making your next cut.
- Once the water level is a couple inches from reaching your upper hole, STOP filling.
- Repeat the same X cutting, and installation process for your inlet valve.
- WAIT AT LEAST 30 MINUTES and make sure your inlet valve is in the LOCK position……..
- Resume filling the tank, continuing to smooth out any remaining wrinkles. They should be very minimal at this point. Stop filling when your tank is about 2-3″ from reaching the rim (My personal preference).
- Use snap clamps to secure the liner over the edge tightly (If you decided to use them. But they are not 100% necessary. The water will hold the liner in place sufficiently)
- Cut off excess liner leaving just enough overlap to tuck inside foam noodles on the exterior of the tank.
- Cut slits in the length of your foam pool noodles using a box cutter or pocket knife. Slip over the edge of the tank. If your noodles are the same length as mine, you’ll need 6 full noodles, plus 1 to cut down for a small gap left at the end. Note! I do replace my noodles every year. They shrink a bit in the heat and the white tends to get a bit dingy, so I prefer to replace them. Just an FYI!
- Install waterfall fountain if applicable.
- Plug in your pump, toggle the valves to the unlocked position, and complete the bleeding process (Per manual instructions)
- You are ALL DONE!
LINK TO MY FULL VIDEO HERE


Hi! Thanks so much for this super detailed tutorial. I’m adding a liner to our pool this year, and I was wondering how you removed your outlet and inlet valve after they have been glued on to the tank. The people that initially installed mine glued it straight to the tank and I’m trying to get it off without breaking the valves.
Any suggestions would be great!
Hi Stephanie,
I didn’t glue mine, it’s just caulking. Hopefully they didn’t actually GLUE those. But I have only found that the caulking is necessary on the inside of the tank, between the inlet/outlet and the liner. The pieces screw on tight from the outside of the tank. So that you should be able to unscrew like normal then peel the liner away from the caulking. And I just pick that off as best I can when I close my tank for the winter every year. If they did use silicone on the outside pieces as well, I would think it’ll still come loose, it’ll just require some muscle to break that seal, but I wouldn’t be concerned about breaking it.
Thank you for this tutorial. I am thinking of getting a pool for next summer. Can you tell me how you winterize yours? Do you completely drain it and leave the tank outside? I have to deal with snow so I’m not sure how to store it?? Trying to figure out how people store them in the winter. Thank you!
To winterize, I drain, clean and flip. I disconnect and clean my pump and parts and put everything away for the winter.
Hi, thanks for this tutorial, its so helpful! Do you use a pool cover? Wondering if you have found one, that works with the pool noodles?
I have a cover from Cowboy pools. It’s a bit of a squeeze to get over the noodles, but that’s what I used the first 2 years. Once I added the fountain, the cover became unusable. But not that I have my chlorine and pump schedule refined for my yard’s environment, I don’t really feel the need to use a cover anymore. I just fish out leaves and such every day.
I was just wondering if you think I can stretch that liner over a 9′ tank?
Apparently have an inbetween size when it comes to pool liners…
I worry a 10′ liner might leave too much bagginess, wrinkles inside… but if it’s too small there’s nothing that could be done for that.
I cannot confidently say yes or no on this one, honestly. If you did it while it’s really hot out and in direct sun, that would really give you some stretch on the vinyl. But I personally wouldn’t risk it, as liners are NOT cheap.
Loved the post! Would definitely be interested in seeing the paint process photos—please do share them!
Absolutely love your dedication and creativity! Your stock tank pool setup is not just functional but beautifully done—truly inspiring for any DIY enthusiast. Amazing job on sharing such detailed insights, especially about the liner installation!