
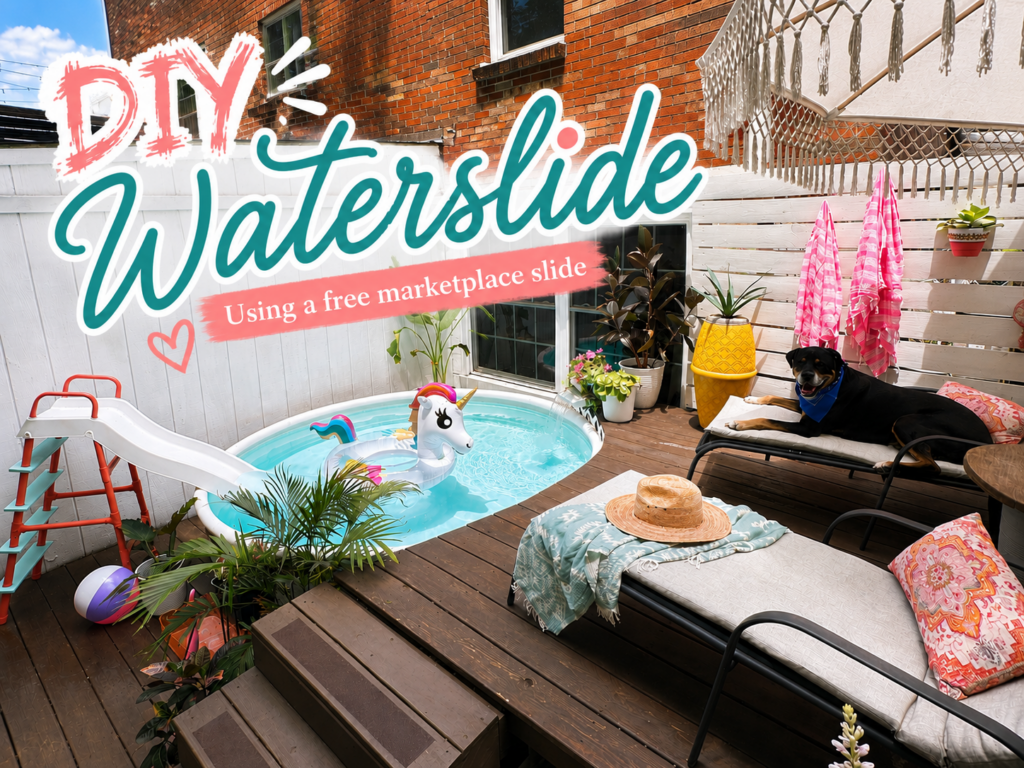
DIY Water Slide for a Stock Tank Pool
(Using a Free Marketplace Swing Set Slide)
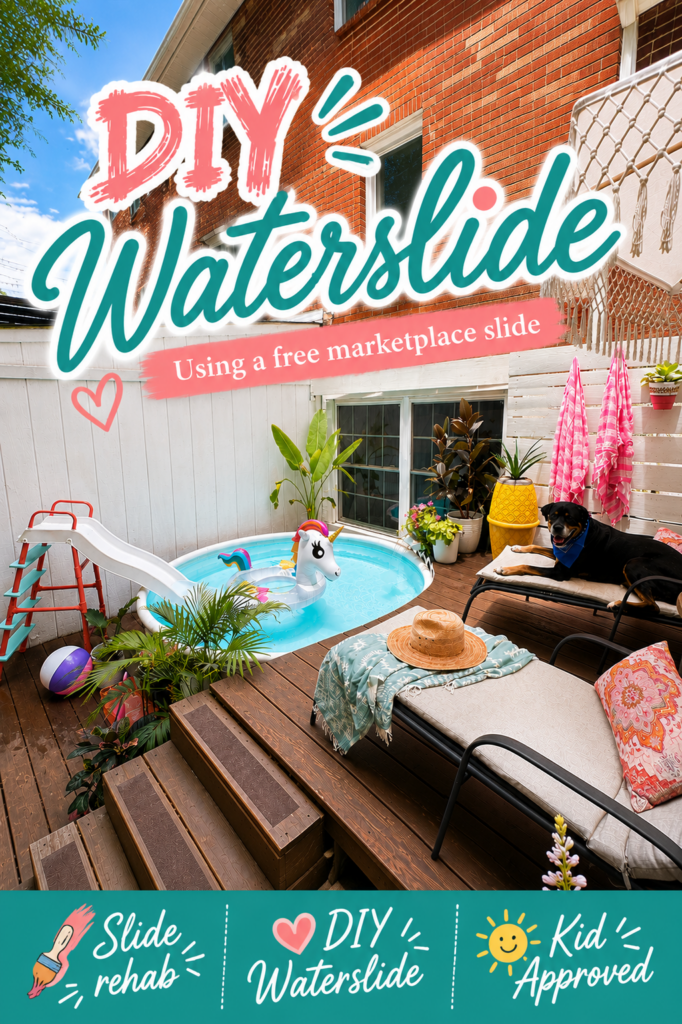
There’s something incredibly satisfying about giving an old item a second life. I have had an alert set for the keyword “slide” in marketplace for going on 3 years now. So when I got the alert for a free plastic swing set slide on Facebook Marketplace, I jumped at the opportunity to snag it. I’ve been dreaming of finding something inexpensive that I could rehab into a custom waterslide for our stock tank pool.
What I did not envision was cracked plastic, endless trips to the hardware store, logistical frustrations, and questioning every life decision I’d made.
But after way too much trial and error, I somehow ended up with a fully functioning waterslide complete with its own recirculating water system. Here’s a rundown of how I pulled it off.
**This post contains affiliate links. Purchasing from these links may earn me a small commission. Thanks for supporting my content!**
Supplies:
- Aquarium Pump
- 1″ PVC Pipe
- 1″ PVC Cap X4 (for feet)
- 1″ OVC T Joint X8
- 1/2″ PVC Pipe
- 1/2″ PVC Pipe Cap
- 1/2″ PVC Schedule 40 mail adapter
- 3/8″ X 1/2″ Elbow Hose Barb
- Small plastic pipe straps
- Mini pipe clamp
- Plumbers Tape
- Olympic Zeron Epoxy Pool Paint
- Rustoleum Enamel Spray Paint
- 2000 Grit Sandpaper
- 200 Grit (or higher) Orbital Sand Paper
- Liquid Nails
- Flex Seal Tape(optional)
- JBWeld Plastic Epoxy Putty
- 1X4 Pressure Treated Board
- 1″ Hole saw
- Small Screws
- Spray Paint ( I used Ocean Mist & Coral)
- Epoxy
Step 1: Repair the Damaged Slide
I grabbed this slide in such a hurry, I didn’t really even stop to evaluate it’s condition or how exactly I would go about transforming it.
I worked HARD to remove all of the old rusted hardware. In process, I discovered several large cracks in the plastic that needed to be repaired before I could move forward.
I filled the damaged areas using JB Weld PlasticWeld Epoxy, allowing it to cure completely before sanding everything smooth. This created a solid surface for painting later on and gave the slide the structural support it needed. **Note, I could only find the plastic weld at Advanced Auto Parts. Not sure why, but the hardware stores only carry the liquid version of the plastic one.
Step 2: Build the Water Delivery System
It ya’ll don’t now me yet, let me introduce myself. Hi.. I’m Danielle, and I am EXTRA. Sooo. I wanted to come up with a method to create a slide that continuously circulated water without needing a garden hose.
Instead, I wanted the water to be pumped directly from the stock tank itself.
To make this happen, I came up with a simple PVC channel underneath the slide using standard PVC pipe and fittings.
For this I used: 1/2″ fittings and got a pipe, a cap, a schedule 40 male adapter, and a 3/8″ X 1/2″ elbow hose barb.
After cutting it to length and using some plumbers tape for extra measure, I glued the assembly in place with construction adhesive and sealed around the exterior gaps with silicone caulk.
At the top of the slide, I drilled four evenly spaced holes that would allow water to flow across the surface. I held my fitting in place using one hand on the backside while I carefully drilled through the top of the side and into the pvc pipe making sure to stop as soon as I reached the center of the pipe.
I also covered the fitting with Flex Seal tape, because I had it on hand, although I don’t think that step was actually necessary.
Step 3: Paint the Slide
First, you need to prep for paint by sanding all the plastic down with a finer grit paper. The finest one I had on hand for my orbital sander was 200, so that’s what I used. But if you can use even finer than that, I would recommend it.
Since I had leftover epoxy pool paint from painting my stock tank pool, I decided to use it on the sliding surface. This paint is expensive though, so I definitely wouldn’t have chosen that if I had to buy a whole can of it. As long as you do a good sanding prep, I think you can definitely get by using a durable oil based gloss paint. Or just using a couple coats of the rustoleum enamel spray that I use for finishing.
For the backside, I simply used Krylon White Gloss Paint + Primer since it wouldn’t see much wear and I had it on hand.
After the epoxy cured, I lightly sanded the surface with 2000-grit sandpaper. You need a super fine paper that will essentially buff the paint vs removing it. Then, I wiped it all down and sprayed on a thin coat of Rust-Oleum Gloss Protective Enamel.
Step 4: Cut PVC Pipe For the Front and Back Legs
The original slide sat a little lower than I wanted for the edge of our stock tank pool, so I came up with using a simple PVC support frame to raise it to the proper height.
My plan was to slide the existing metal ladder rails into larger PVC pipe, extending the legs while keeping the original structure intact.
I used 1″ PVC pipe. After cutting the PVC pieces, I painted the rear legs first to save myself some masking later, then temporarily assembled everything so I could measure the front legs accurately.
The support structure came together using T-shaped PVC fittings.
To make them slide on to the pvc legs, I shaved out the internal stops inside each fitting with a Dremel.
Step 5: Learn From My Mistake
Everything had gone surprisingly well…
Until, I slid on my first T joint and realized I’d made a big mistake.
The fresh paint made the pipes almost impossible to separate once they were assembled.
After what felt like an eternity trying to pull them apart, I finally admitted defeat and headed back to the hardware store for some fresh pipe.
Unfortunately, without realizing there were different kinds of PVC, I just grabbed the first 1″ pipe I saw and the internal diameter on this one was a smidge smaller than the last. So yah, the metal rails did fit inside it. But it was a super TIGHT fit and the back legs did not slide on seamlessly.
Cue even more frustration.
I did eventually get the back legs in place after a lot of elbow grease, and apparently off camera. So this triumph was not caught on film for the video. But I did end up getting it after I flipped the slide upside down and pounded the PVC in place with my mallet.
Step 6: Build the Steps
For the ladder steps, I used pressure-treated 1×4 lumber (actual width is 3.5″).
Using a 1″ hole saw, I drilled openings that allowed each board to slide directly over the PVC rails.
After sanding everything smooth, I spray painted each step before assembling the ladder. For this I used Rustoleum Spray in Ocean Mist.
To prevent the steps from sliding downward, I drove short one-inch screws with a large rounded head on them through the PVC beneath each step. Taking care to level everything up as I went.
The wide screw heads acted as small supports that held every step in place.
Step 7: Reinforce the Frame
Just when I thought I was finally in the home stretch…
I stood on the ladder for a stability test.
It had WAY too much wiggle.
It was at this point that I seriously considered scrapping the entire thing. But my kid had been asking daily when her water slide would be ready. Aside from the fact that I’d invested entirely too much time and money into this thing thus far, I just didn’t want to disappoint the little girl who fully believes Mommy can build and fix everything.
So I got on the phone to consult with my engineer Mama and came up with some possible solutions. So back to the hardware store I went.
This time I added another support bar across the back of the frame and packed more of the epoxy putty around the underside joints to eliminate the empty space around the fittings.
That extra reinforcement made a huge difference and gave the slide the stability it needed.
Step 8: Finish Painting
With the structure finally complete, I taped everything off for its final coat of paint.
My daughter chose Rustoleum Coral for her “pink waterslide”, which we’ve actually used on a few other projects for her.
Before calling it finished, I also decided to fill the gaps around the ladder step holes to reduce any remaining movement.
Those little finishing touches made everything feel much more solid.
The slide is lightweight plastic, so there’s inevitably movement just from the weight of it. But overall, I felt satisfied with the stability and was ready for my final step.
Step 9: Install the Pump
My final feat.. Connecting the water pump.
I used small plastic pipe straps to secure the tubing underneath the slide using epoxy as adhesive. And I mounted the aquarium pump near the bottom so it could draw water directly from the pool.
My original mounting idea involved a silicone O-ring…
Which snapped immediately during testing.
At that point I was completely over it, so I quickly just replaced it with a simple elastic strap.
I may adjust that later. But sometimes the the quickest fix is the best one.
I attaches the tupe to the PVS fitting using a small adjustable pipe clamp. Once everything was connected, I plugged the pump into my weatherproof electrical box and crossed my fingers.
It worked perfectly.
The pump automatically shuts off when it’s removed from the water, so I simply pull it out when we’re finished with it and drop it back into the pool whenever we want to use it again.
Final Confessions
This project took far more patience than I expected.
There were cracked parts, design changes, endless hardware store runs, and more than one moment where I seriously considered giving up.
Did I wish I’d just bought a slide off Amazon? Sure did..
In the end, I may cringe at the thought of how much time and money this FREE slide cost me. But the joy it brings my daughter was the real mission, and it’s one I met with victory.
If you’re thinking about rehabbing one of your own, my biggest advice is simple.. DON’T!
Haha! But in all seriousness:
- Test-fit everything before painting.
- Expect multiple hardware store trips.
- Don’t be afraid to change the plan as you go.
Sometimes the best DIY projects aren’t the ones that go perfectly. They’re the ones that teach you something along the way…and end with a whole lot of smiles.