This post contains Amazon affiliate links. Purchasing from these links may earn me a small commission.
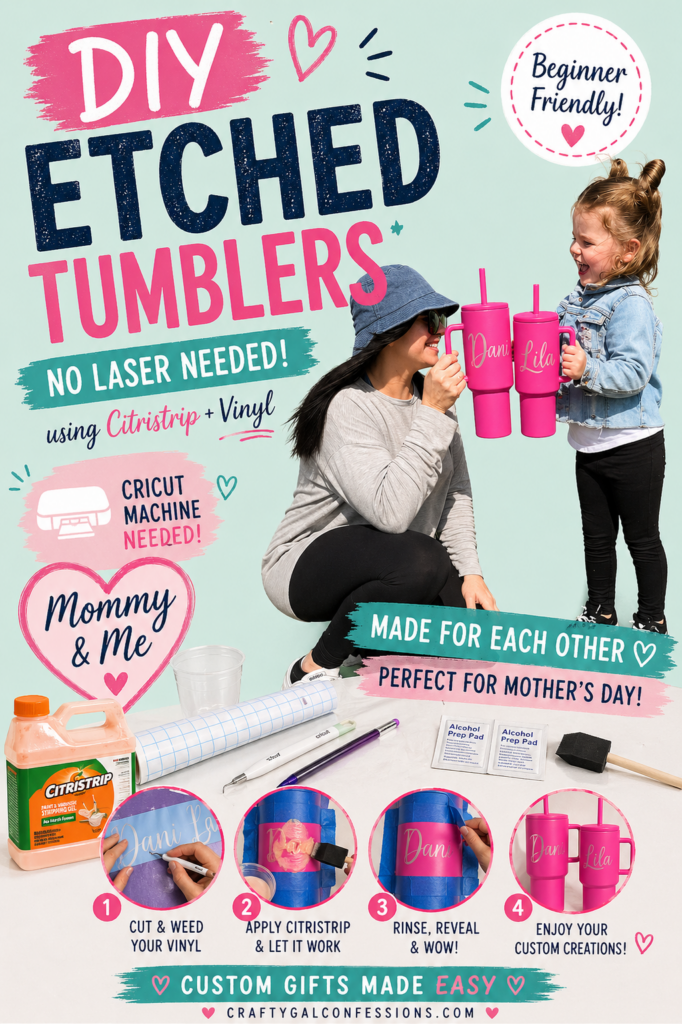
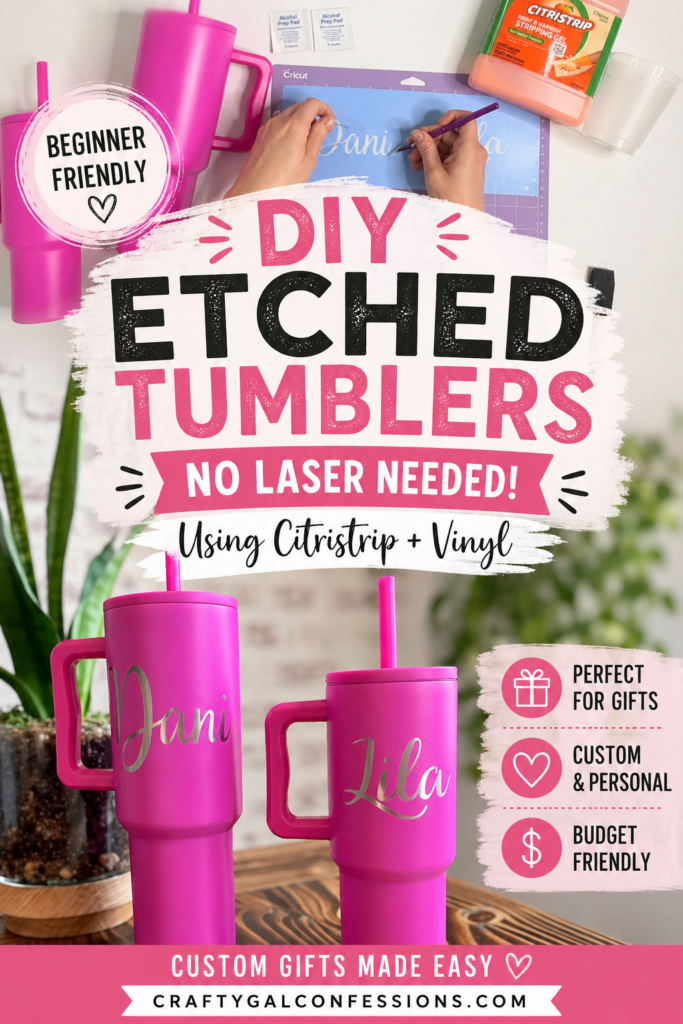
Hey HEY crafty people! If you have a cutting machine, this project is for you. This concept is so versatile and makes a fun and crafty way to personalize your tumblers. Plus, they are super giftable. This method can be used on any powder coated tumbler. My experience with it has mostly been on these Simple Modern tumblers, but I have also done a Yeti yielding the same result.
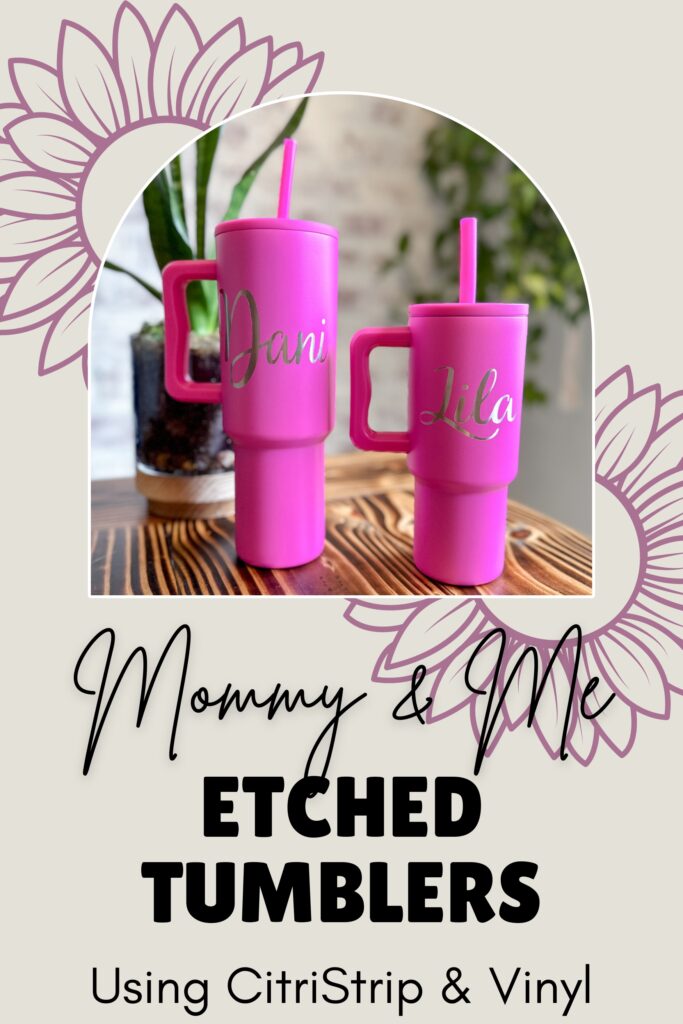
Let’s talk about these tumblers I’m using. I just LOVE the Simple Modern tumblers. Sorry Stanley. But these are more affordable and I love the sleek design. The slim base fits in virtually any cup holder. Even the cup holder on my daughter’s stroller which I’ve found to be very limiting for large cups like this. Since learning this method, I’ve gifted personalized tumblers to several family members, friends, and even my daughter’s preschool teacher at Christmas. They are the perfect gift. I’m sure many of you crafters can relate here, because guess who didn’t have one? This gal! So when I saw Simple Modern released a kids tumbler with a leak free straw design, I KNEW I needed a mommy and me matching set.
I had very minimal confidence in how leak free the kid version would be. But my daughter is almost 3 and does pretty well with her cups now. Plus I knew hers would only ever have water in it, so my bar was pretty low. But ya’ll, these cups are actually leak free! 10/10 Recommend this cup for little.
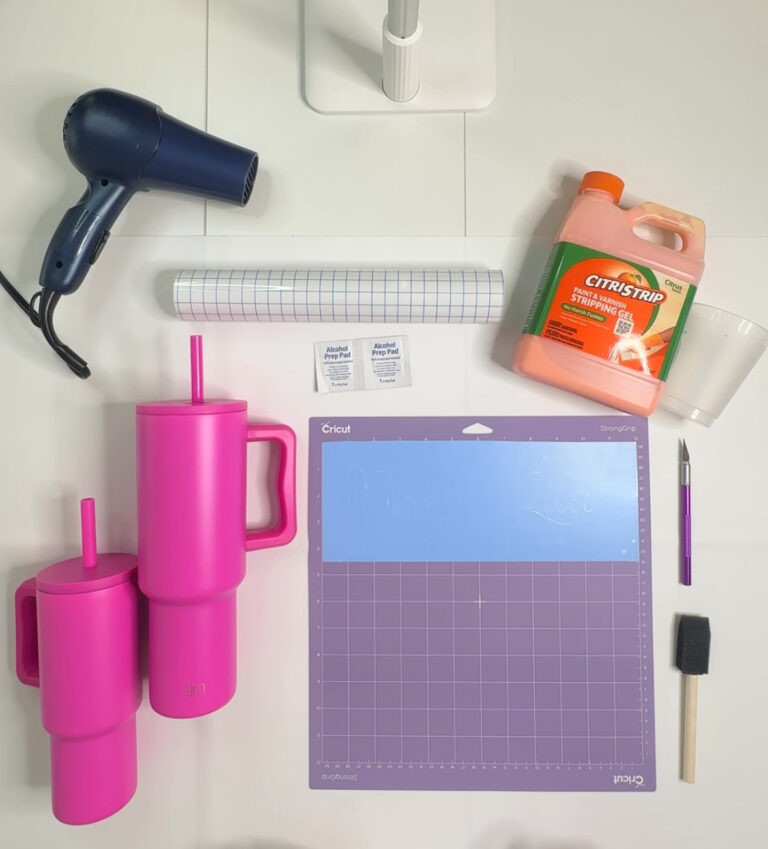
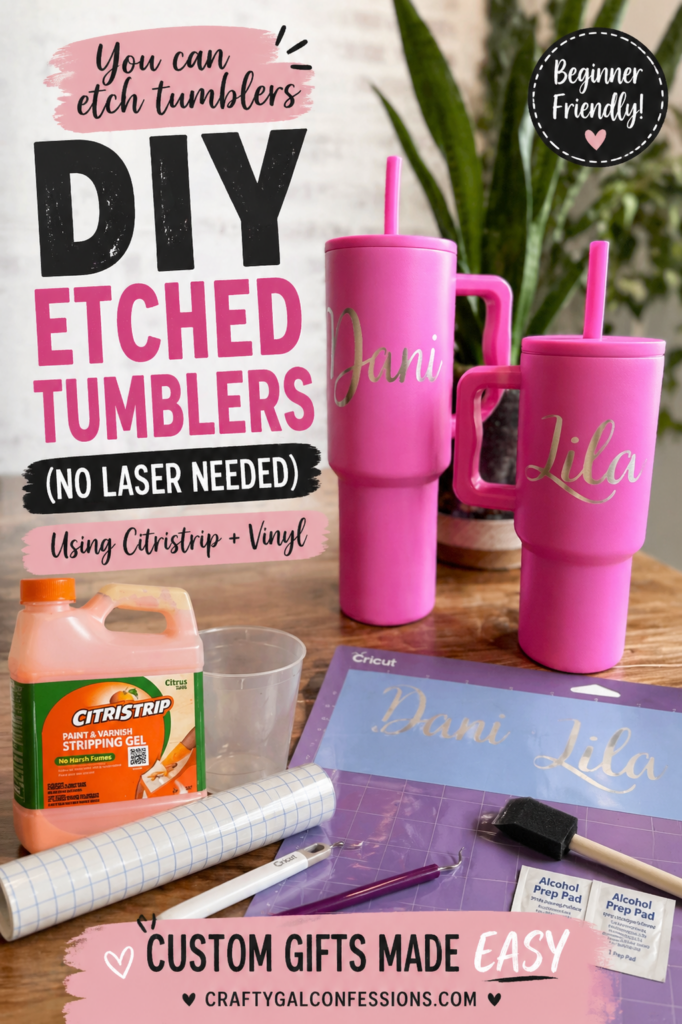
Stencil Vinyl – I’m using Cricut Smart Vinyl. But any stencil vinyl should work for this.
Transfer Tape – any transfer tape will work. But I’m using this Jarlink brand translucent tape.
Painter’s Tape
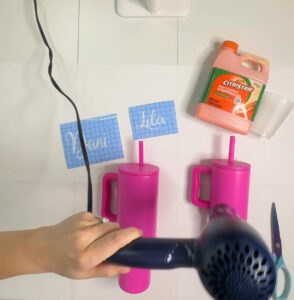
Hair Dryer
Rubbing Alcohol
Paint Brush For Stripper Application
Scratchy Sponge – I’m using Scrub Daddy
Xacto Knife
Scissors
Disposable Container
Hand Towel(s)
Gloves – Optional. I don’t use them, but you will want to if you are worried about the stripper coming into contact with your skin. I’m just careful not to touch it.
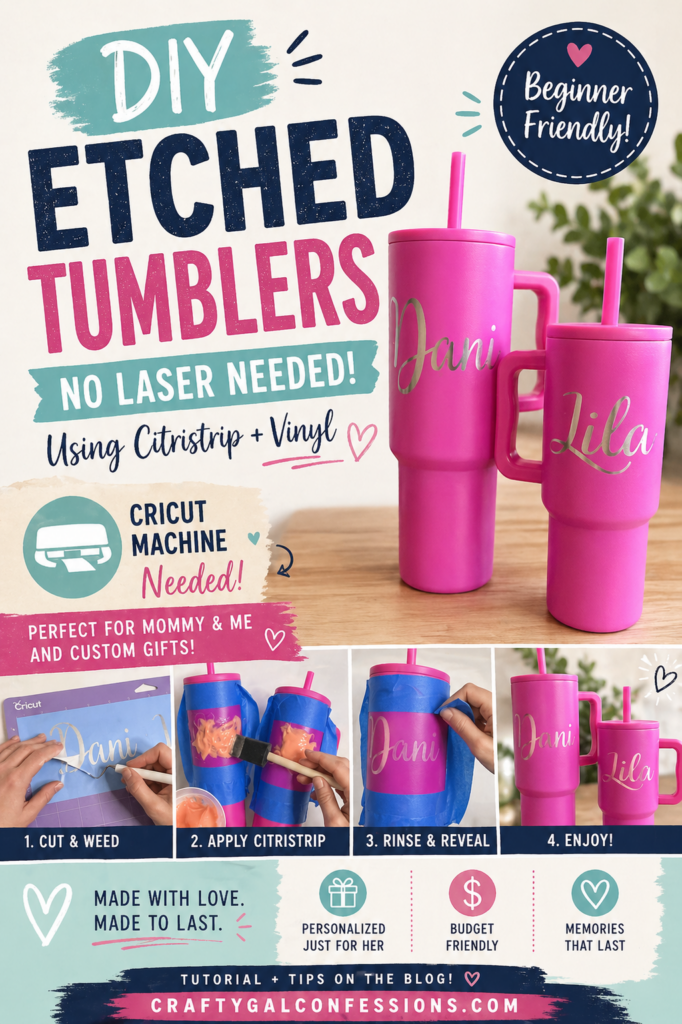
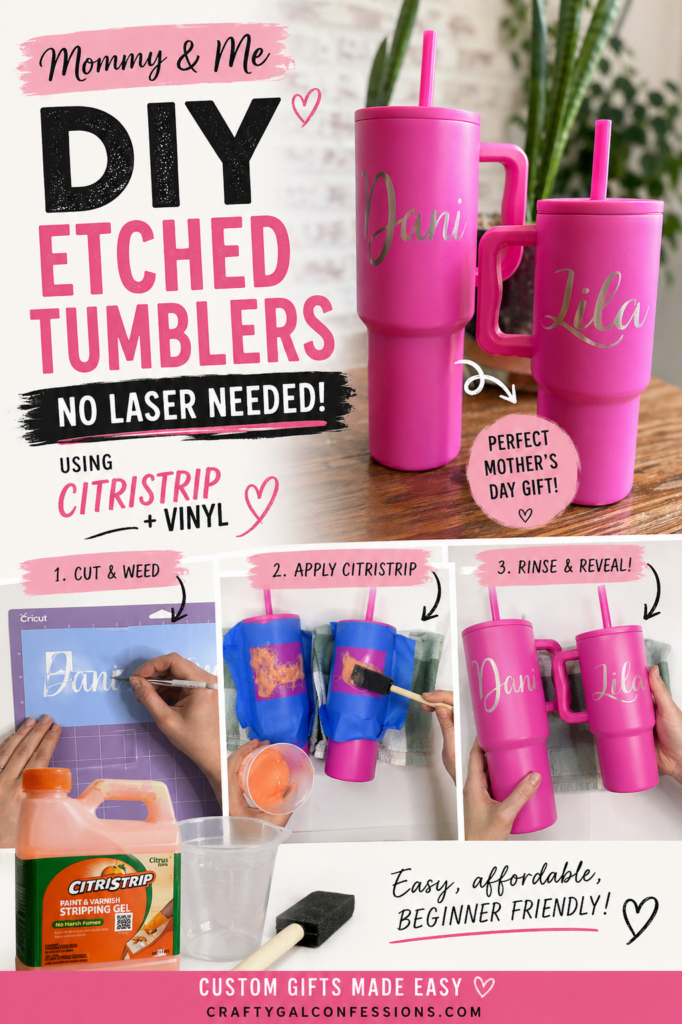
STEP 1:
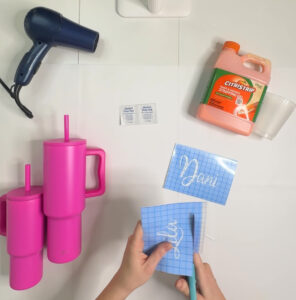
First you’ll need to design your stencil(s) in your cutting machine software and go ahead and cut those on your machine with the stencil vinyl. My Cricut software didn’t have a font I liked both of our names in, so I ended up designing mine in Canva, then loaded the PNG files into Cricut. Be sure you are paying attention to the surface area on your cup and designing your stencils to fit accordingly. Also, I do recommend keeping your design as simple as possible and avoid using super fine lines. This will yield the best result. Especially, since this is likely your first time using this process. Weed and prepare your stencils for transfer. Remember, this is a stencil, so we are weeding out the opposite of what you normally would. Make sure you set up on a protected surface. You do NOT want to get this stripper on your table. You can’t tell here, but I’m working on top of a silicone craft mat. Also be sure there is an open window near by.
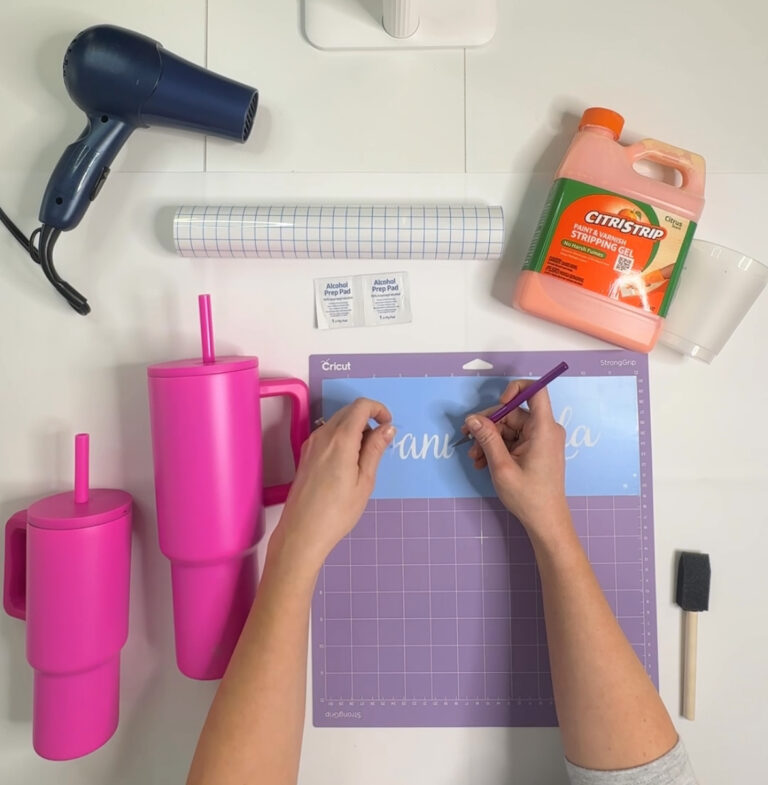
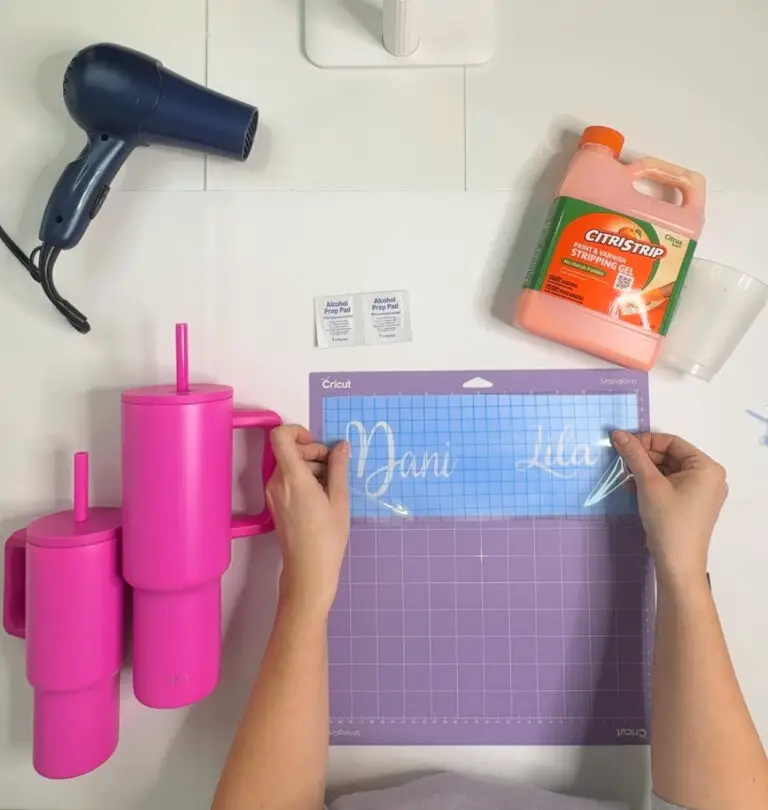
STEP 2:
Cut down your transfer tape to size and apply to the top of your stencil. Then remove your stencil from the mat by peeling the mat away from the stencil. This avoids creating any bubbles or flaws in your stencil. Then, trim any excess off the edges of your stencil to allow it to fit properly on the tumbler, while still leaving some space on the margin. You don’t want to cut right up against your text.
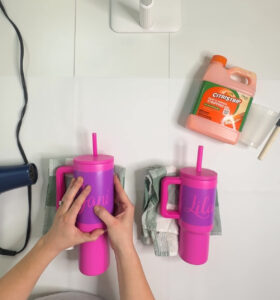
STEP3:
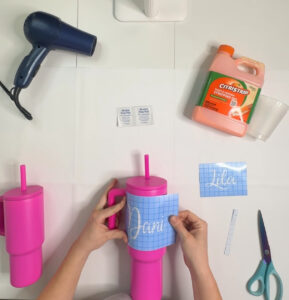
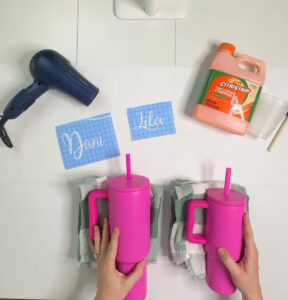
Double check your stencils for size and placement. I like to place my etch on the opposite side of the logo. This also means the etch is placed on the visible side of the tumbler for a right handed user. If this is for a left handed user, you might consider putting it opposite what I’ve done. Prop your tumblers up using hand towels. I fold up underneath the handle to hold the cup straight. The goal here is to keep the area you are etching as straight/top facing as possible.
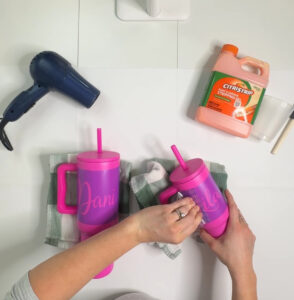
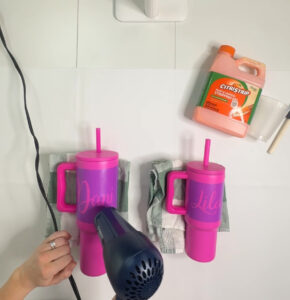
STEP 4:
Clean the area that you will be placing the stencil with rubbing alcohol. I’m usine alcohol wipes here because I had some handy, but you can just used bottled alcohol and a clean cloth if you don’t already have wipes. Then be sure the area is good and dry before moving to the next step. I hit it with my hair dryer to make sure it was fully dry.
STEP 5:
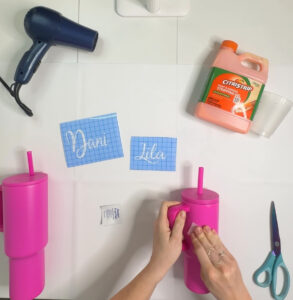
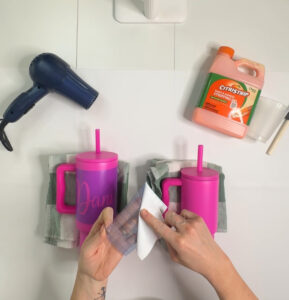
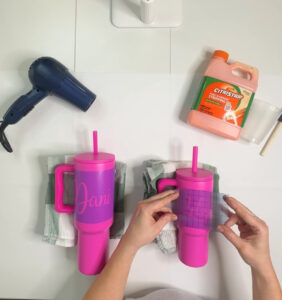
Peel, Place, Press, and Peel again.
Peel the backing from your stencil. Place the stencil. Press and rub out any bubbles. Then, peel the transfer tape. Be sure to peel the tape at a sharp angle to avoid pulling the stencil up. And go slowly with this so you can babysit any pieces of the stencil that might be trying to pull up.
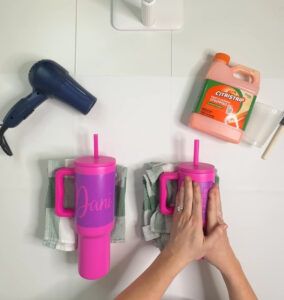
STEP 6:
Lightly warm up your stencil with a hair dryer and then press and rub and existing air bubbles, paying close attention to the areas around the lines. This hair dryer technique may not be completely necessary. I just saw a random tutorial that came up for me once suggest this and I’ve been doing it ever since. I think this helps with forming and adhering the stencil to the cup. But you don’t want to get it too hot, as it may cause the vinyl to lift or bubble. We just want a bit of warmth.
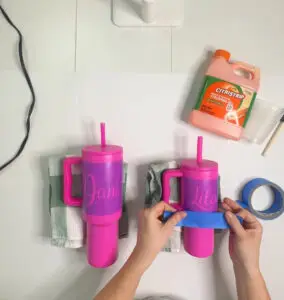
STEP 7:
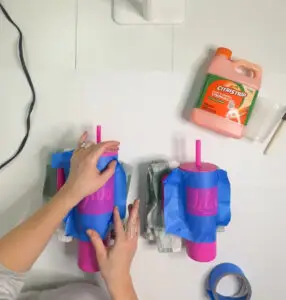
Frame the stencil with painter’s tape to protect from and dripping. I like to use a lot of tape, as I can tend to get messy and as the stripper cures, it tends to get a bit more runny. I also like to sort of cup the tape on the vertical edges. You can see in later photos why I do this. It helps to stop the stripper from dripping further than it should. Double check your towel props, making sure your tumbler(s) are not wobbling or leaning toward the handle.
STEP 8:
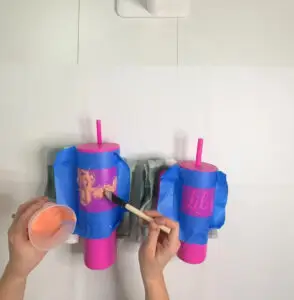
Prepare your CitriStrip in a disposable container and begin applying a thick coat to all exposed paint within your stencil. I do my best to get a nice thick and even coat. Double check and make sure you kept all areas outside the painter’s tape clean and are free from any tiny droplets of stripper where you don’t want it.
STEP 9:
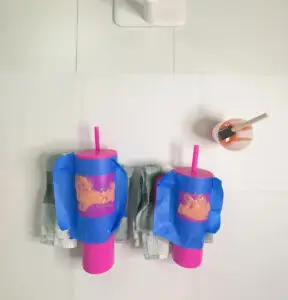
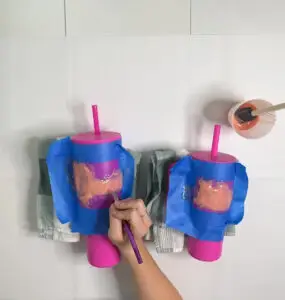
Now we babysit and wait. In my experience, the curing process takes about an hour. In this case my kid cup actually took a tad bit longer than my large cup. I’ve experienced this discrepancy in the past as well when I was doing a batch of SM tumblers. But I had 1 that was smaller and came from Walmart, that took longer than all the others. So we will check in on the progress throughout that hour, while also tending to any dripping that occurs. You can see in the first photo here to the left side of my larger cup, how much of the stripper as dripped down. This is why I like to cup the tape. To create a sort of shelf for the dripping to land on. I’ll babysit and do my check ins every 20 minutes or so. Scraping up and redistributing any stripper that has dripped down. Then using my Xacto knife to scratch at the area and test to see if the paint is easily lifting. You’ll keep repeating this process until you are satisfied that your paint is going to easily come off. Be careful when doing your scratch tests not to scratch anywhere near the edges of your stencil. You don’t want to break that seal and cause seeping.
STEP 10:
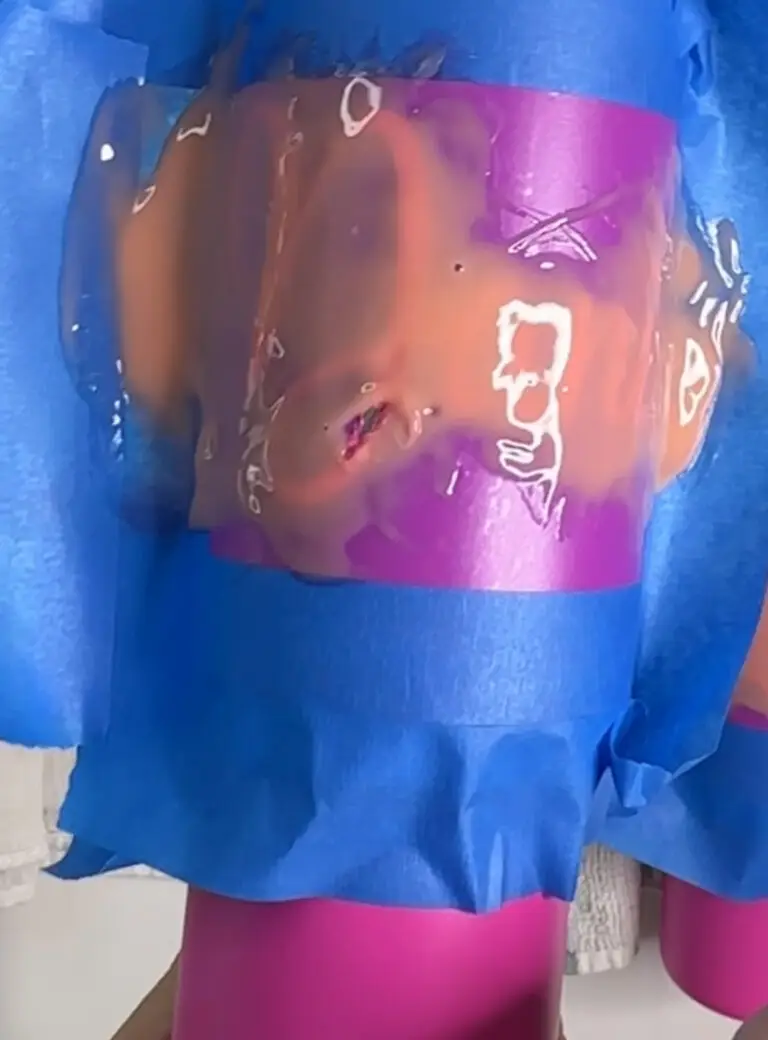
When determining if you are ready to move to the next step, you want to use your Xacto knife to scratch at the exposed paint. We are looking for a sort of gummy texture that requires minimal effort to scratch up. If you have to REALLY scratch to move paint, give it some more time. I’m honestly not sure how long is TOO long to leave this on. I’ve always gone ahead and rinsed the moment I get that perfect gummy texture. This photo is the best I could do to give you a close look a successful scratch test. You can see the exposed metal, and this took very little effort to see that metal. The paint consistency is a very gummy texture.
STEP 11:
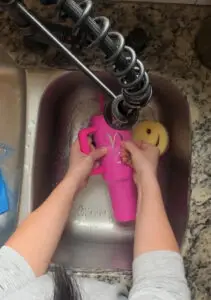
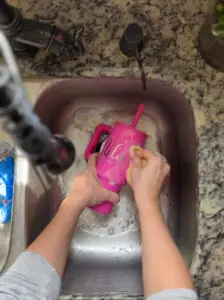
Next, we move to the sink. Peel off our tape and stencil, then rinse the stripper off. This stripper is pretty thick and depending on your water pressure, you may need to actually rub it to get it off the cup. So you may want to put on your gloves just for the stripper rinsing part. Then, take them off because you’ll need your fingernails. Also worth noting here, you may want to put a catcher in the bottom of your sink if you are concerned about the paint going in your drain. I have a mesh piece in the bottom of my drains, but I’ve never gotten a large enough chunk of paint come off for it to even catch in that mesh. But just wanted to note that in case you are concerned.
STEP 12:
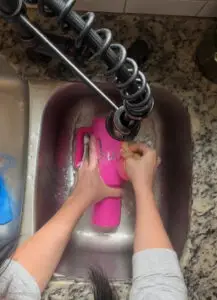
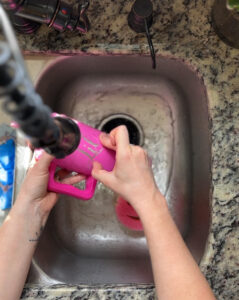
Now we scratch and scrub. Patience is key here. You have to trust the process. You’ll see the area that has been etched by the stripper, as it will be slightly raised and lighter in color. Alternating between scratching with your fingernail and scrubbing with a scratchy sponge. Work on removing all of that lifted paint. You will likely see that the edges of your lines do not look crisp at first. Just keep scratching and that will eventually clean up. The first time I ever did this, I probably needed to leave the stripper on longer. But also, I didn’t realize the edges just needed more scratching. I was slightly disappointed in my fuzzy lines, but the cup was for a child and I decided it gave it a sort of “crayon” look and gifted it anyway. But if you’ve cured long enough, those lines should clean up. Just to give you an idea how long this takes. The video for my large cup was 6 minutes long and my kid cup was 5. So that’s how long I continuously scrubbed and picked at that paint before I was satisfied. Once satisfied, obviously, give your cup a thorough scrub with soap and water. I also want to note here, when I say “scratchy sponge” I absolutely do NOT mean steel wool. That will scratch your powder coat, so do not use that. We want a plastic scrubby sponge of some kind. I’ve found the Scrub Daddy works pretty well. But hot tip, those yellow and green ones you see everywhere, do not work well, so don’t waste your time with that. Not quite enough scratch with those.
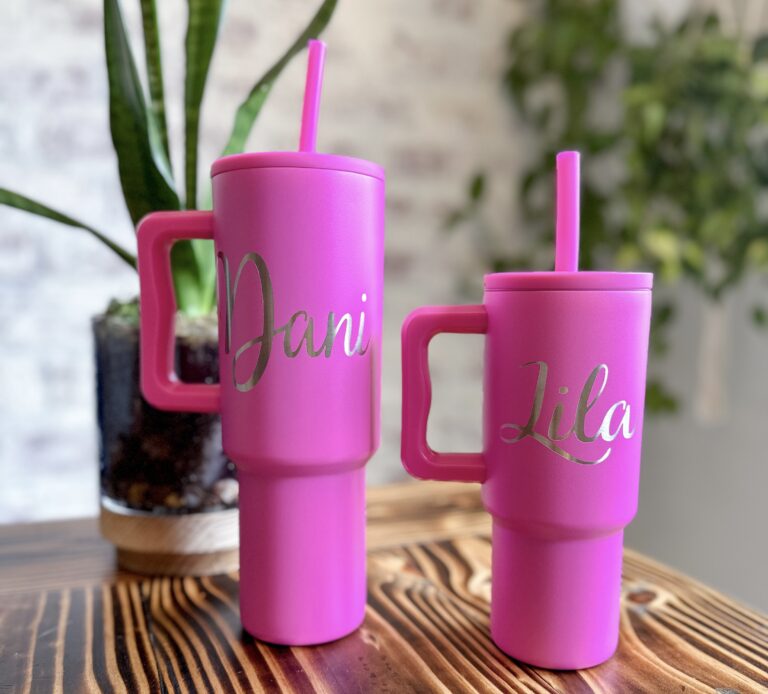
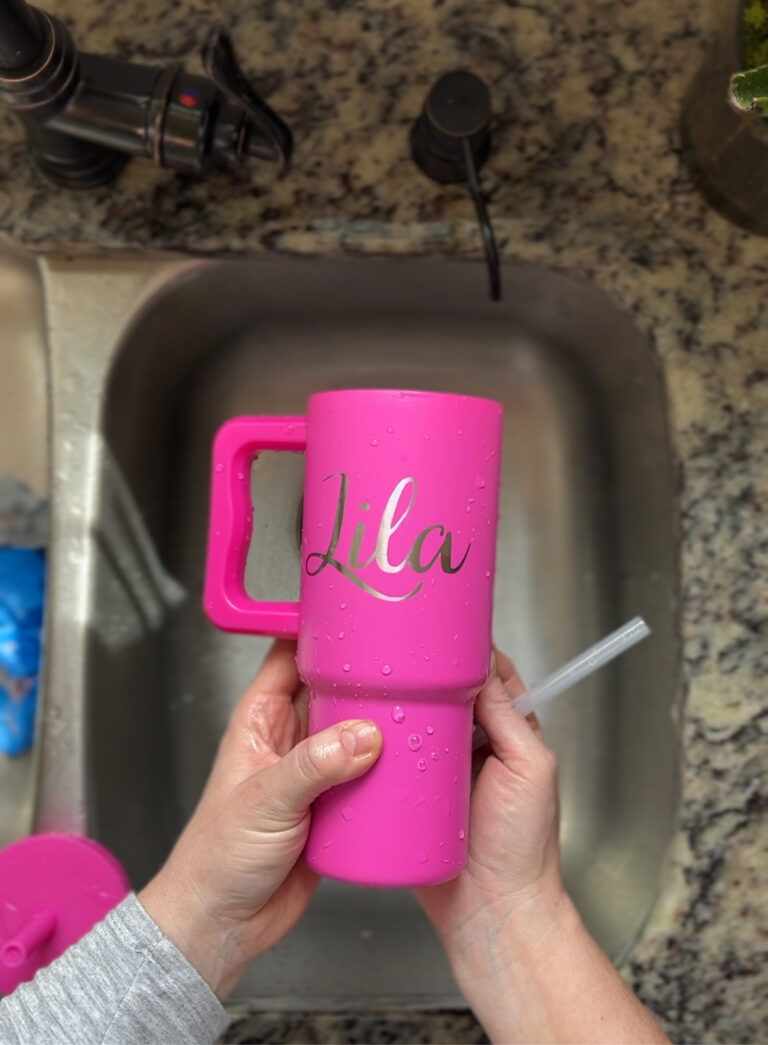
FINISHED!
Here’s our finished result. Clean lines, clean cup. Ready to use or gift. And by the way.. Isn’t this pink color just STUNNING! My little “Threenager” sure LOVES her big girl cup!