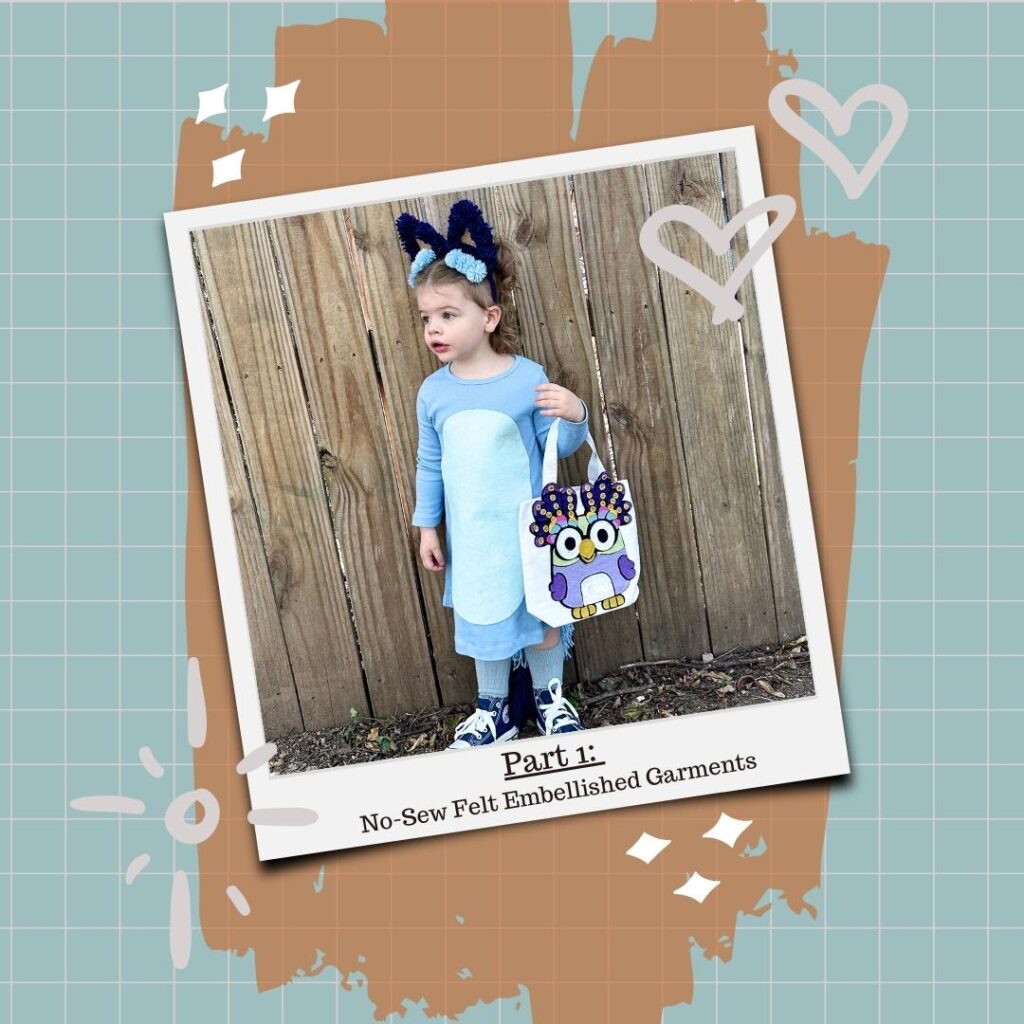
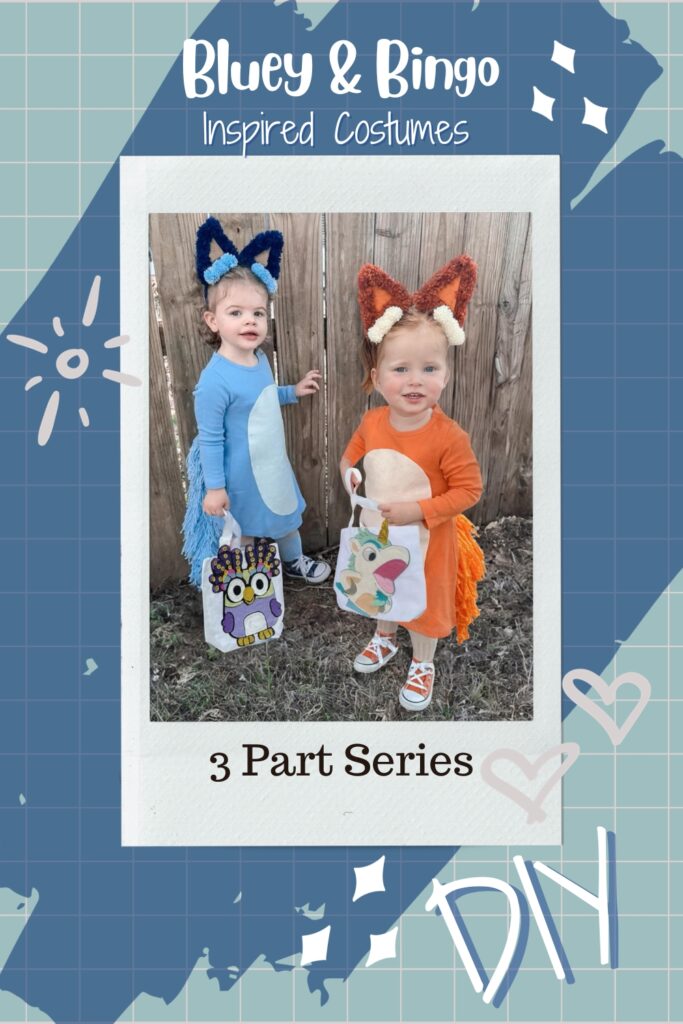
Create this super simple DIY with just felt and washable fabric glue. We created these garments using dresses from City Threads children’s apparel. Big THANK YOU to City Threads for providing us with these dresses along with the matching biker shorts to wear underneath!
This tutorial can easily be adapted to suit a variety of different garment styles, and City Threads is the perfect place to find all the solid colored basics you need. I was so happy City Threads wanted to work with me on this project, as they had the PERFECT shades of blue and orange for our favorite Heelers. Check out their website to find alternative garment options in these same colors.
I’ve created free PDF printables for these felt pieces, to help eliminate some guess work for you. The spots on the back of each character are different, so you will need to print the appropriate one. The belly is the same for both. The belly printable is created by cutting on a fold to create an oval shape. This printable I did make sizeable so you can choose the best width for your garment. It also can be used to just cut an arch shape and not an oval if you are working with a two piece set instead of a dress like we have.
** This list contains affiliate links. Purchasing from this list may earn me a small commission
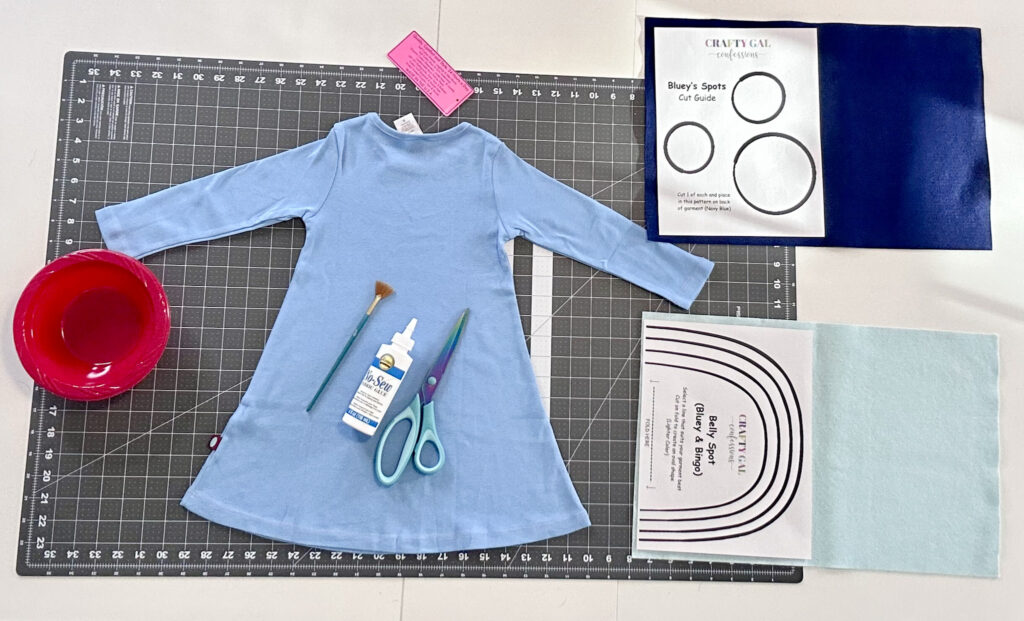
Supplies:
City Threads Garment– We purchased the “Bright Light Blue” and “Orange” colors. Click hereto purchase directly from City Threads.Click herefor the Amazon link
Felt Colors For Your Desired Character – Purchased “Baby Blue” & “Midnight” for Bluey and “Ivory” & “Auburn” For Bingo – Felt for all Bluey Projects came from Kindred Felt Etsy Shop. Use Coupon Code CRAFTYGAL10 for 10% off
I suggest Ironing your garment ahead of time to reduce any wrinkles.
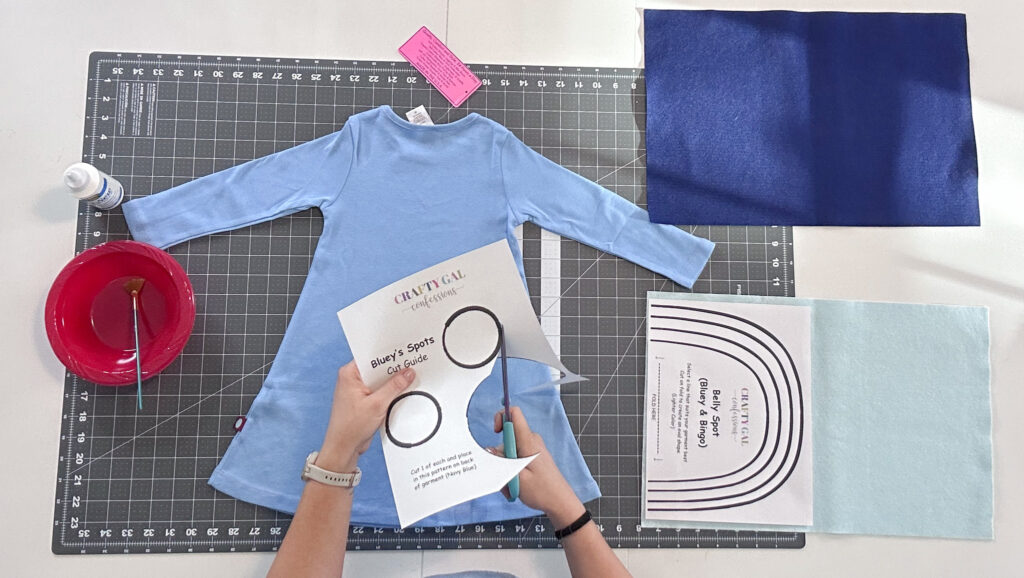
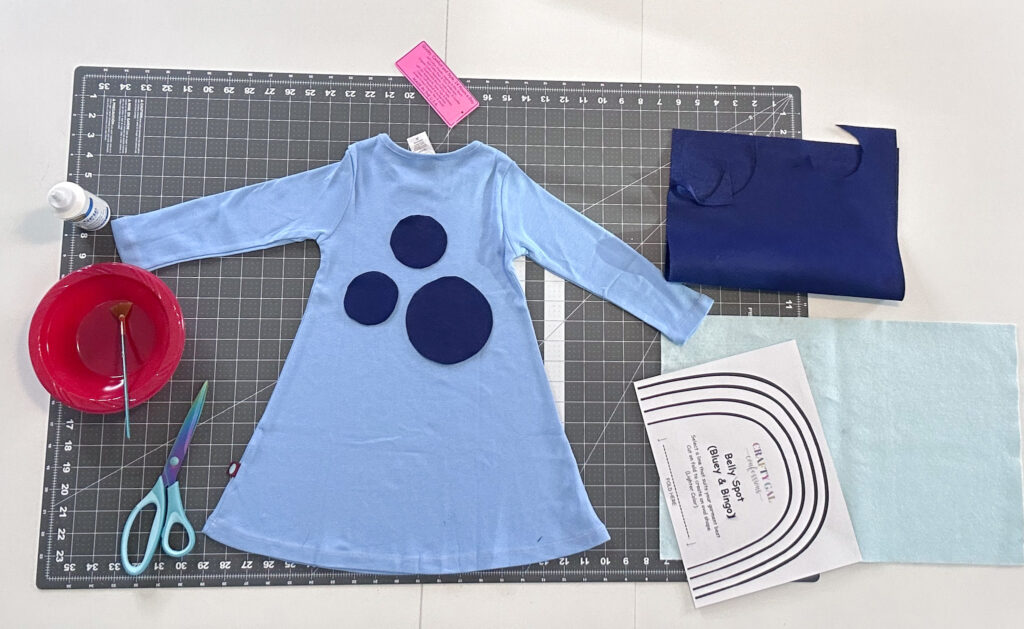
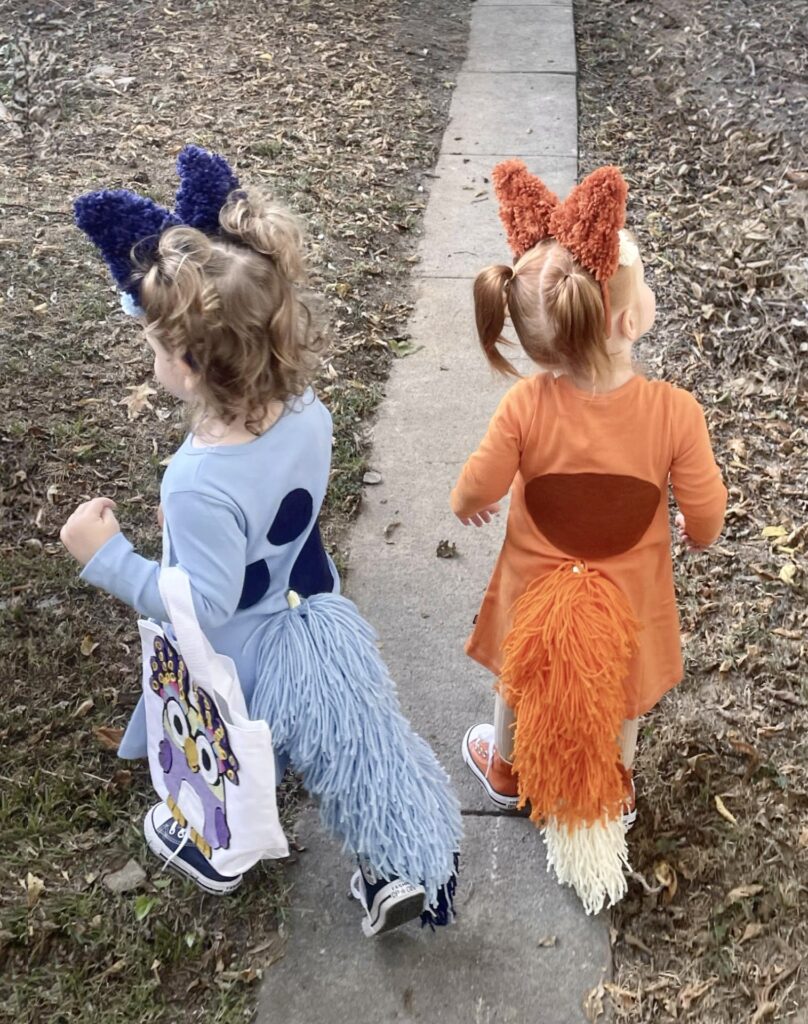
Begin by preparing your printables and cutting out the shapes for the back spots . The spots on my printable guide are printed in the orientation they should be placed to mimik Bluey’s spots.
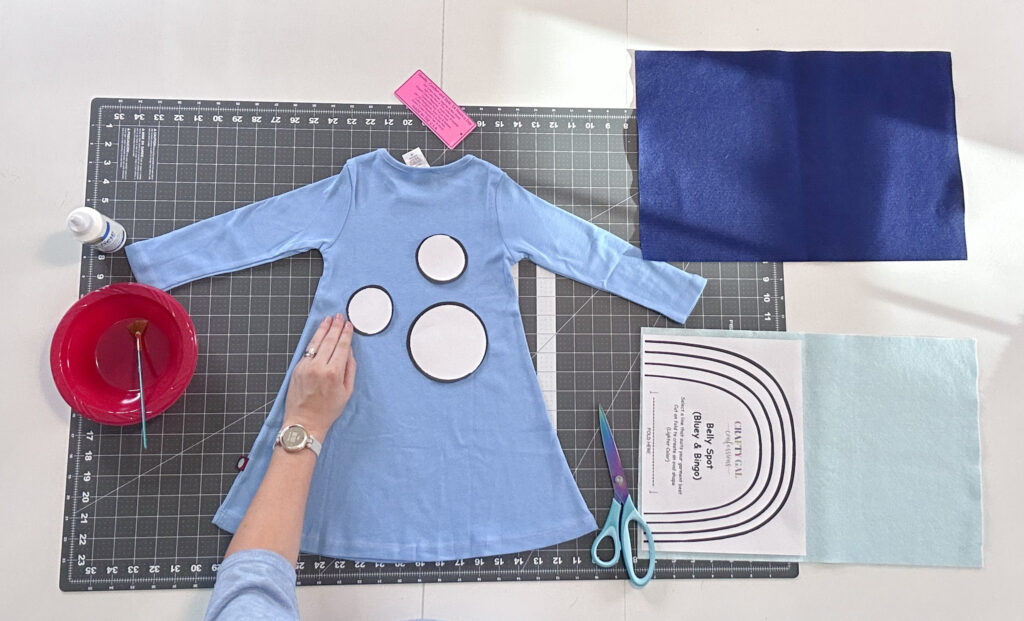
Test the paper pieces out on your garment and make sure the sizing looks good, while also getting an idea where your finished pieces will be placed. Trim your shapes down if the sizing needs to be adjusted. If you are also incorporating my clip on tail design. Then, be sure when deciding where to place your spots, you keep in mind tail placement. You want to place the spots high enough on the back that they will not obstruct that clip.
Step 2:
Next, we will go ahead and cut out those back spots from the darker felt color.
Step 3:
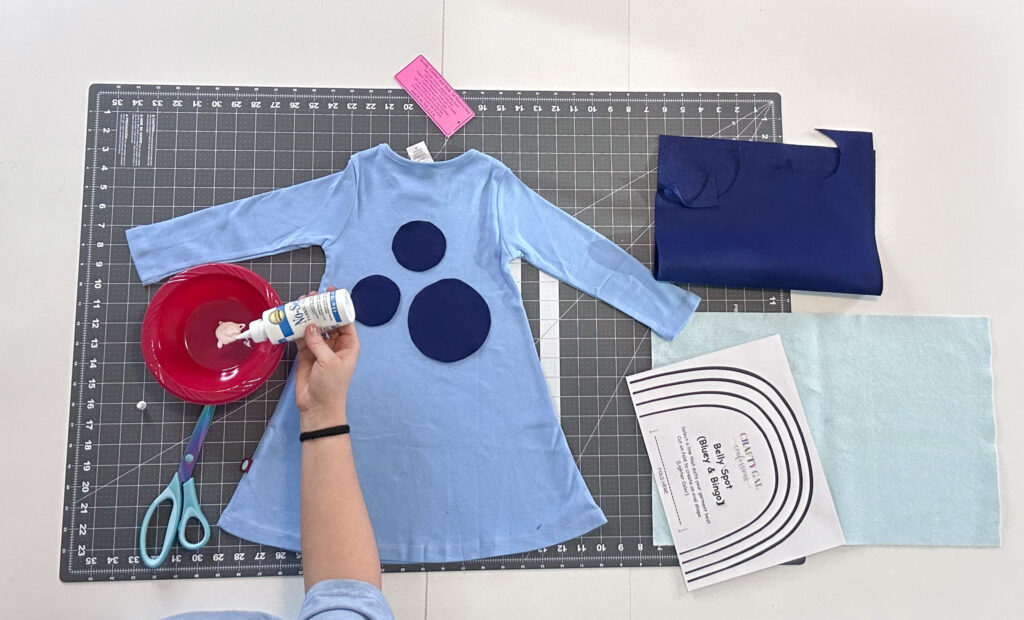
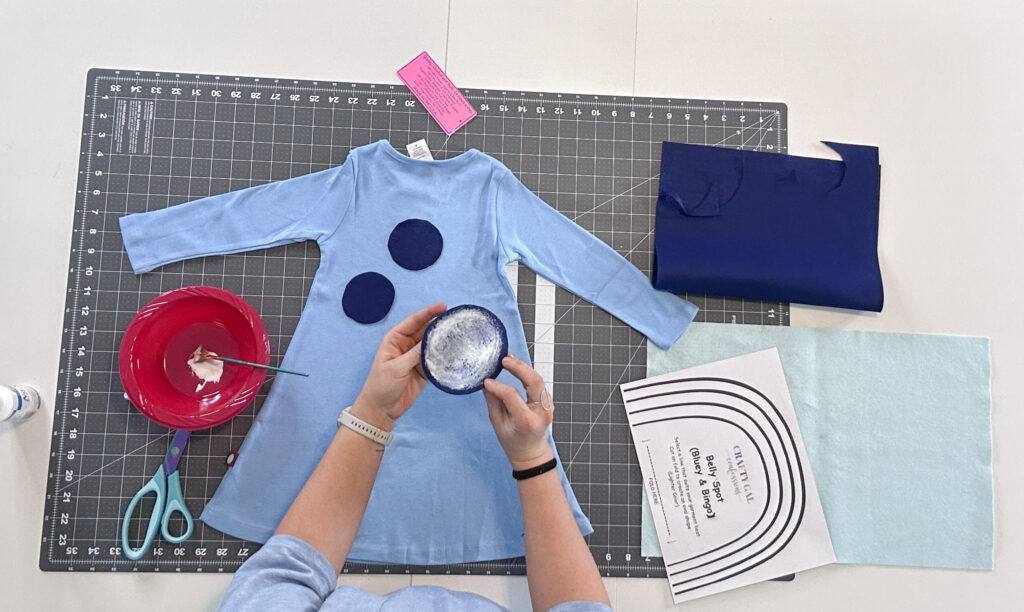
Apply glue to felt pieces.
For this step, I am squeezing some glue out into a bowl, and brushing it on in a thin layer. But you can also bypass the bowl, if it’s easier to you. Squeeze directly onto the felt, then thin it out with your brush.
You want to make sure you do get that glue on in a fairly thin and even layer. This will avoid any glue penetrating through your dress fabric or having any weird globbed spots once it’s dry.
Step 4:
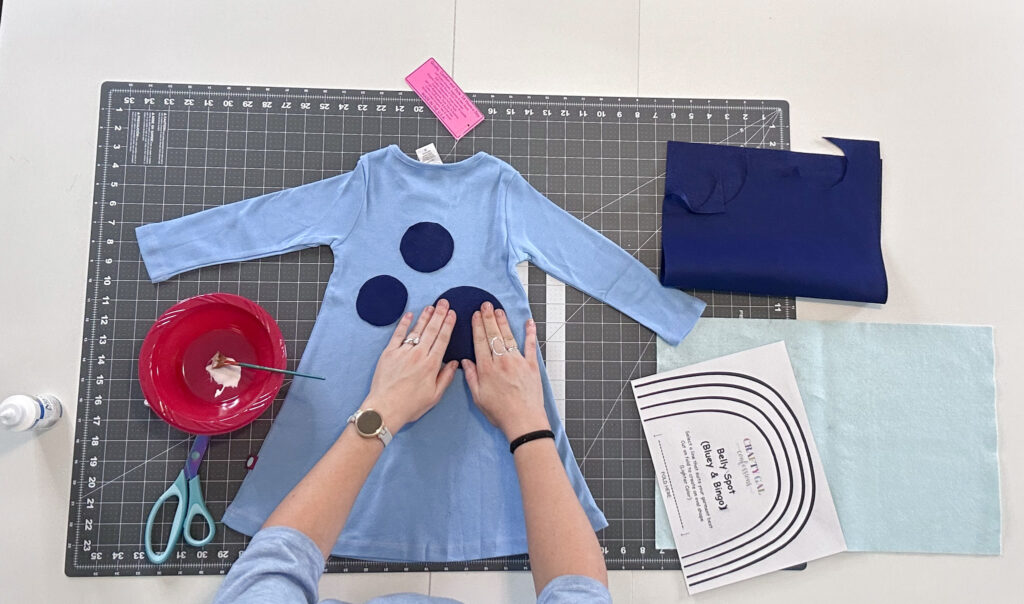
Once your pieces have a nice even coat of the glue, press it down firmly into place on the garment.
This glue is so thick and tacky. Once the pieces are pressed into place, you can flip over to the other side without the need to let it fully dry.
Step 5:
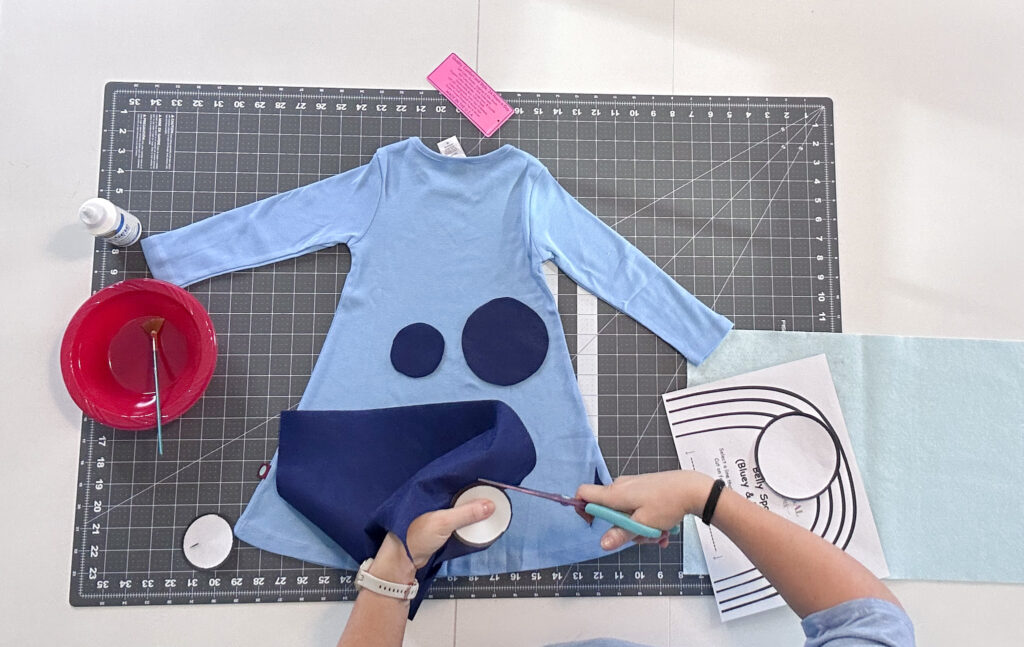
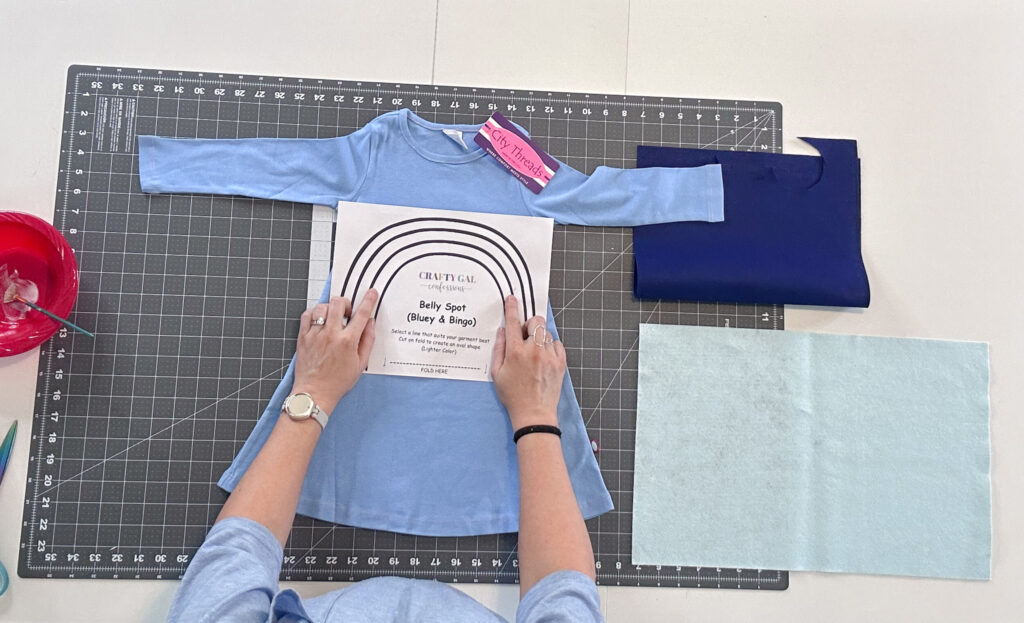
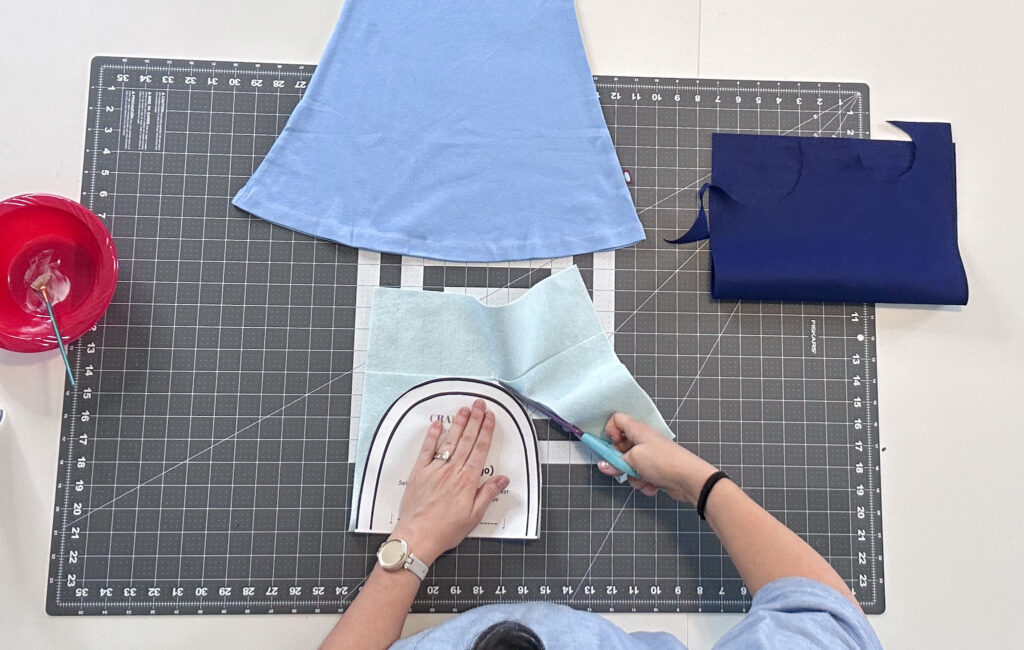
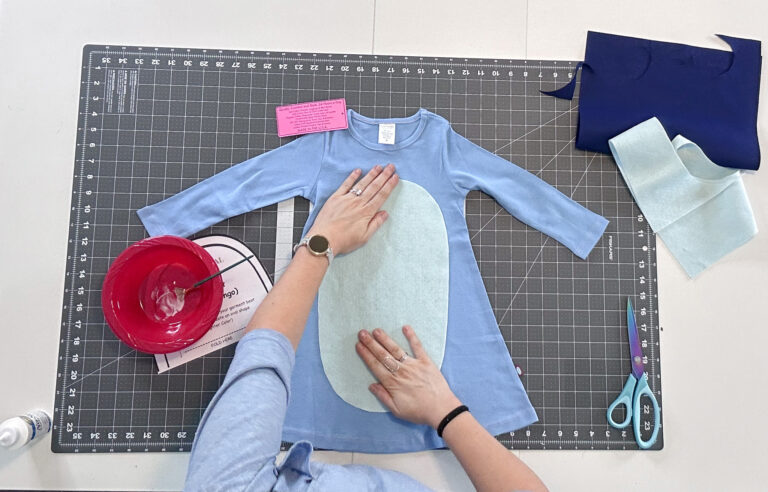
Flipping over to the front side of the garment, hold your belly printable up to your piece and determine which width on the guide will be best for your garment. Then, go ahead and cut that piece out.
Step 6:
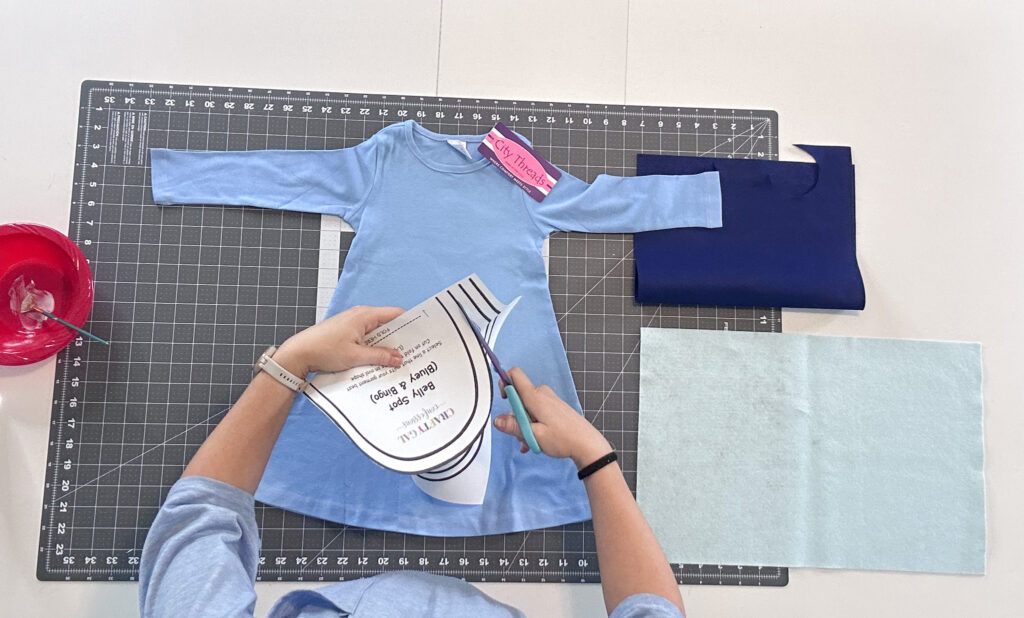
Now folding your lighter colored felt piece, place your guide with the flat edge against the fold. Then cut through both layers of felt. This will create a uniform oval shape. Then check sizing and decide where your felt piece will be placed on the garment.
**Note – if you are working with a two piece set instead of a dress, you can also use this guide to cut just the arch shape as it is, eliminating the fold. You will probably find that an arch shape will be better suited for any kind of two piece set.
Step 7:
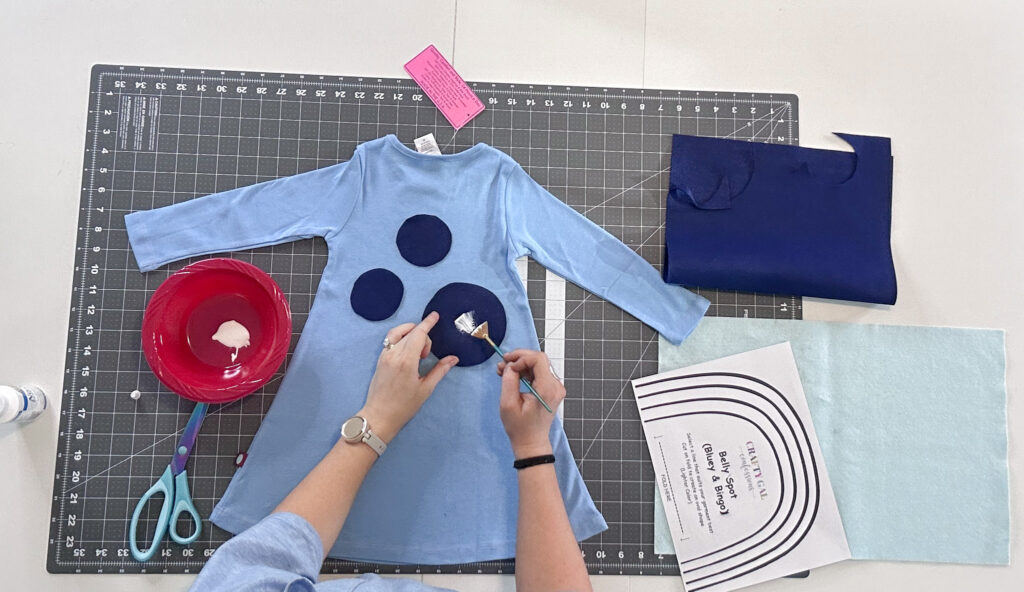
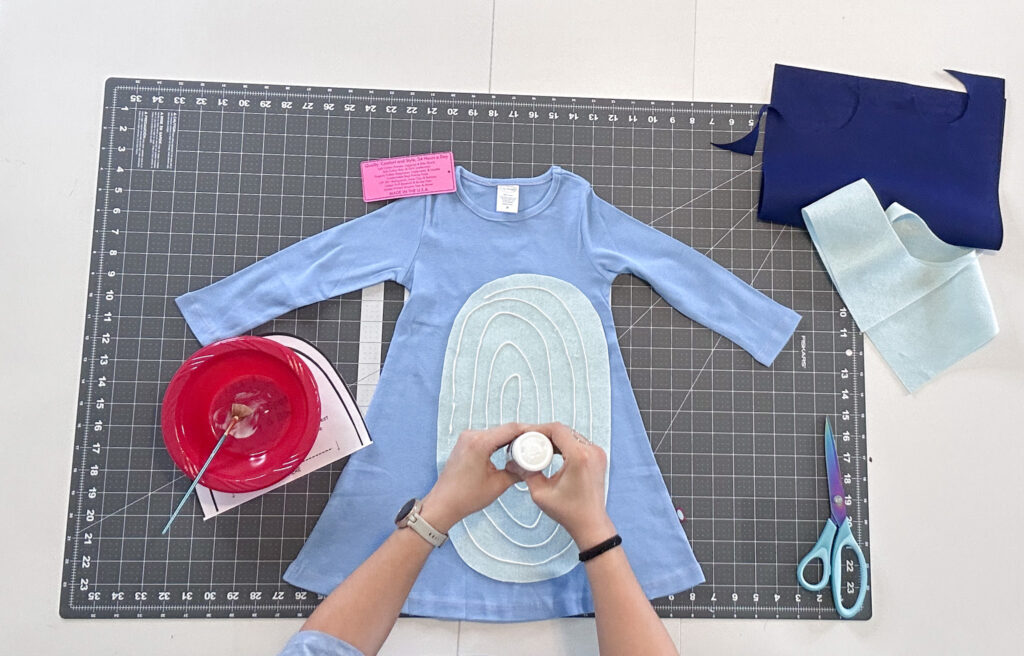
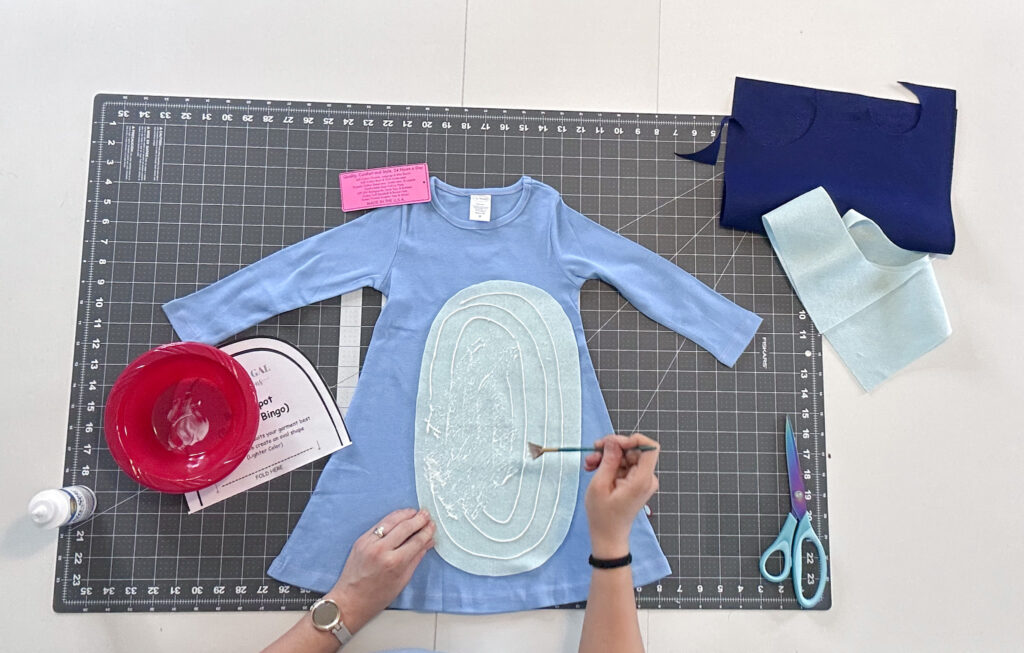
Due to the size of this piece, this time I applied the glue directly to the felt. Then thinned that glue out with my brush. I found this a little easier for the larger piece and it allowed me to work a bit faster before the glue began to dry.
Step 8:
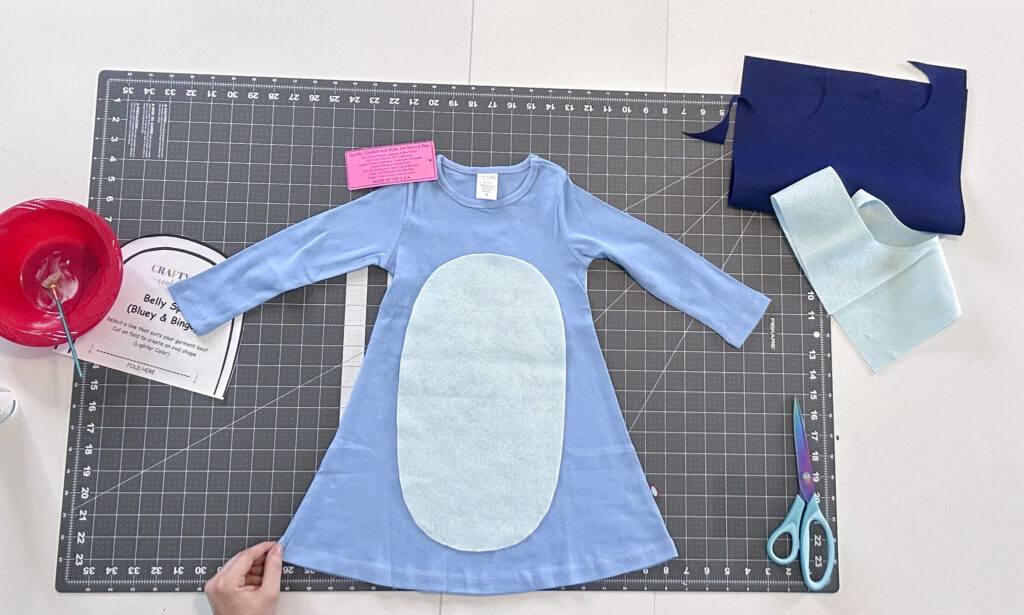
Once you’ve got a nice thin and even layer of glue, go ahead and carefully place and press that piece.
** TIP FOR WASHING – I did test out this wash out glue beforehand on some scrap felt and a fabric similar to what this dress is made from. I used the pre soak setting on my machine with warm water, and it washed out beautifully. If you are at all concerned about this washout method, I recommend doing a small test beforehand. This brand does also make a permanent fabric glue if you’d prefer that.
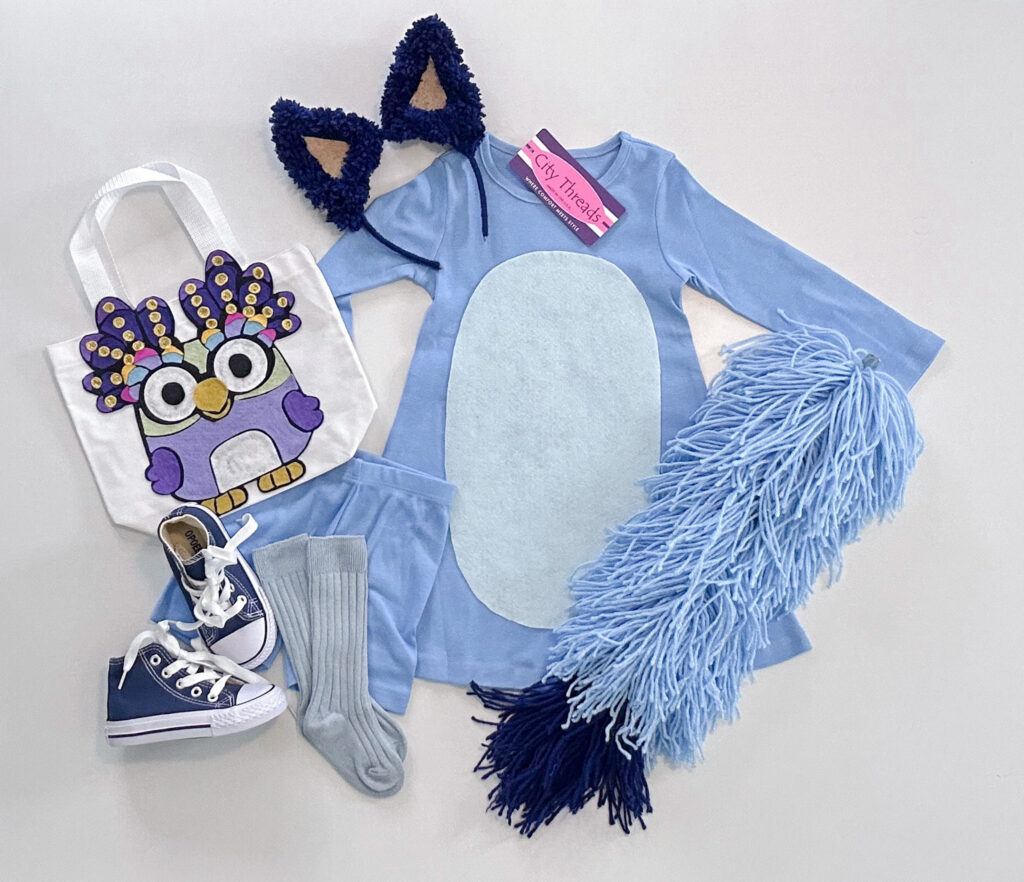
FINISHED!
Again, a big thank you to City Threads for working with me on this post. And also to my mama friend Kristy for helping develop and execute the concept.
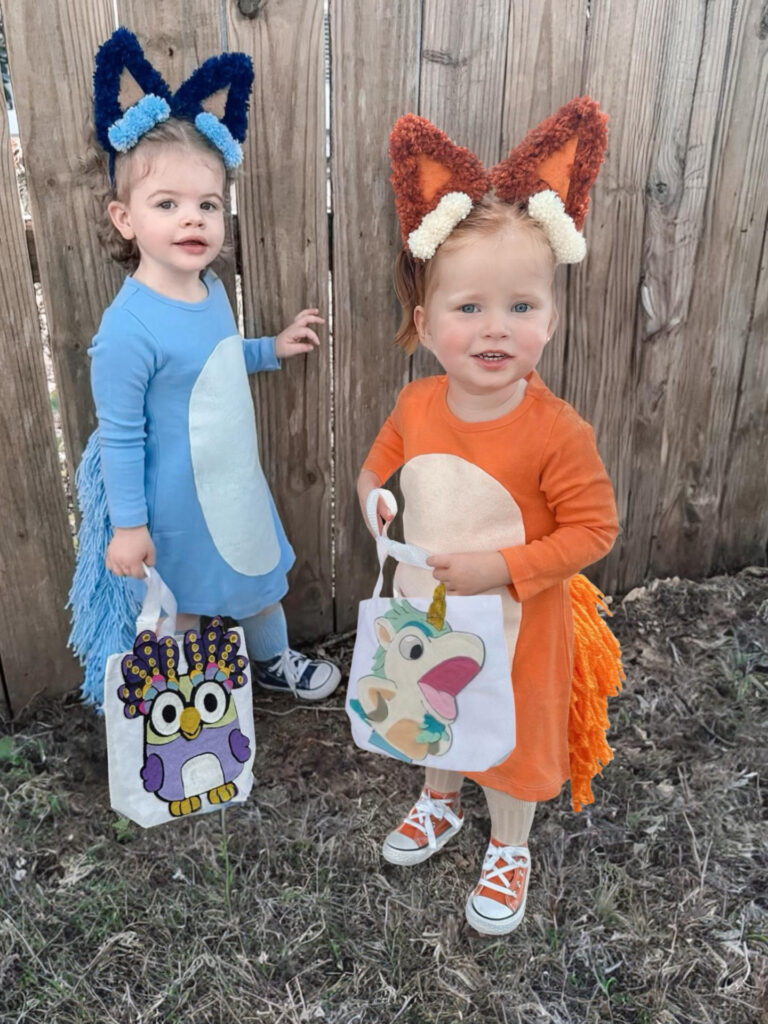
How CUTE is this set y’all! I’m so excited to see our girls wearing this again this coming Halloween.
Be sure to check out my video tutorial featuring our Bingo inspired set!
These are SO adorable!!! Is there a tutorial on how you made their trick or treat bags?!
Hi Colleen, unfortunately I don’t have a tutorial. I designed/created both images within Cricut Design Space software and did film the whole process. It was my intention to share the cut files on my cricut profile. They are on there for people to see, but I don’t think that cricut allows you to actually use my files. I didn’t realize that’s how it worked, and I spent SO much time making the different layers. Had I known that, I would have just make them as SVG files that could be shared. Rookie mistake on my part.
Hi! Do you have a tutorial on the tails???
Hi! Yes, you can find my tail and ear tutorial if you click on my bluey 3 part series within my menu. I do also have a full youtube tutorial
Thank you for the tutorial! How did you make the tail?
Hi Emily, you can find the tutorial for tail and ears on a separate post under “My Projects”.