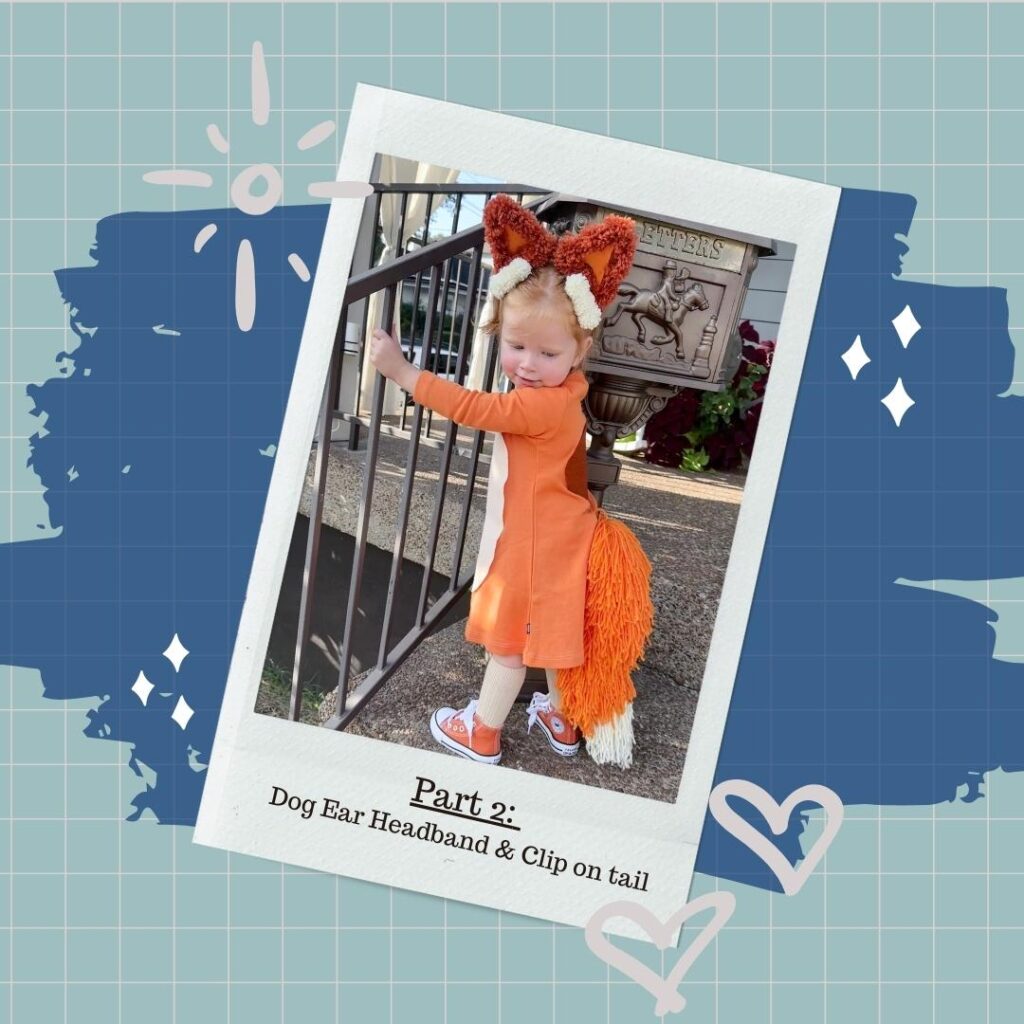
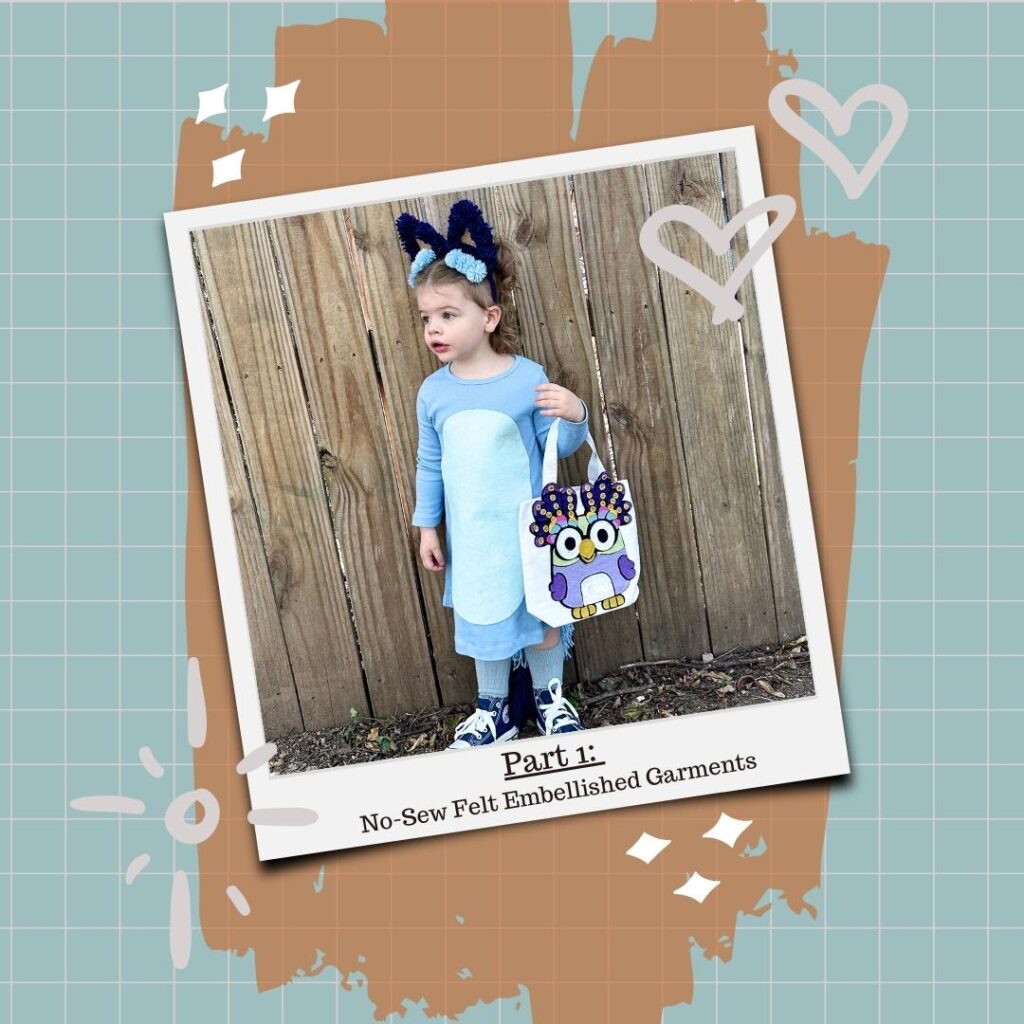
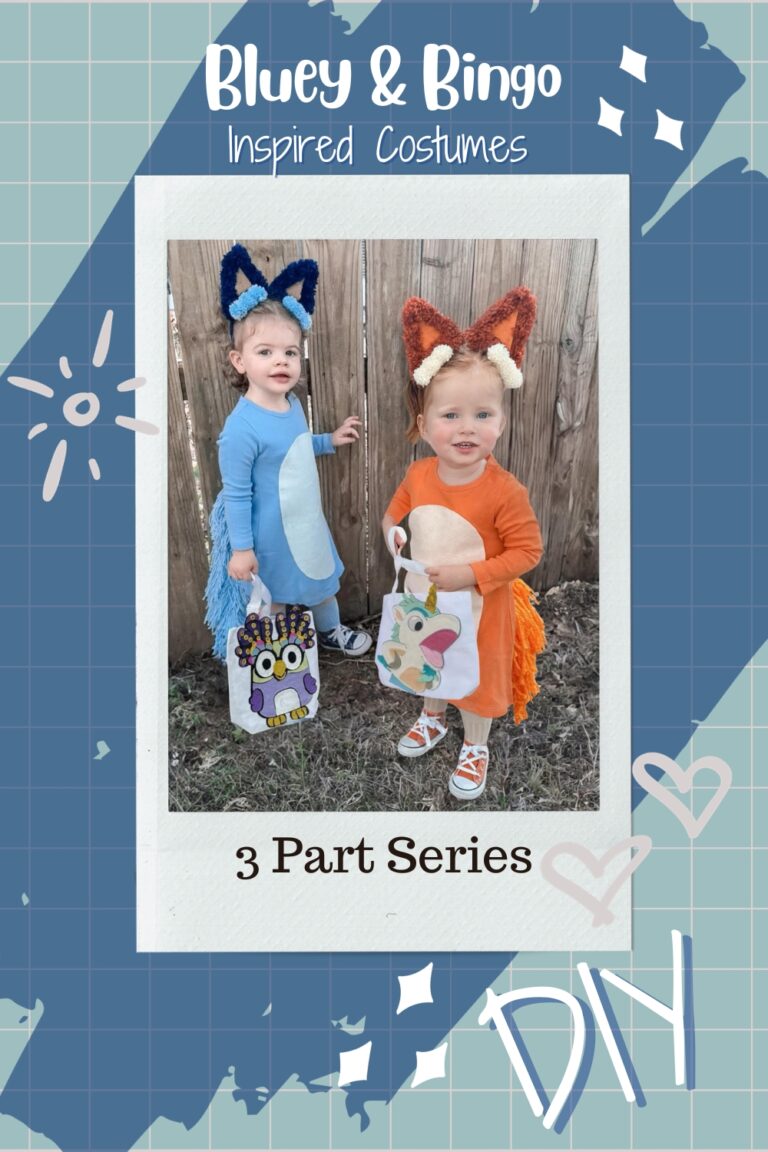
This fun ear and tail set is created from felt and yarn. The tail easily clips on to any garment or waistband. Make this using the colors of your favorite Heeler and get ready for a Bluey level dance party, because your little is going to be ready to shake that bluey booty! While we made these pieces Bluey inspired, they can easily be adapted to make a multitude of different characters. Just change up the color scheme and the limits are endless!
Credit for inspiration on this project actually came from a fox themed tail created by Marissa at Squirrels Of A Feather Blog So be sure to check that out.
** This list contains affiliate links. Purchasing from this list may earn me a small commission
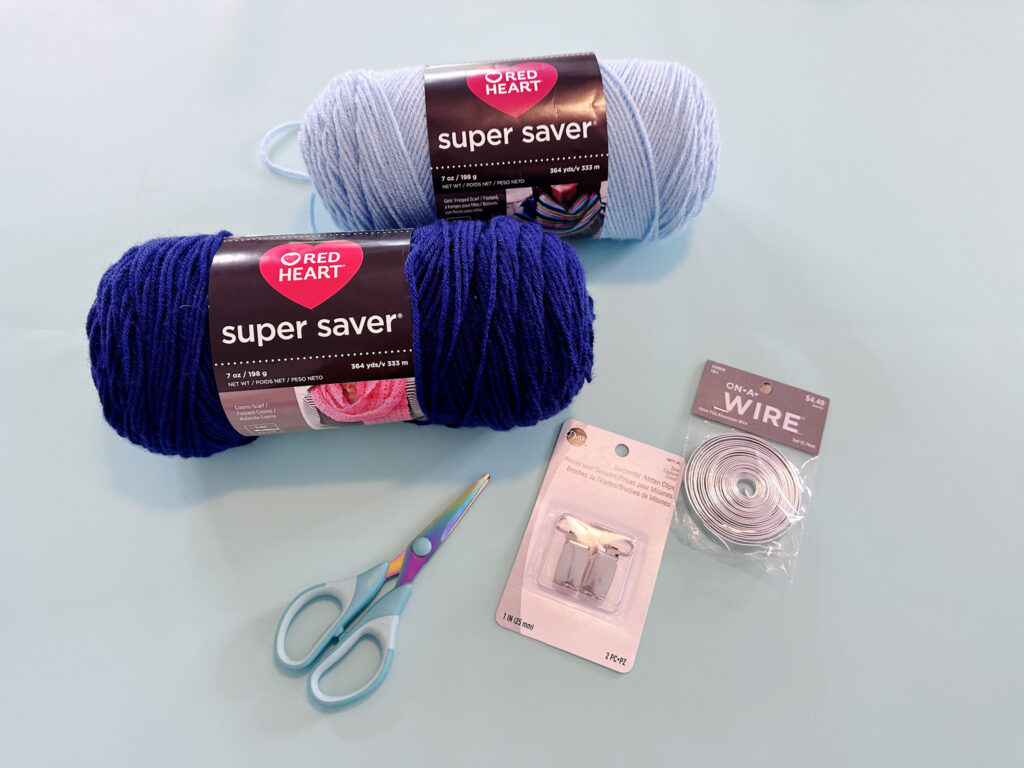
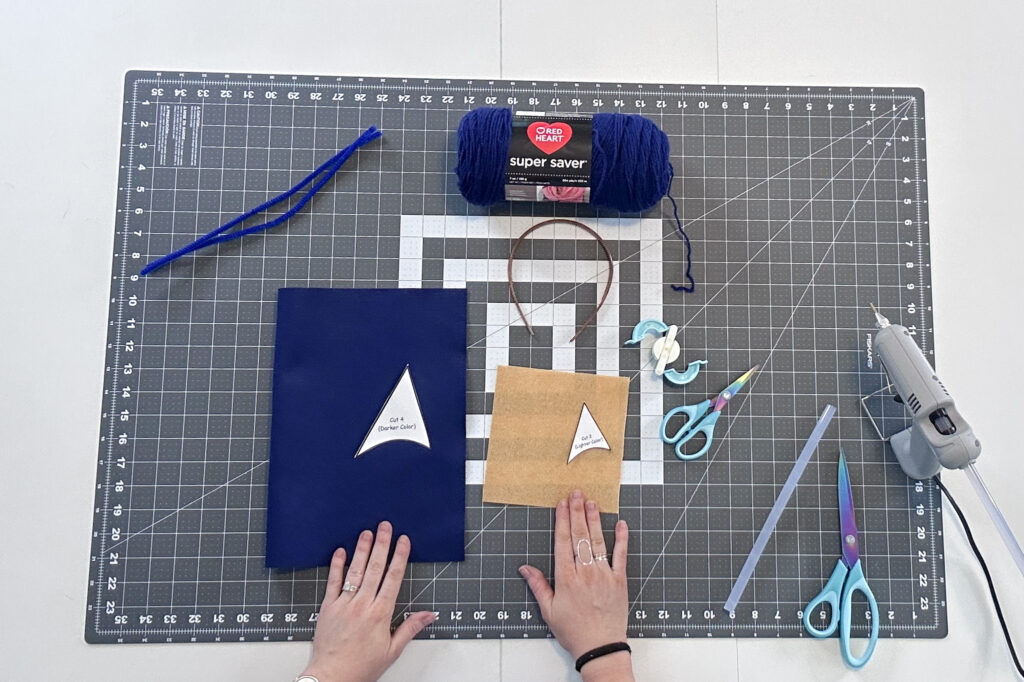
Supplies:
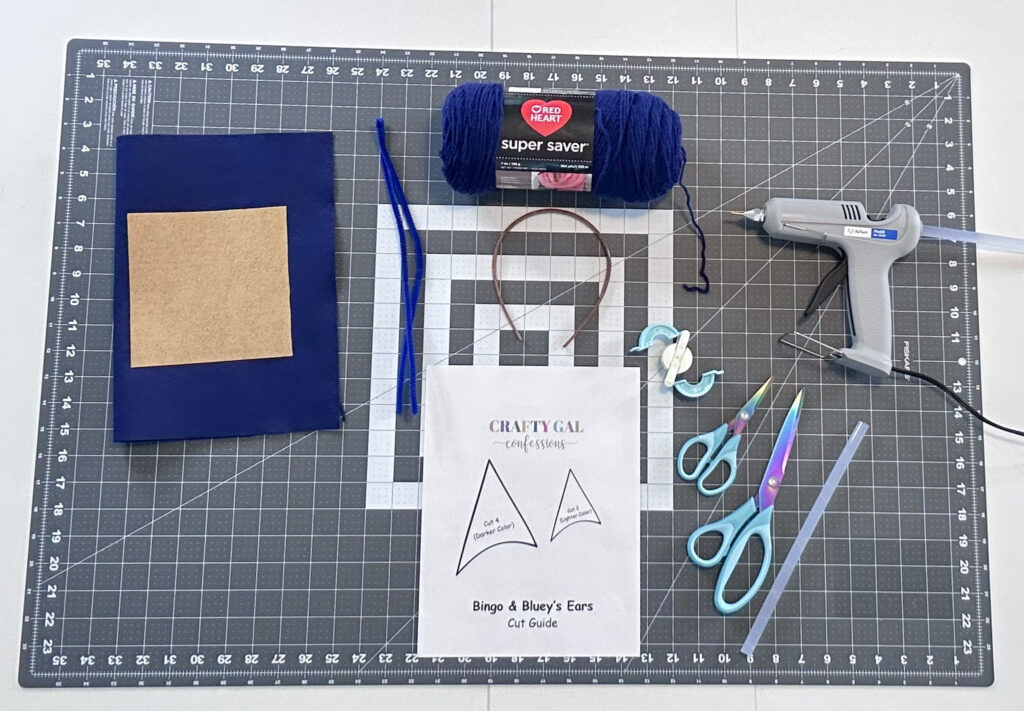
EARS
Felt – I used “Midnight” & “Tan” for Bluey and “Auburn” & “Cheddar” For Bingo – Felt for all Bluey Projects came from Kindred Felt Etsy Shop. Use Coupon Code CRAFTYGAL10 for 10% off
Headband – I purchased this cheap set of 2 from Walmart. But if I did it again, I’d look for a metal headband option instead. Our Bingo one ended up snapping just putting it on her head. Luckily toward the end of the night, so she wasn’t too upset, but they didn’t survive past halloween which was a huge bummer.
Pipe Cleaners – You’ll see me using blue and orange pipe cleaners, but color does not matter.
Thick Wire – I purchased one from Hobby Lobby that is the same as this on Amazon, but seems it’s no longer available. If you don’t want to purchase this one you just need to go to the jewelry section at the craft store and look for a really thick wire. If you want a more elevated structure in your piece you could probably even make a cheap coat hanger work.
** TIP – If you have a helper with this project. Have them skip ahead and start working on pom poms, while you create the headband structure. This is a major time saver
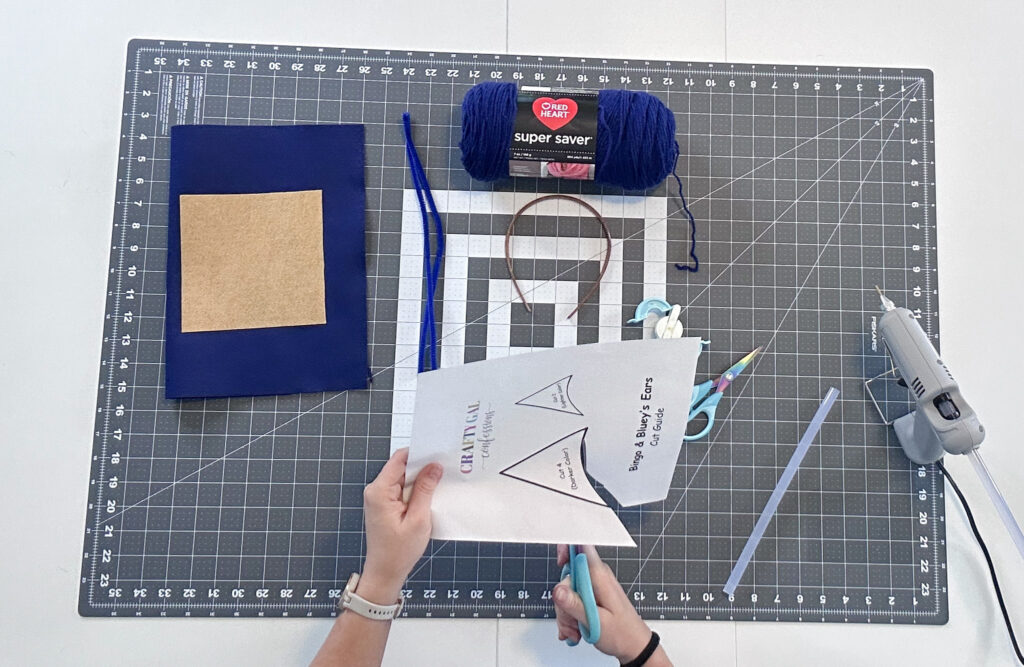
Step 1:
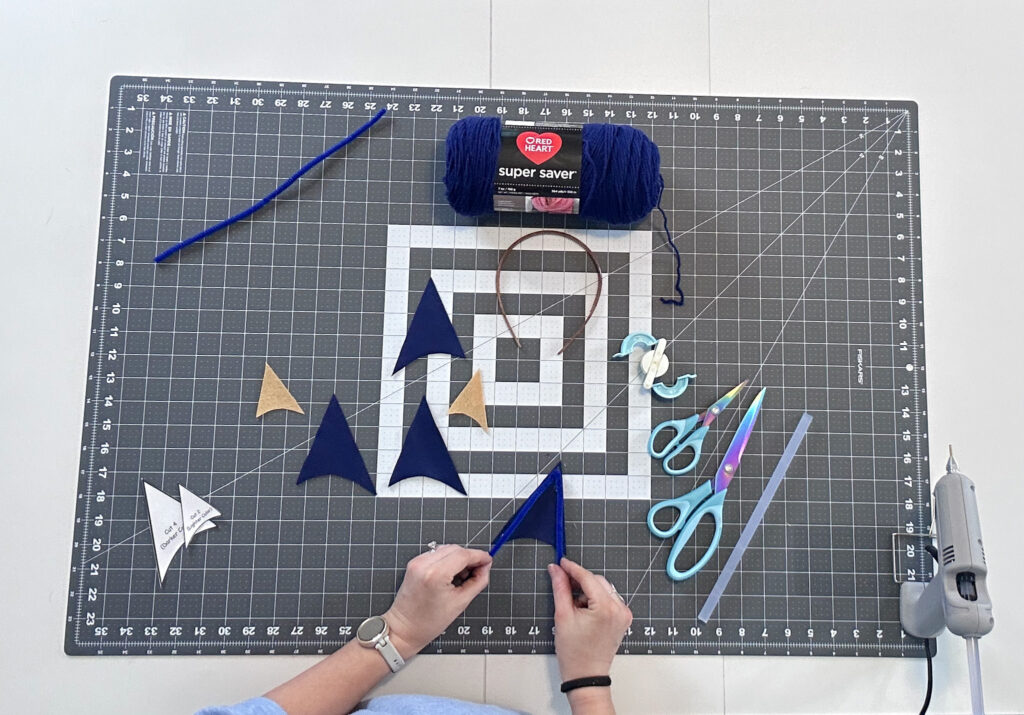
Prepare your printable by cutting out the two shapes. You will use the darker colored felt for the larger shape, and the lighter colored felt for the smaller shape.
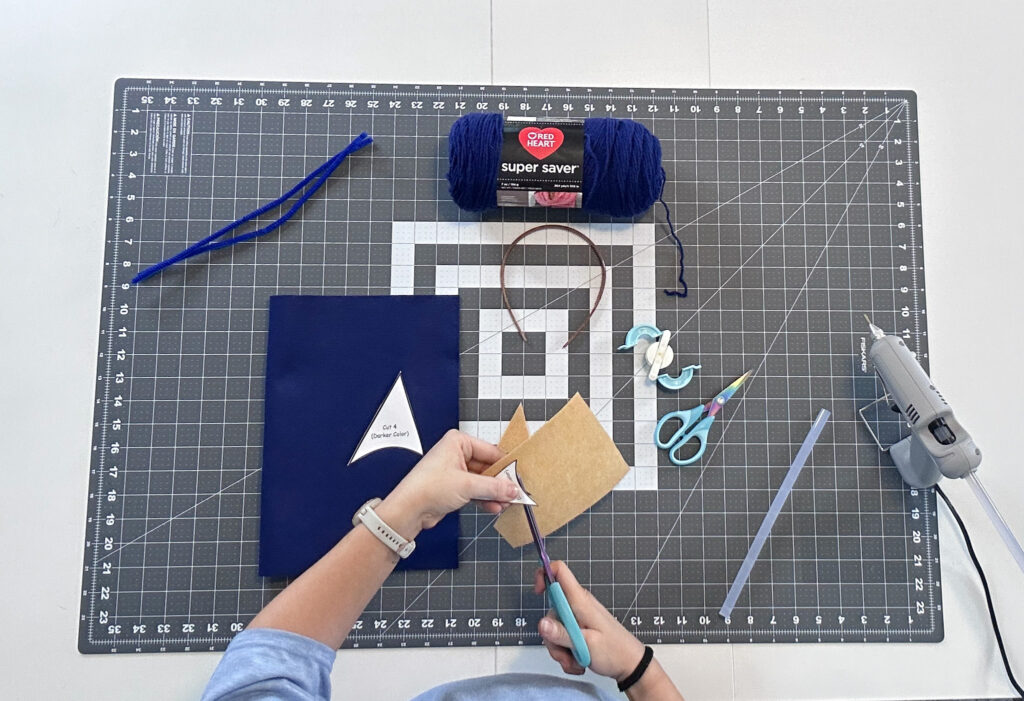
Step 2:
Cut out your felt pieces. We need two smaller triangles cut from the lighter color and 4 larger triangles cut from the darker color. Then take a moment to understand how these pieces are going to layer on top of each other. I didn’t take a photo of them laid out in their proper positions. We are making two MIRRORED ears. Not Identical. So stack them up together and lay them near your headband to make sure you comprehend how these will be coming together before applying any glue.
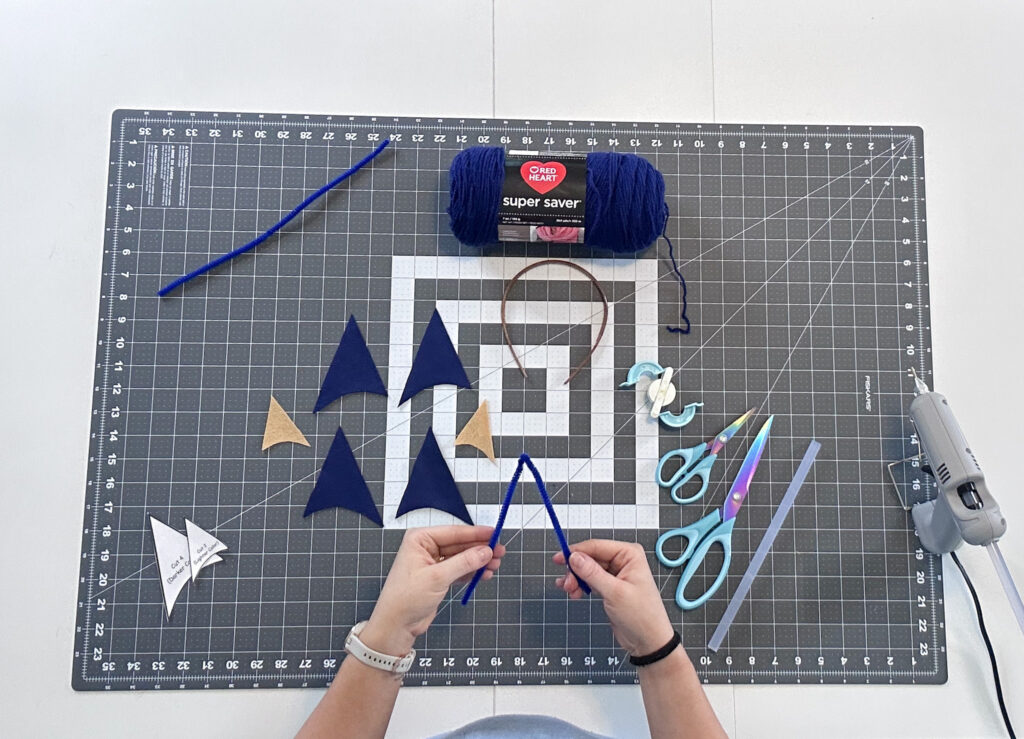
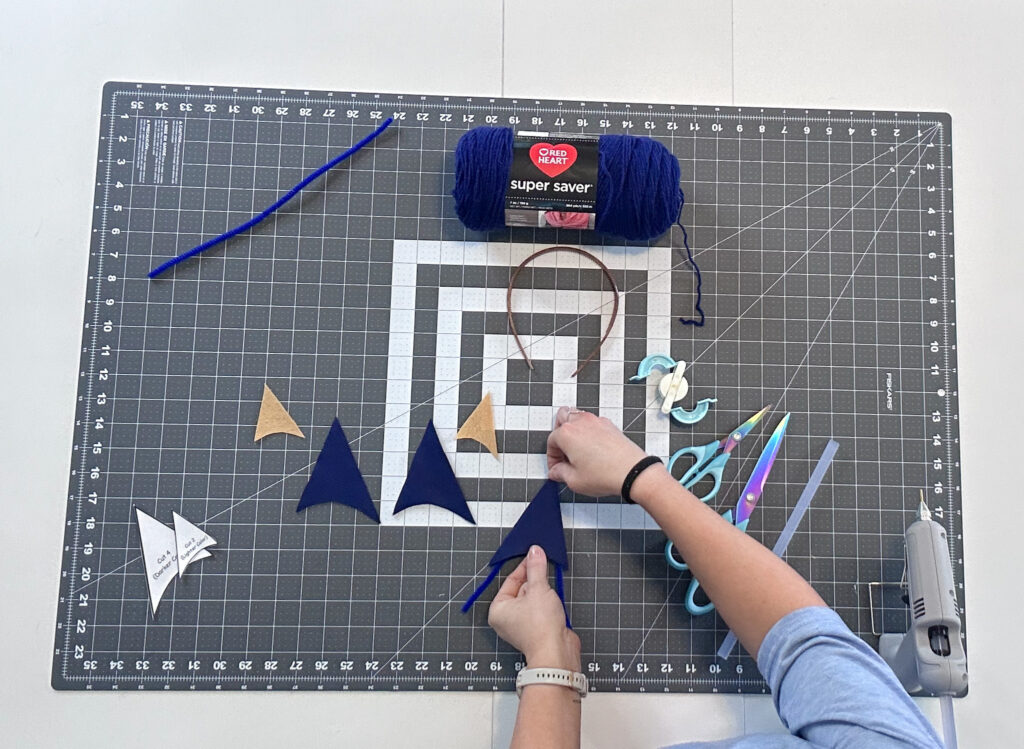
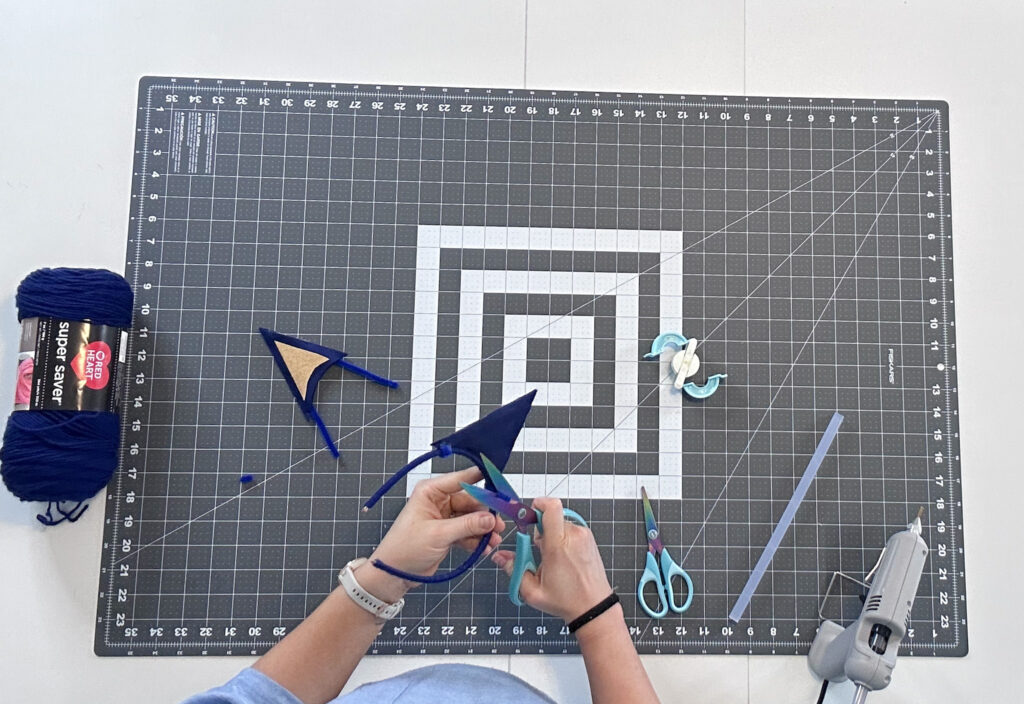
Step 3:
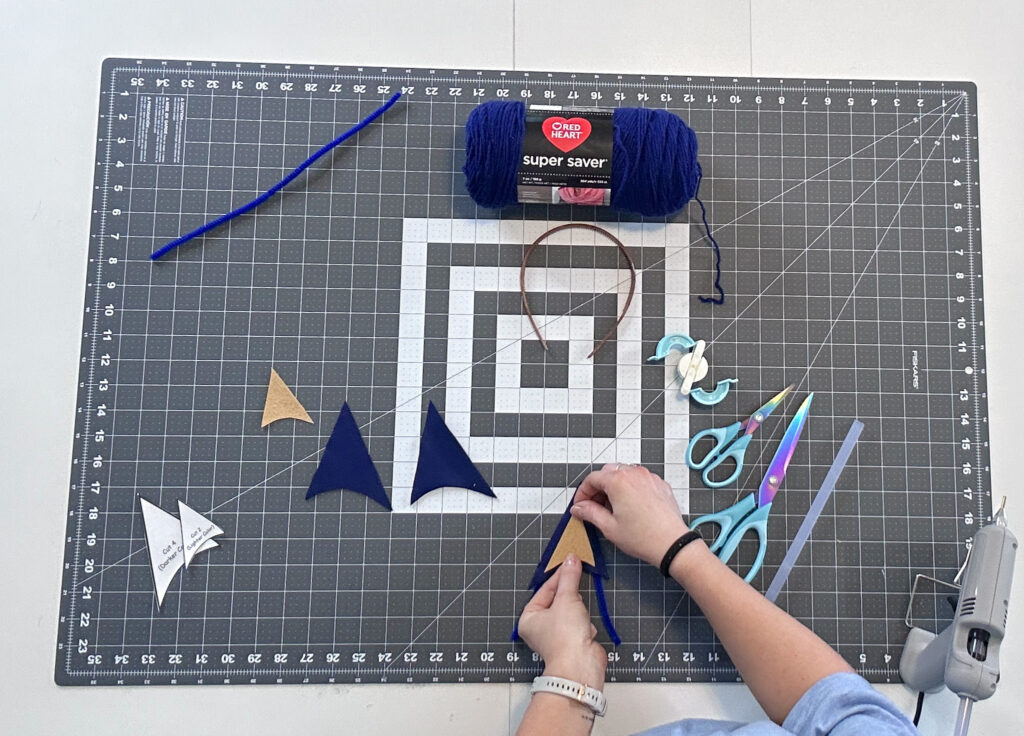
Fold a pipe cleaner in half, bringing it to a sharp point. Then apply hot glue in an upside down V shapy to one of your larger ear pieces.
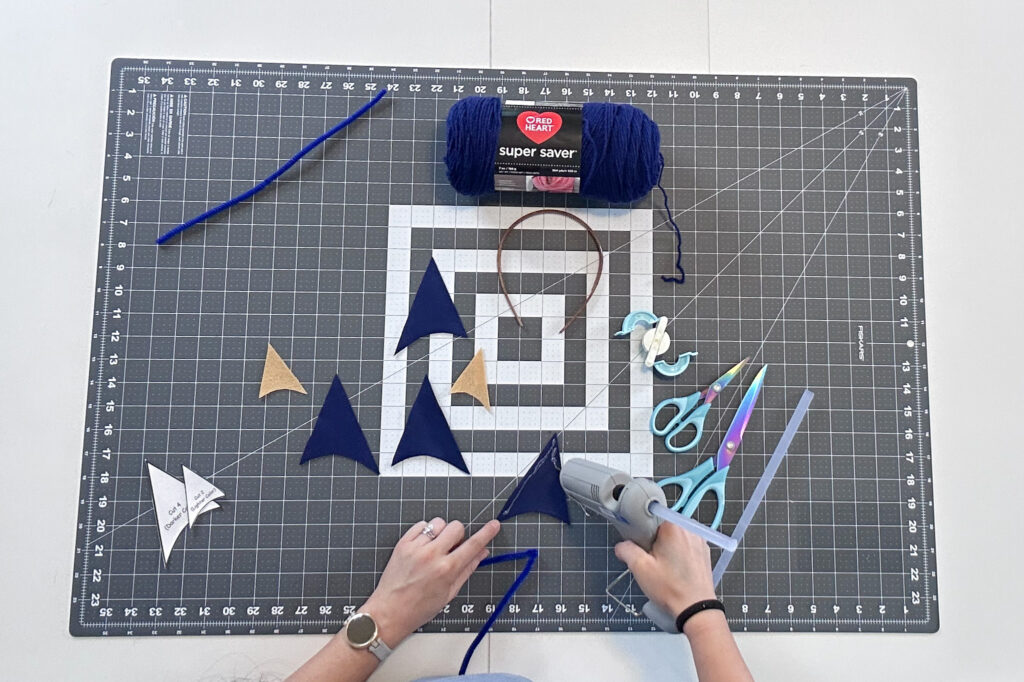
Step 4:
Apply your folded pipe cleaner to the hot glue. Then top that pipe cleaner with another line of hot glue and layer your second larger ear piece on top of that.
Step 5:
Now you’ll notice there is a gap around the perimeter of the ear. Here I’ve gone ahead and applied some hot glue in that gap and am now carefully pinching it together to fuse the gap. Apologies for not getting a better photo of this one.
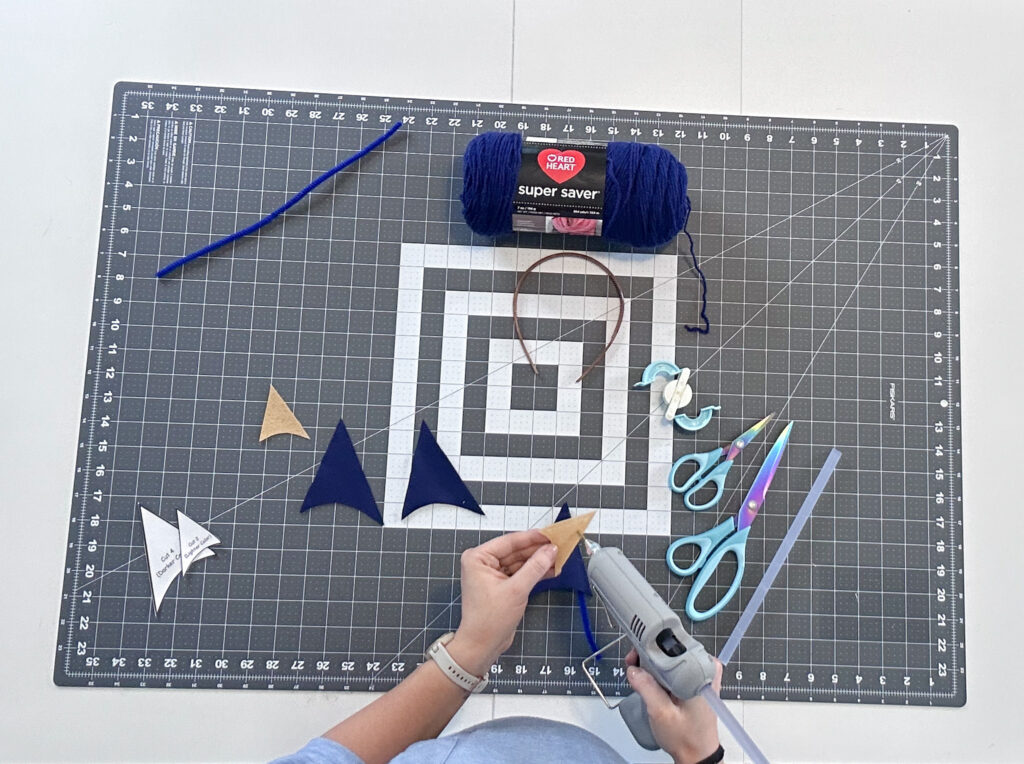
Step 6:
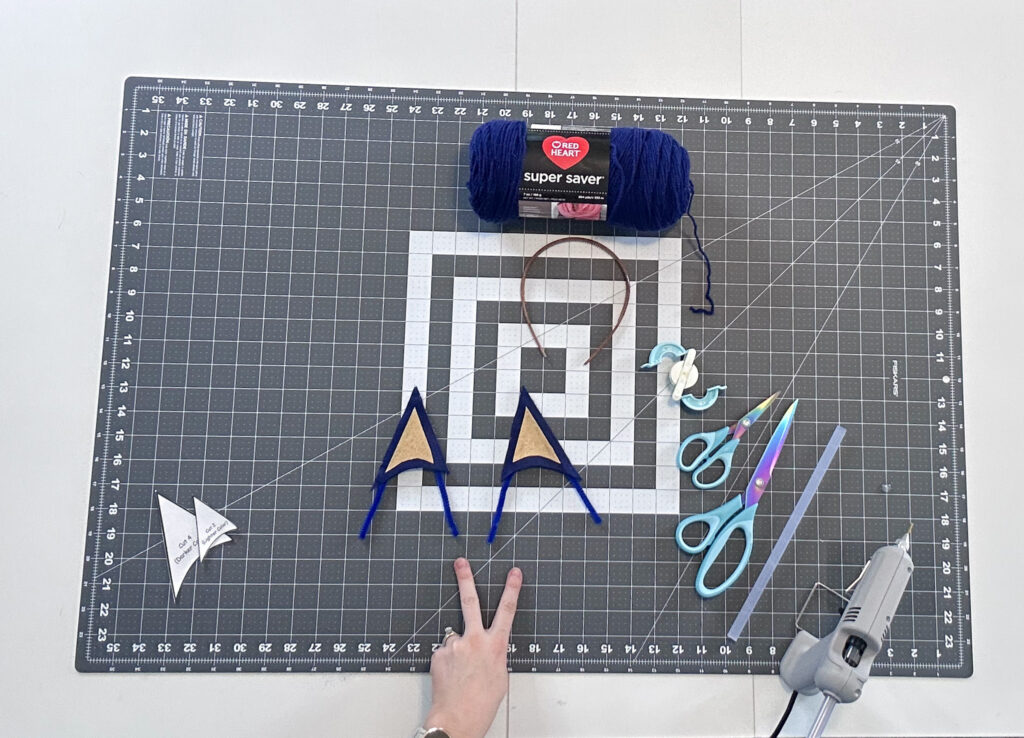
Now we can go ahead and apply some glue to the inner ear piece of felt and attach that in the center.
Step 7:
Repeat this process to construct your 2nd ear. Making note that you layer it together to mirror the one you’ve just finished.
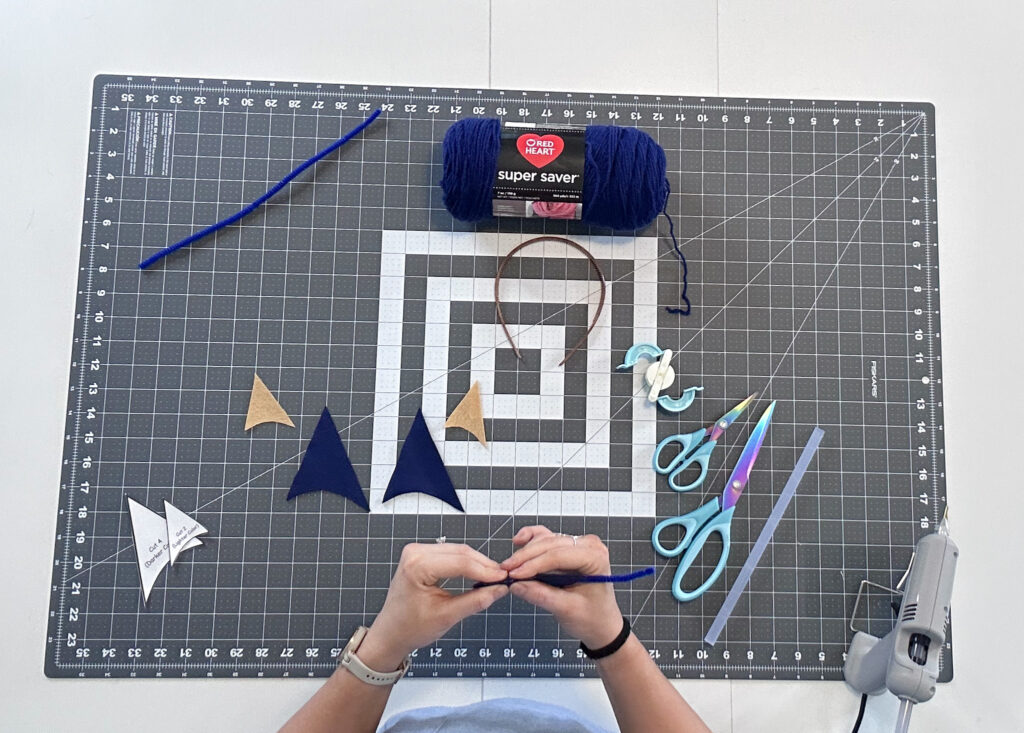
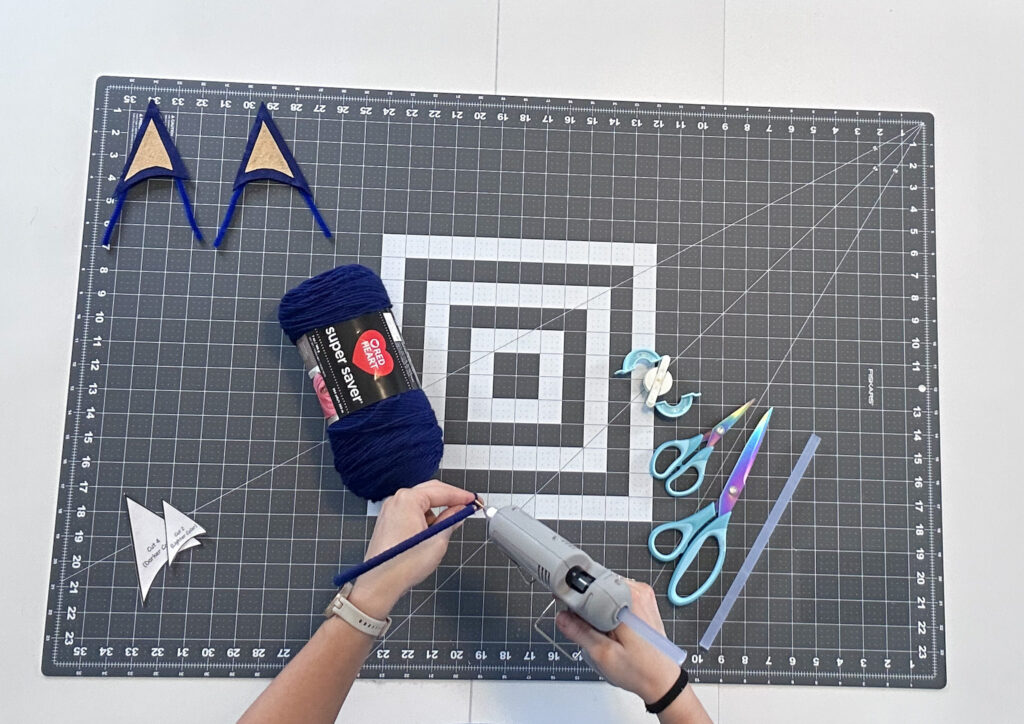
Step 8:
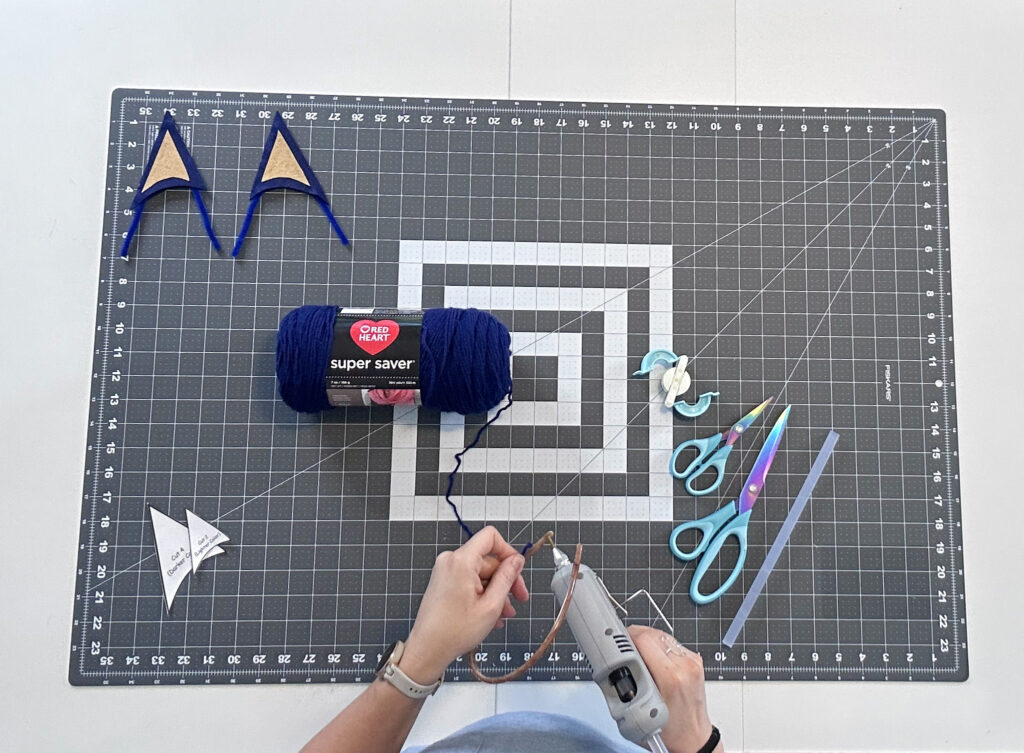
Now we will begin wrapping our yarn onto the headband. Starting with a little bead of hot glue on the underside of one end. Press the end of your yarn into the glue securing it into place.
Then begin wrapping around, moving forward a hair, then coming back over the top of that glue and raw end. Concealing and securing the end as you wrap. Being sure to keep the tension on that yarn tight as you wrap around.
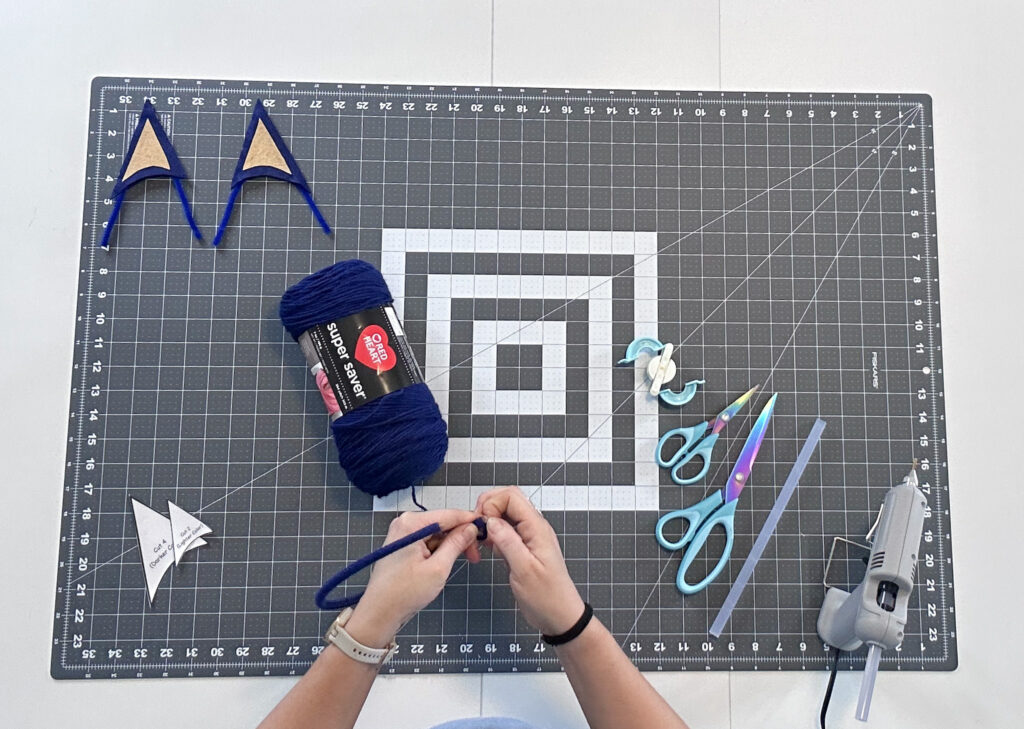
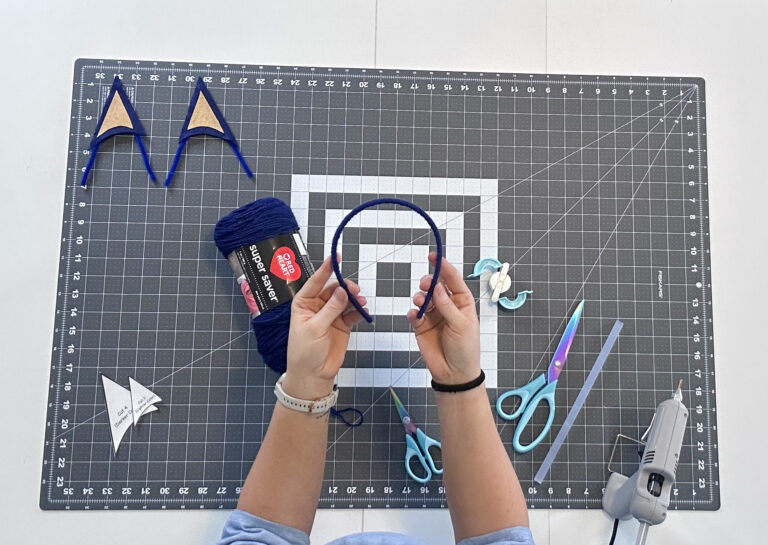
Step 9:
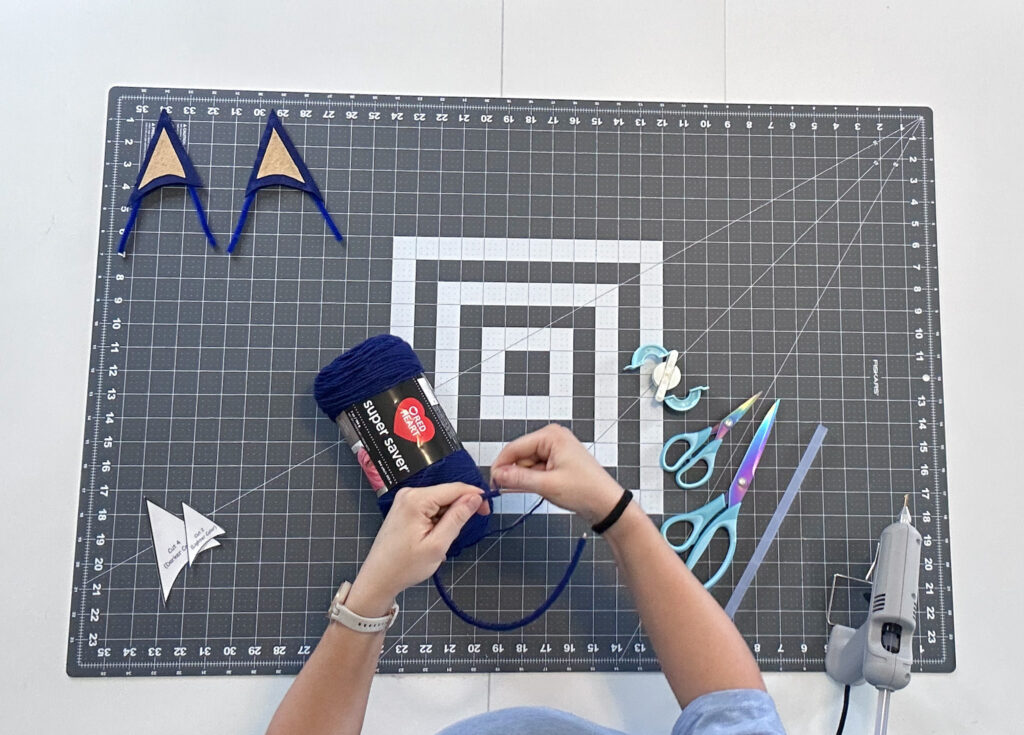
When you reach the other end, you are going to apply another dab of hot glue to the underside. But this time we can’t conceal the end. So let that glue cool for just a second, until you are able to touch it without burning yourself. Then press and wipe with your finger to clean it up.
Make sure it’s secured well, then you can snip that yarn off.
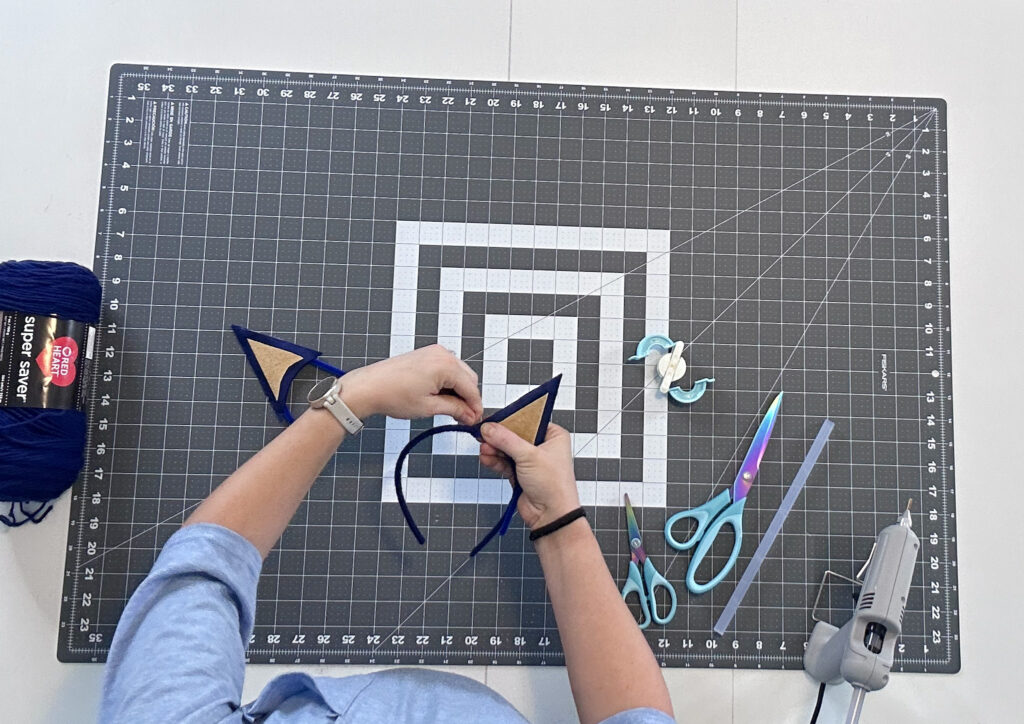
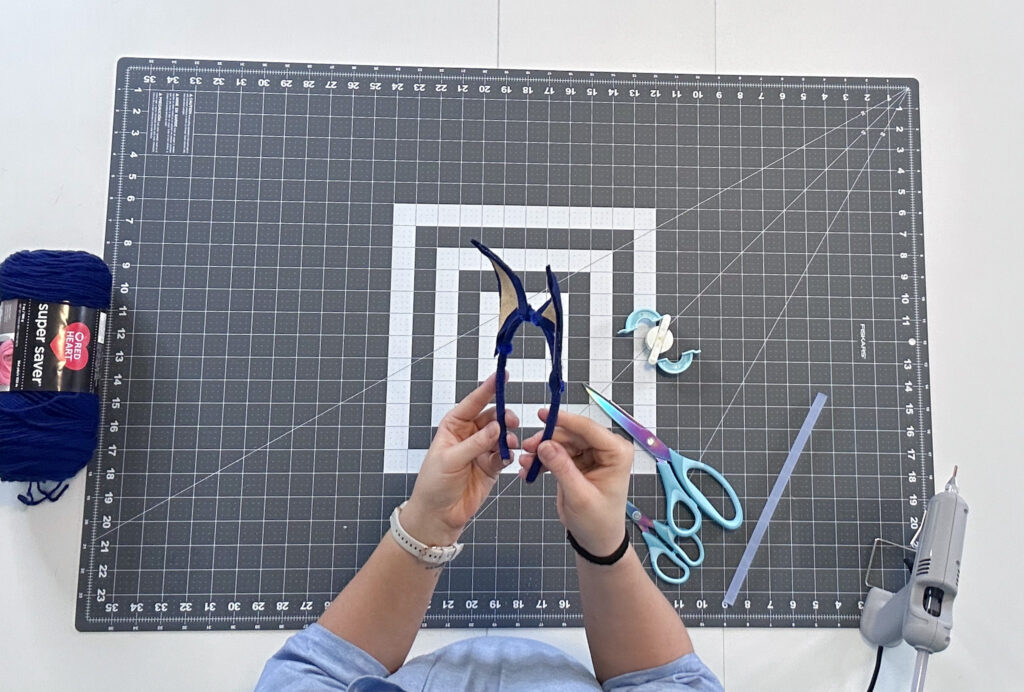
Step 10:
Now we can position out ears where we cant them on the headband. You’ll want these place fairly close togeather at the top of the headband to acheive the upright look of the Heeler’s ears.
Wrap the pipe cleaner tightly around the headband a couple times and snip off the extra.
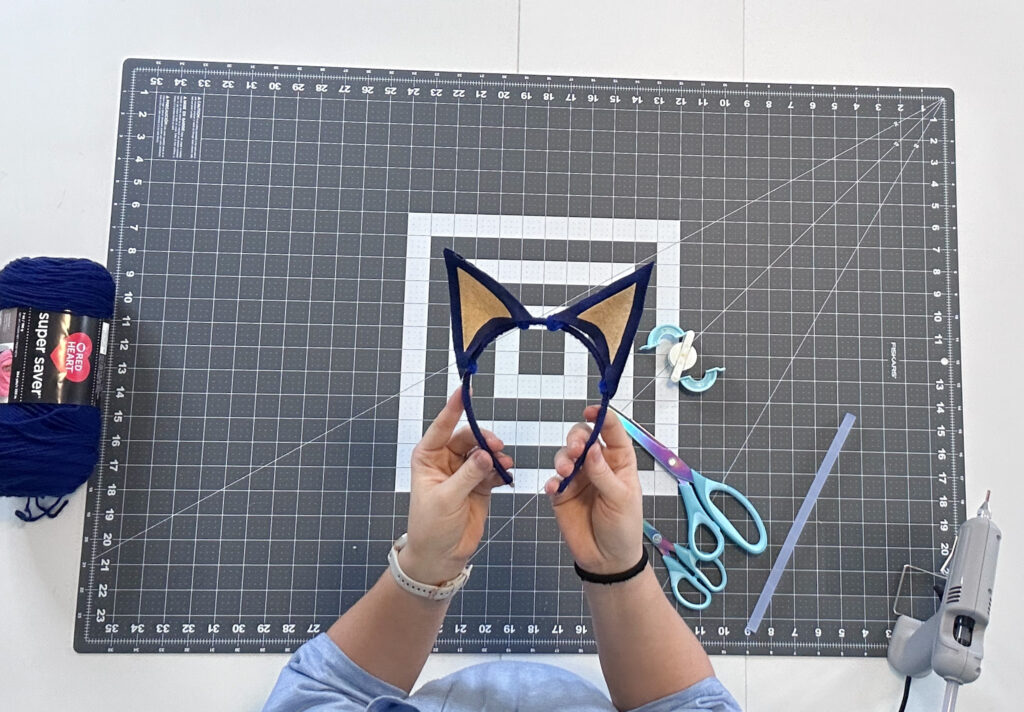
Step 11:
Repeat this process on the 2nd ear.
You can see here I did play with the positioning a bit to create a slight cupped look. Alsp bending the pipe cleaner a little to pull the tips forward.
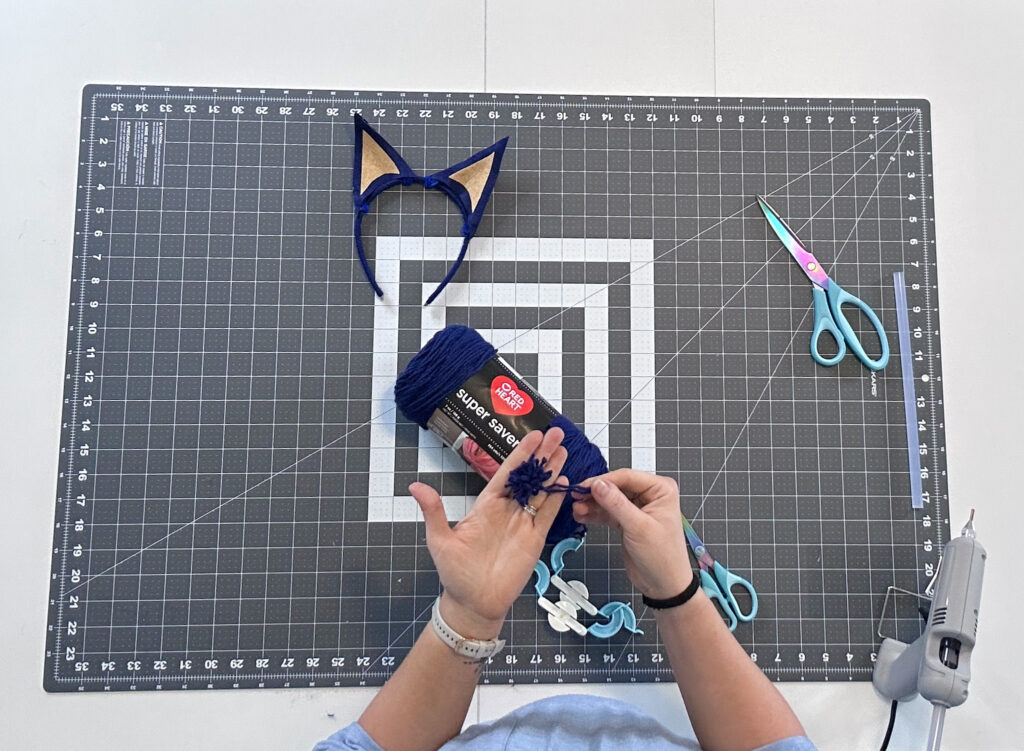
Step 12:
Now we are going to make mini pom poms. There’s just not a great way for me to ecplain this process to you in still shots. So if you haven’t already, head on over to my video where I show you 2 different options for creating these. Either with the tool I’m using, or with just your fingers. You can skip ahead to the Pom Pom Tutorial chapter within the video.
If you’ve got a helper for this. Having them start on the pom poms while you are creating the headband structure is a major time saver.
You will need 30 total mini pom poms, about 1.5″ in diameter.
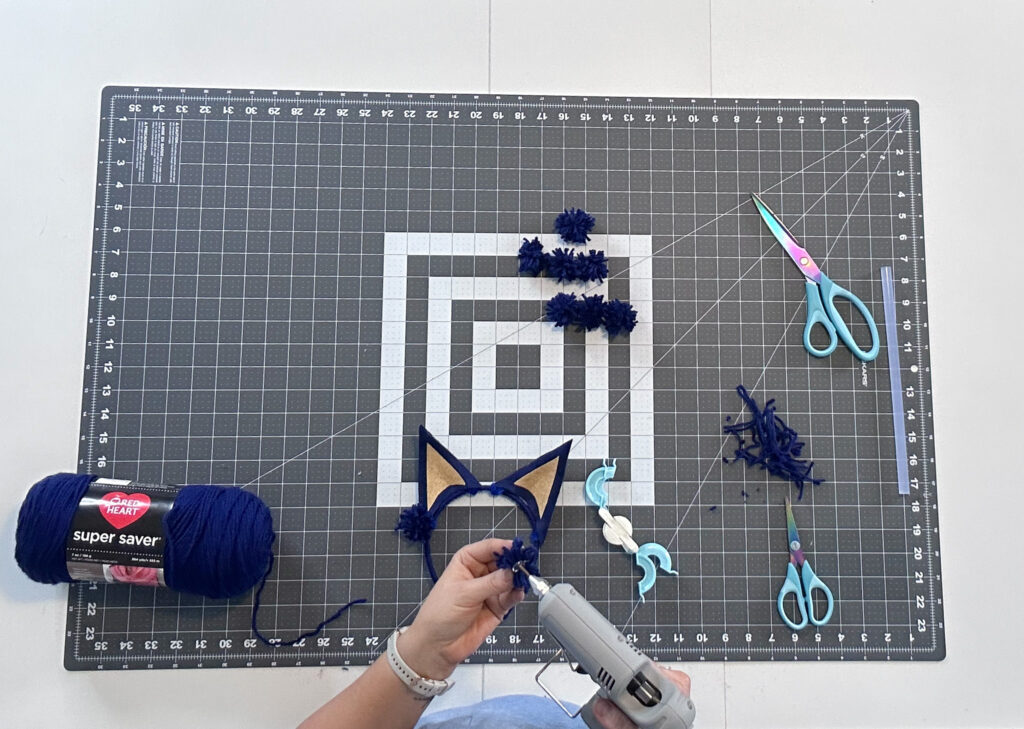
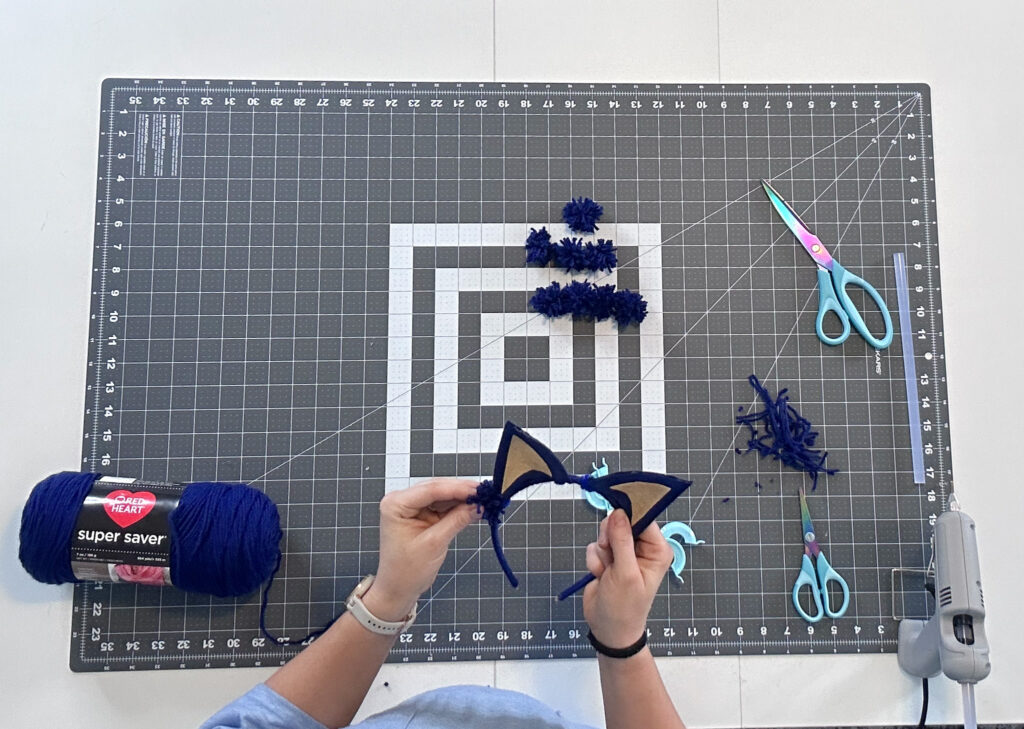
Now begin applying pom poms to the perimeter of each ear. You’ll do this by applying a bead of hot glue to the center of each pom pom, then pinching that over the edge of the ear.
Step 14:
Once you’ve filled the perimeter, you can add a couple pom poms to the front bottom portion of your ears.
I used 6 total Pom Poms on the Edges + 2 Pom Poms on the front bottom portion.
Step 15:
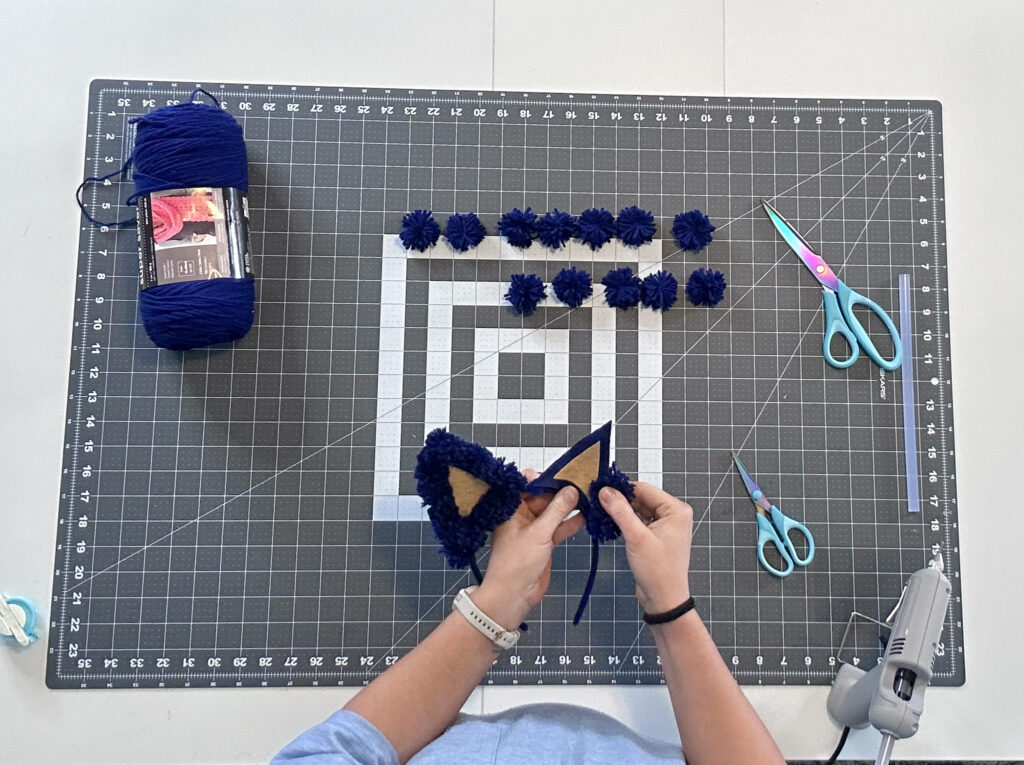
Now flip over to the backside and fill that in with the rest of your pom poms.
Working fairly quickly will allow you to push and manipulate the placement with glue that’s still warm.
Step 16:
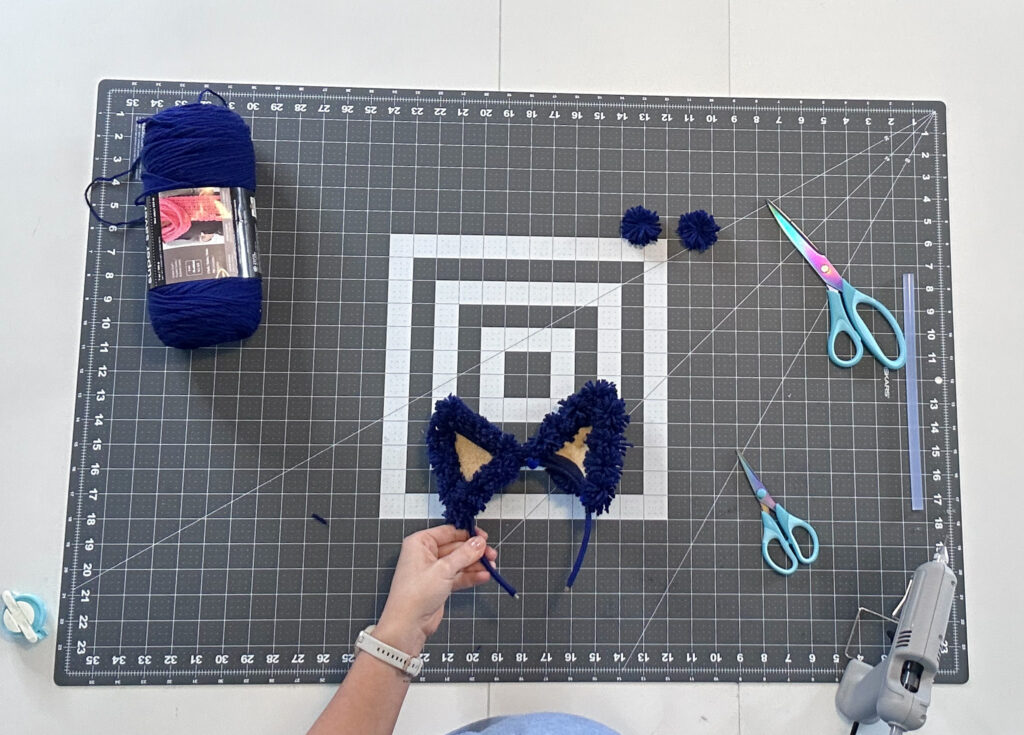
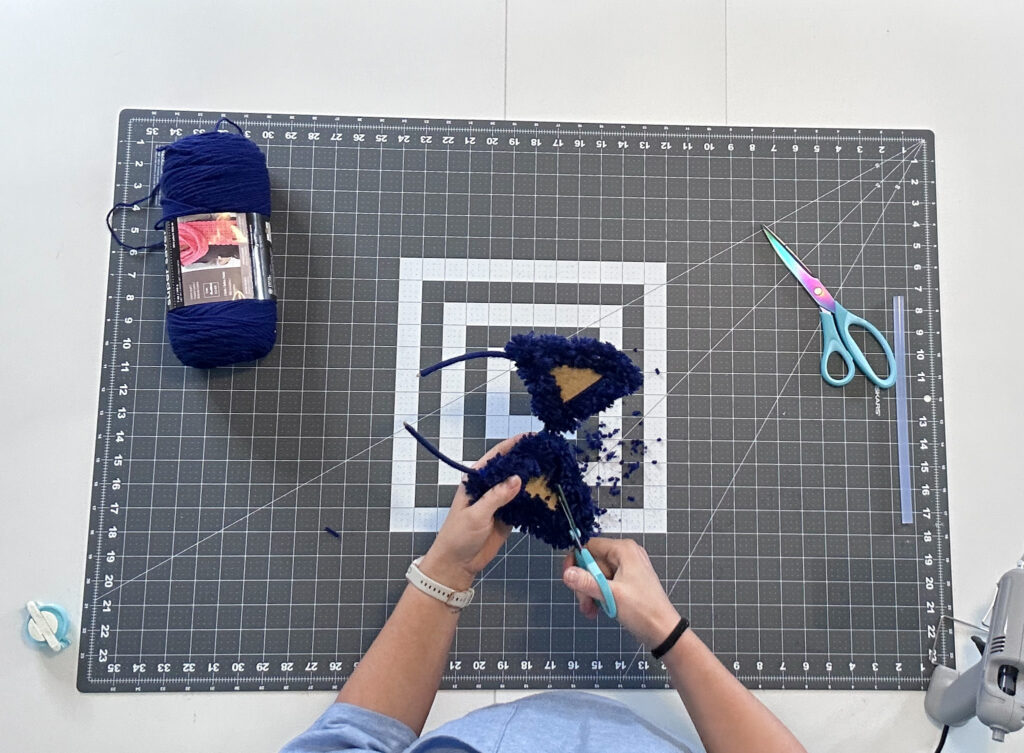
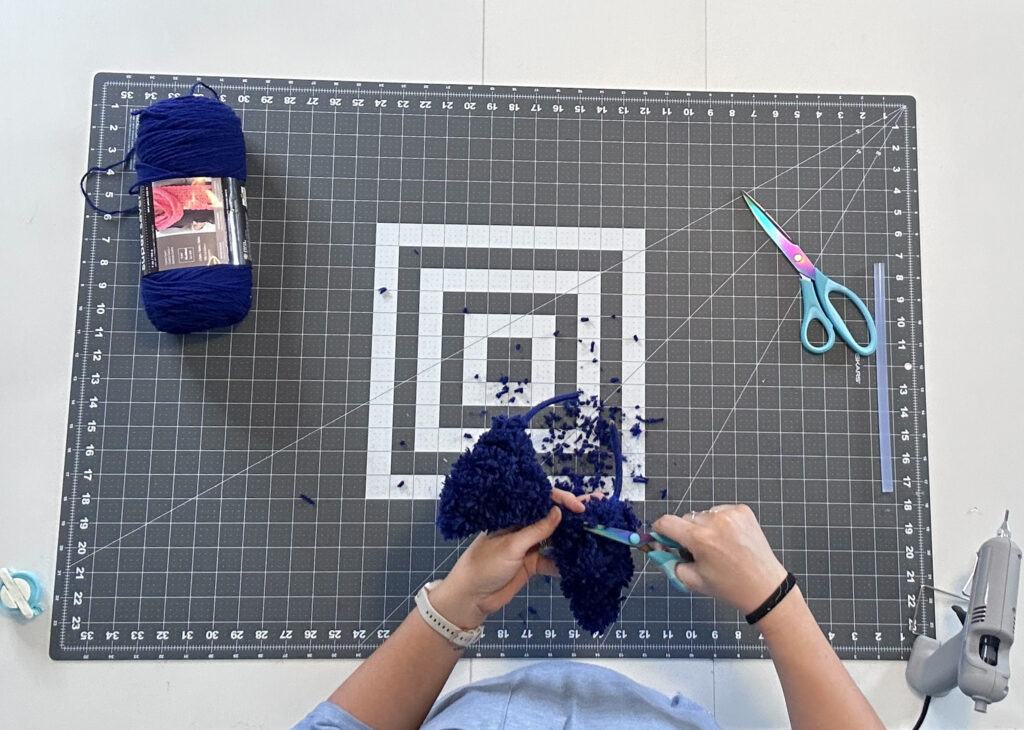
Now it’s time for a haircut! Take this step as far as your personal preference brings you. I definitely went into serious perfectionist mode here.
I start by cleaning up the lines of the inner ears. Then begin pruning around the edges and taking a litter off the length of the fluff to clean up the look a bit.
Just play with the look of it until you are happy here!
FINISHED!
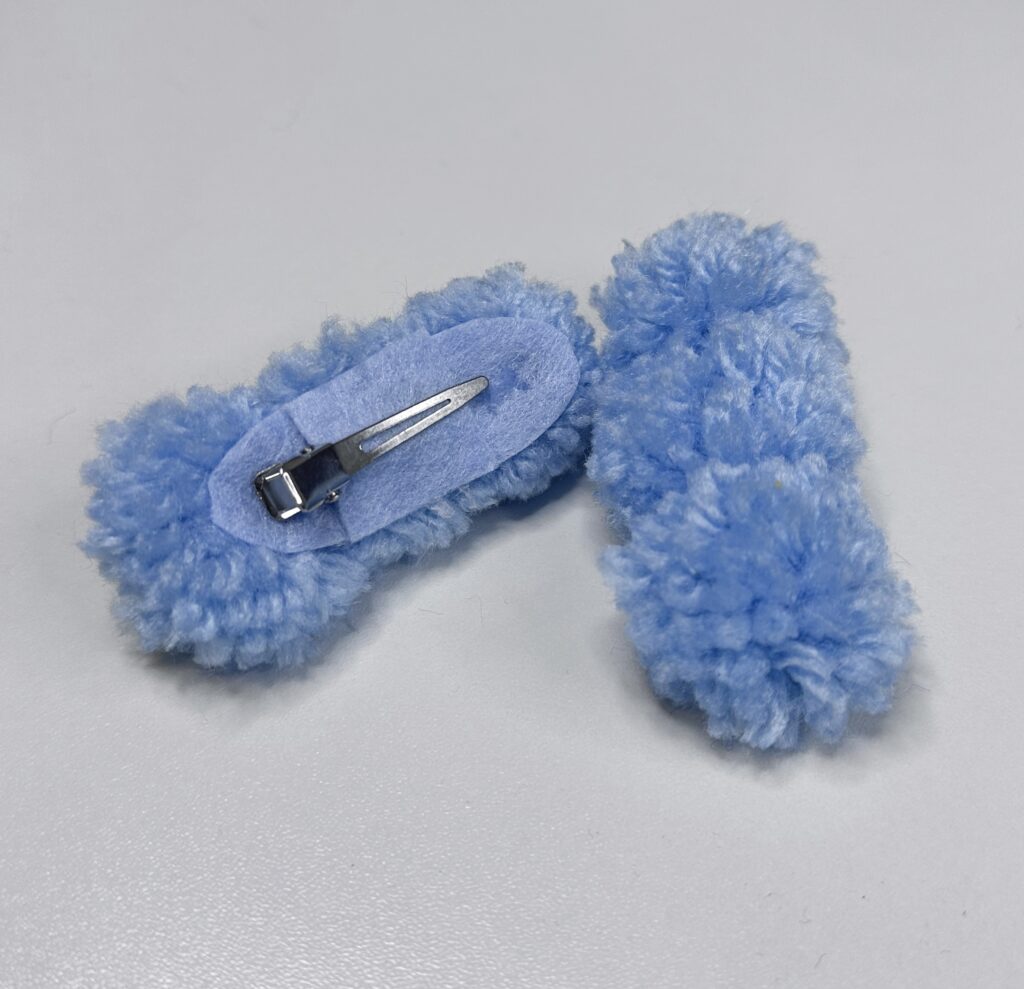
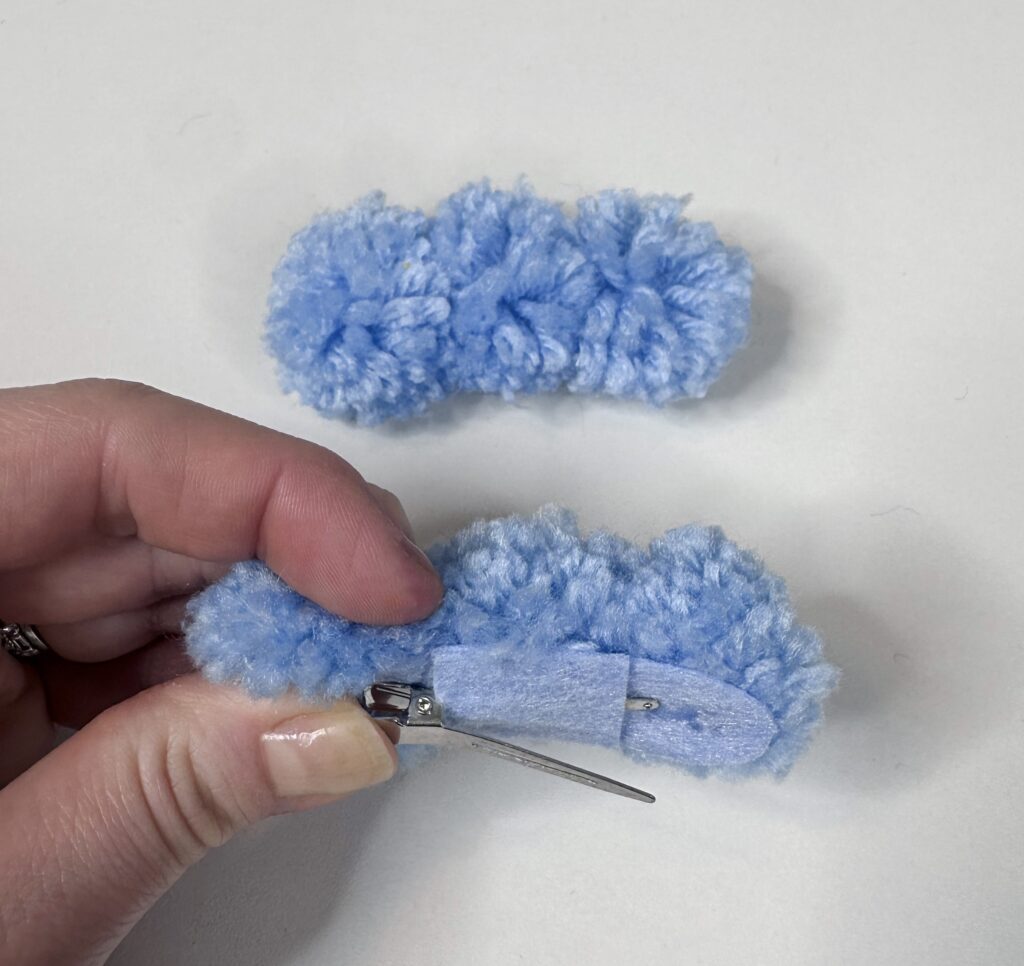
You may be wondering about the eyebrow additions shown in my photos. These are hair clips that I made from mini poms poms, felt, and alligator clips. This was a last minute addition that I decided to create, literally an hour before heading out the door to take these photos. I wasn’t sure if we were even going to use them, but for that reason they didn’t make it into the tutorial. I made these pom poms with the same method used for the ears, I just did them a little thicker and trimmed them a little shorter. Then hot glued 3 of them onto a piece of felt.
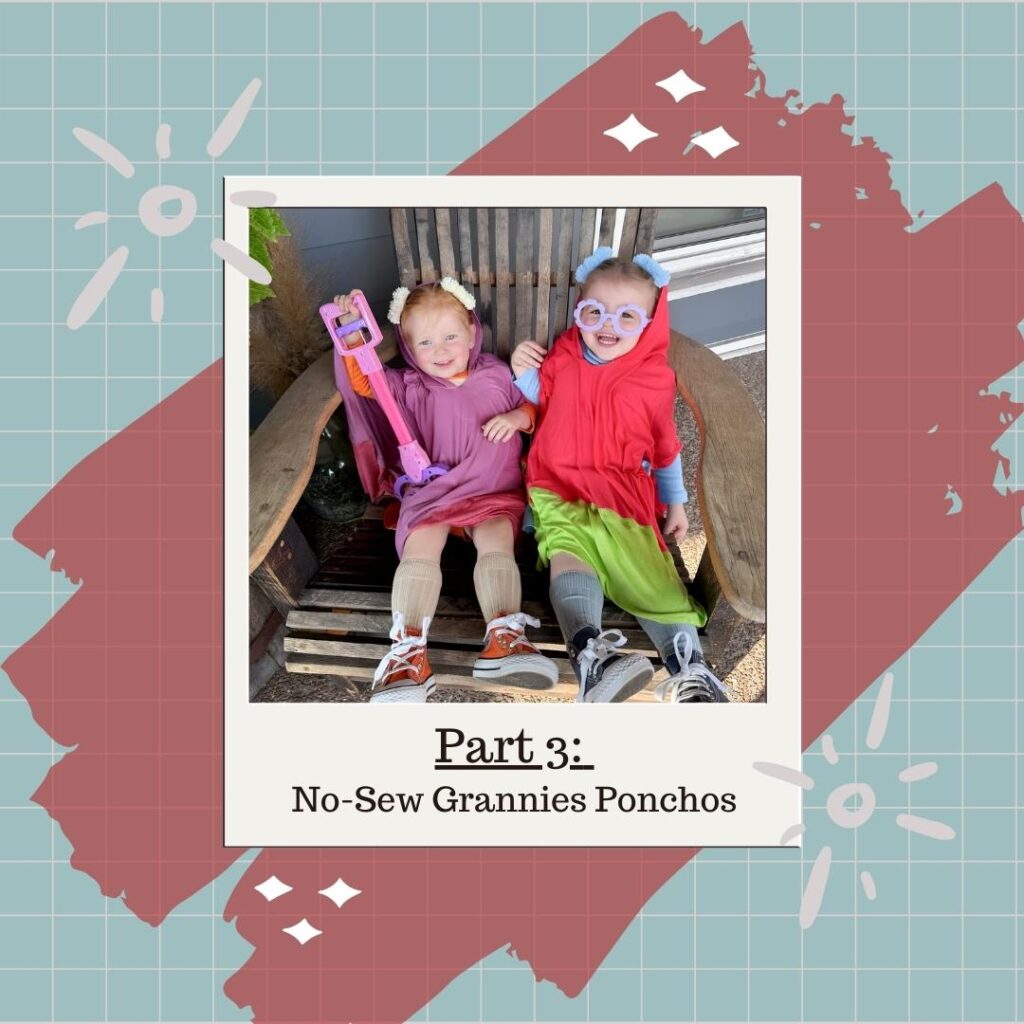
We actually really liked the look of them, so I wanted to show a close up photo so you can see the construction. These were not only SUPER cute, but they were also very functional. They acted as sort of a barrier, helping to hold the headband in place when the girls would bend forward. They also really elevated the look of our Grannies ponchos. Since those couldn’t be worn with the ears on, we left the clips, and they poked out the front of the hoods very similar to the way the grannies character’s eyebrows are illustrated.
Clip On Tail
Step 1:
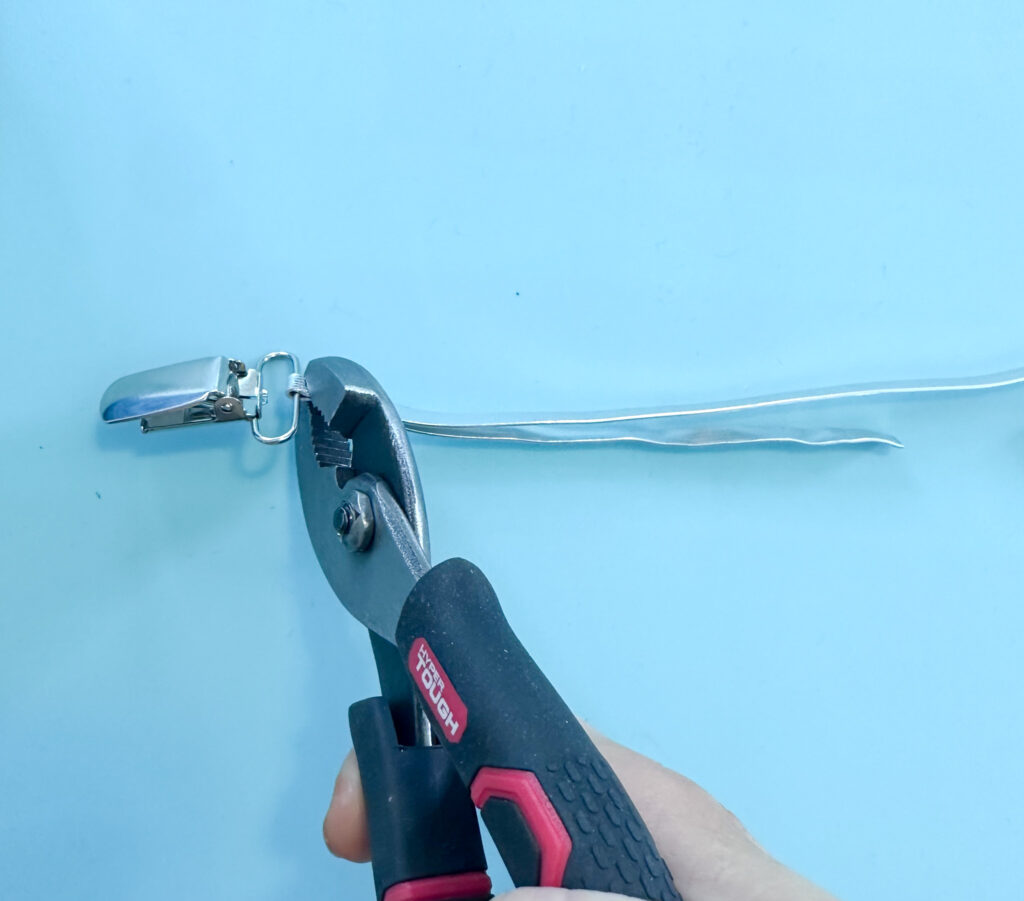
We are going to start off by attaching wire to the suspender clip. My wire is thick and flat. So I did this by just pinching down on the wire firmly with my pliers. Leaving a couple inches of overlapped wire.
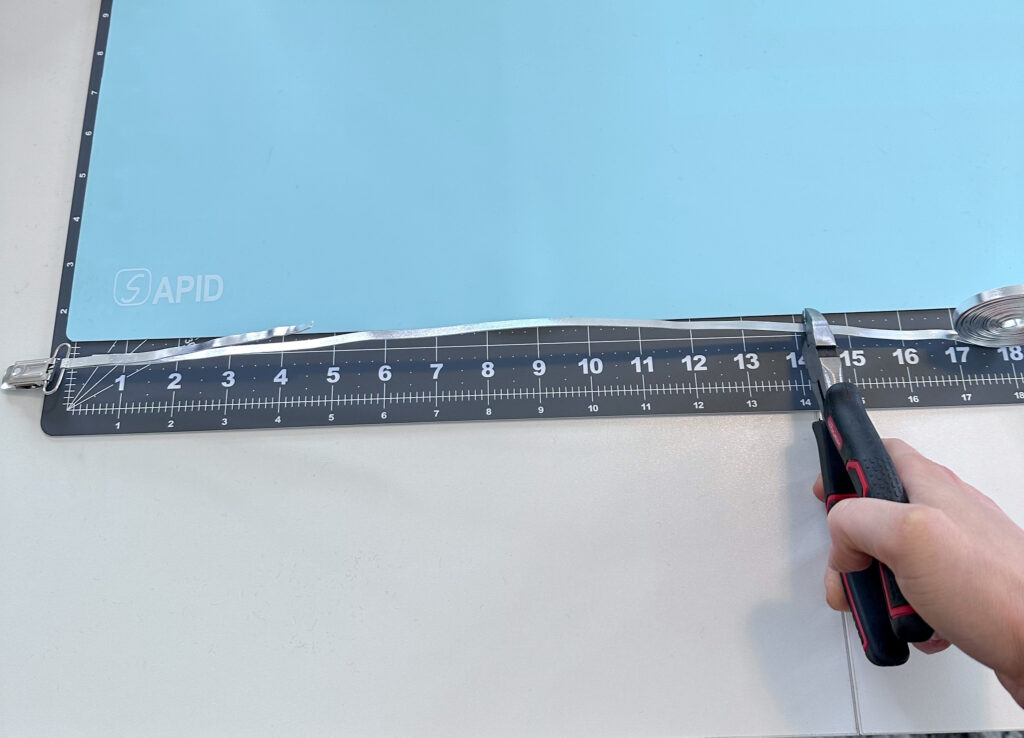
Then cut the wire down to a length roughly 6″ shorter than you want your overall tail length to be.
** Quick note about the wire – I added the wire to this piece because I wanted to gve our tails a little bit of bend and structure. It did achieve that, but it’s much more subtle than what I was intending. Looking back on it now, I really wish I’d actually doubled or maybe eve tripled the amount of wire used. But also, if you don’t care about being able to manipulate it. You could totally just bypass the wire addition all together.
Step 2:
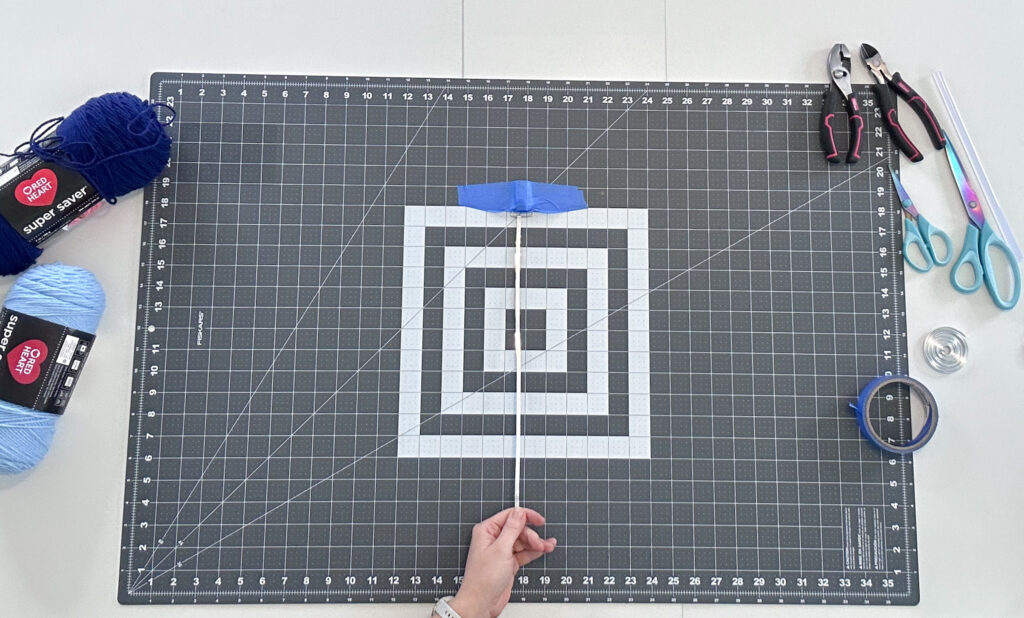
To keep your piece stable while you work with it. Tape your clip down to the surface you are working on.
Step 3:
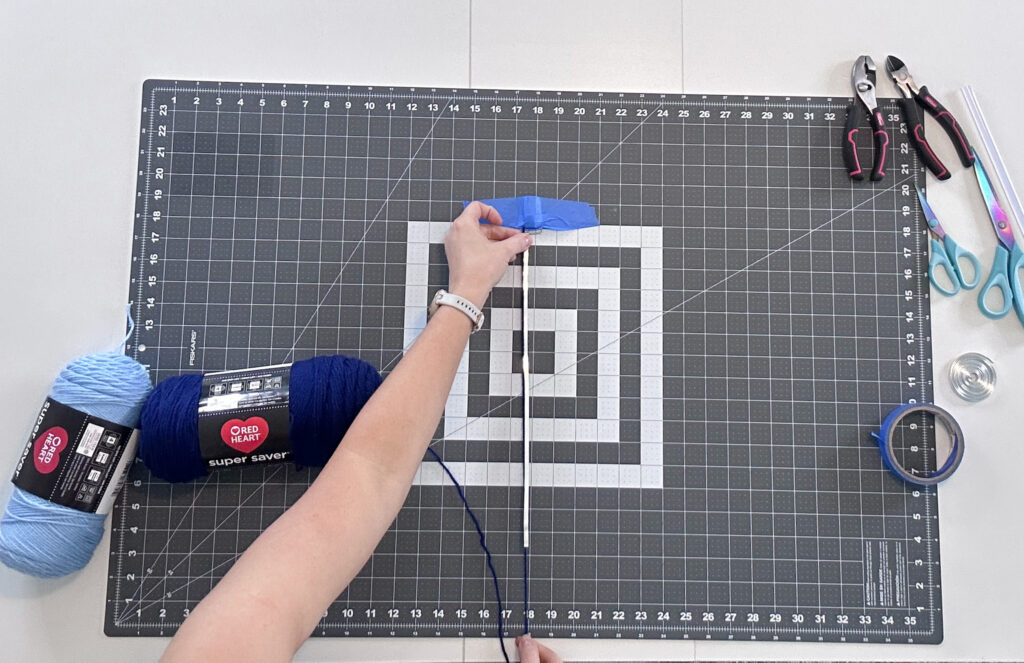
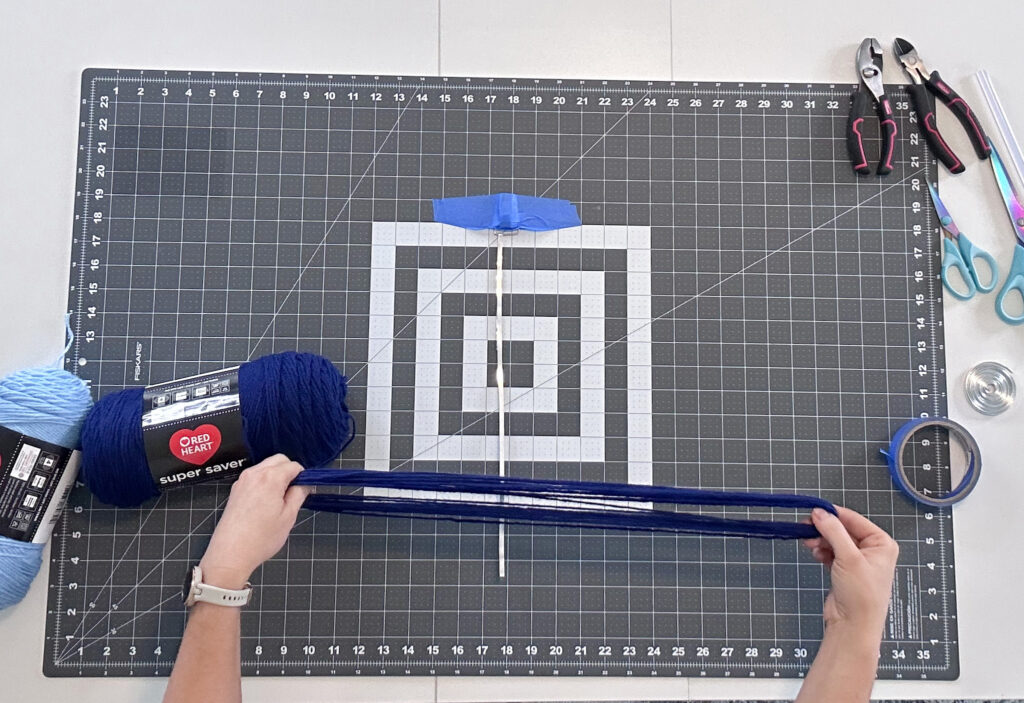
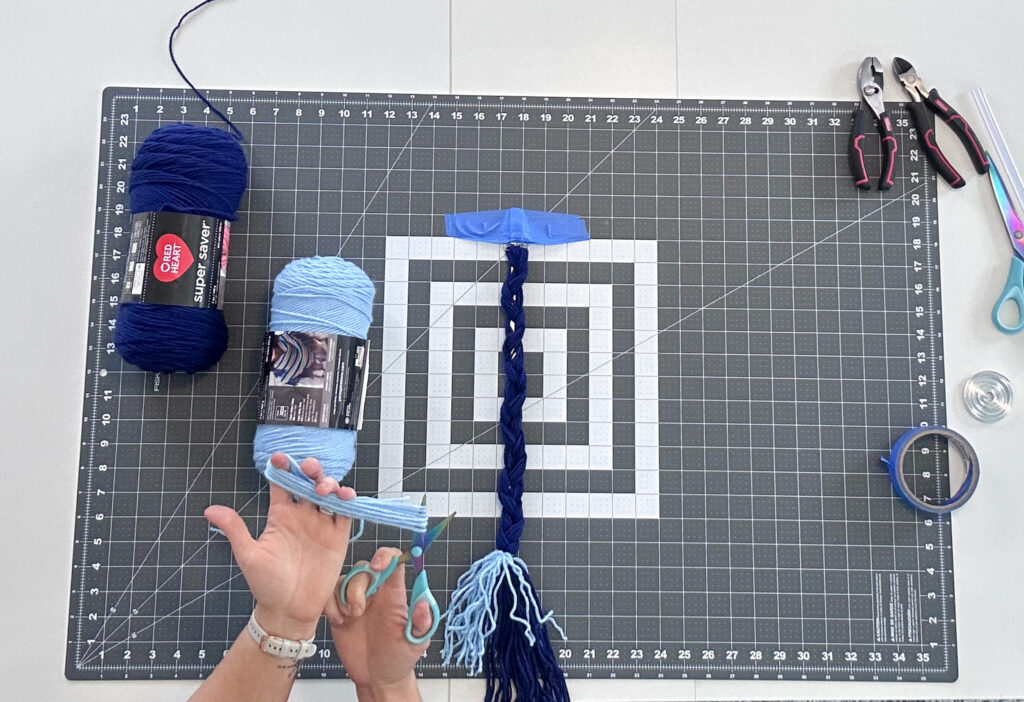
Measure a length of yarn to the length you want your tail to be. Go back and forth and loop a bundle of about 25-30 strands of yarn onto your hands.
Step 4:
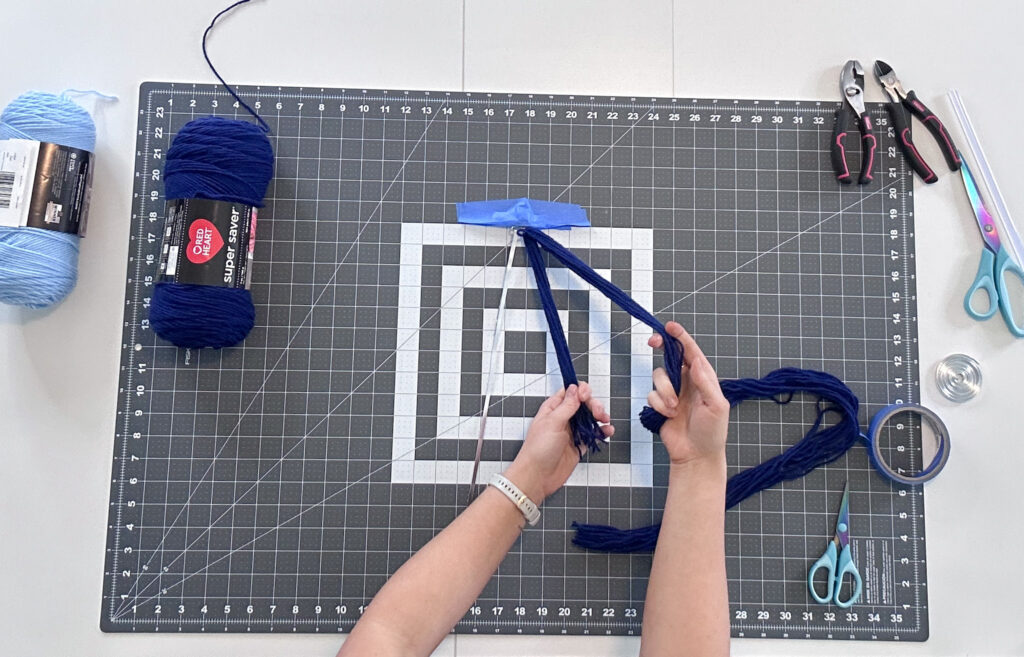
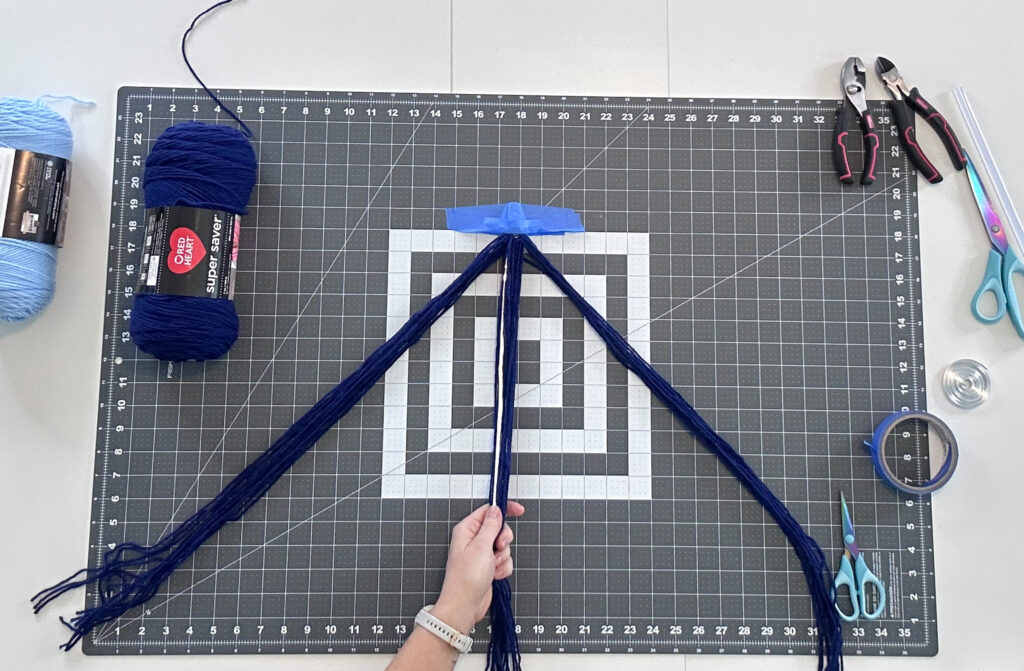
Cut one end of your bundle, then thread that bundle through the suspender clip loop.
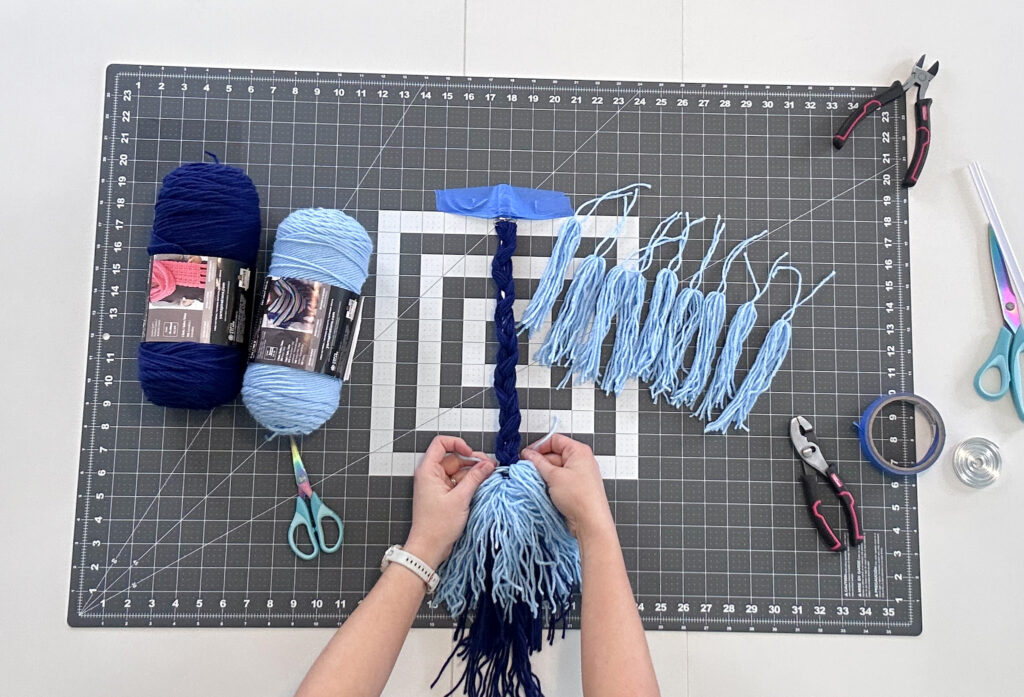
Step 5:
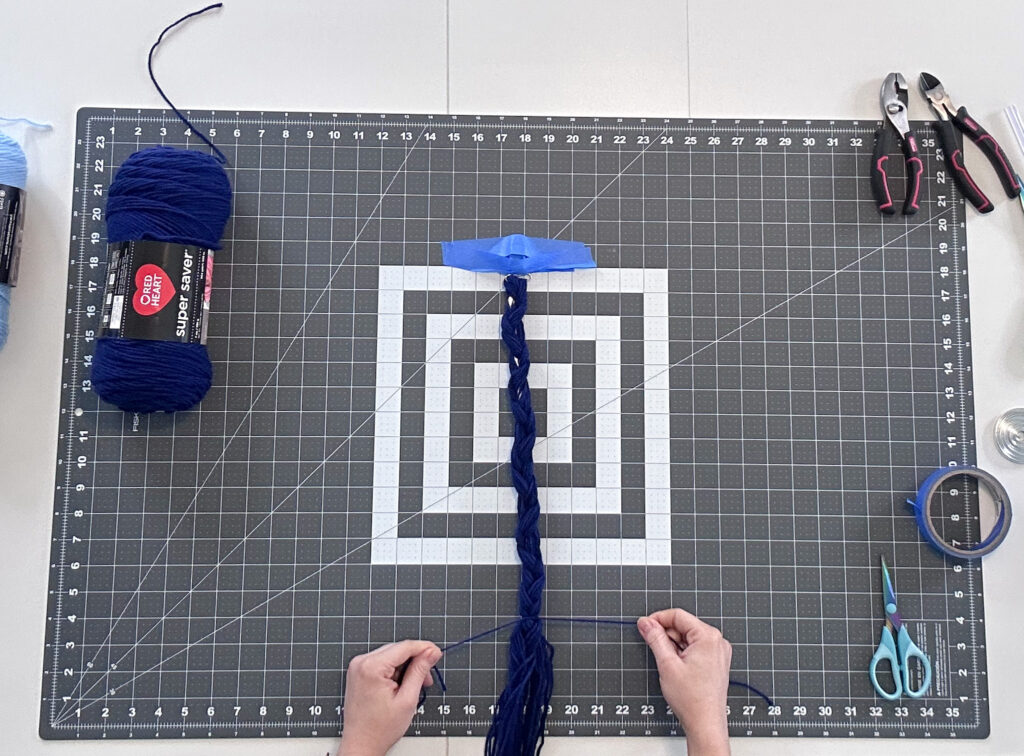
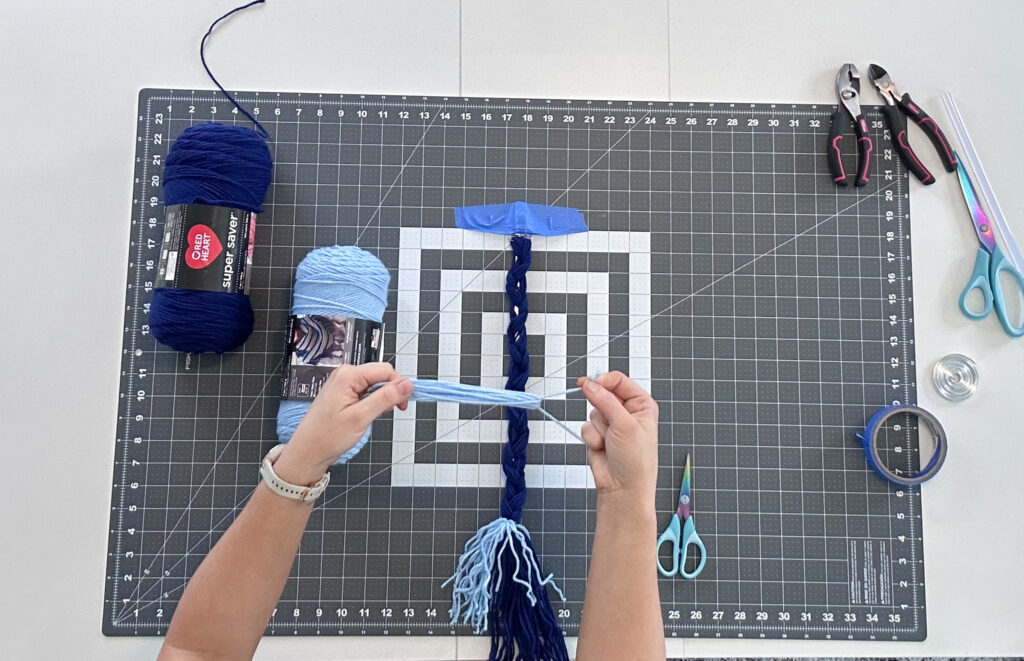
Section your bundle off into 3 and braid down, including your wire into that braid. Once you’ve reached the end of your wire, secure the braid using another piece of yarn tied around the bottom. This should leave you with several inches of fringe at the tip. Pinch the sharp tip of your wire and bend it up into the bulk of the braid to eliminate any poking out.
Step 6:
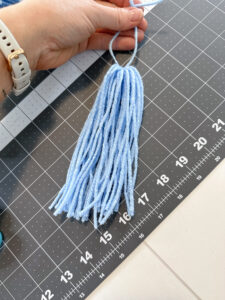
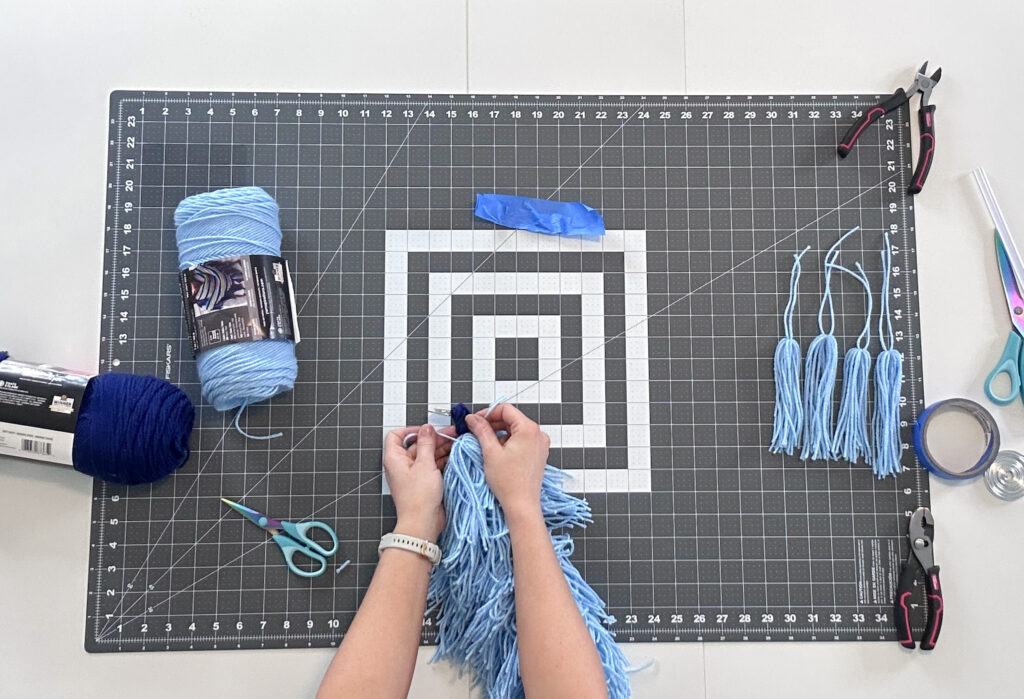
Now we are going to begin making 5-6″ tassels that will be tied onto the spine of the tail you just created.
I made all my tassels by bundling 21 strands of yarn onto my hands, then cutting the loops open at one end and tying another piece of yarn to the other end. So that’s going to be 10.5 wraps around, to create 21 strands once its cut.
I do show a closeup look at how I do this in my video tutorial. As well as a method for using a piece of cardboard as a tool. So be sure to check that out if you are unclear. You can skip ahead to the Tassel Tutorial Chapter for this information.
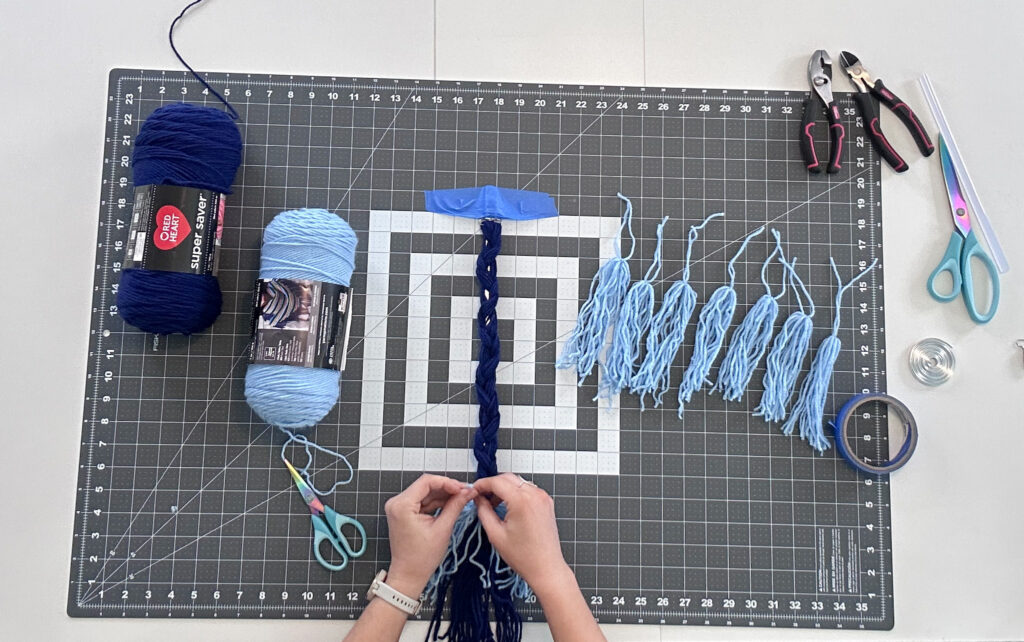
**One quick note I’d like to make here – I thought that the fringe from the spine was going to be a sufficient amount of the navy blue color. But I later ended up coming back and adding more navy to the bottom section. So even though you see me starting to attach the lighter blue in these photos, I recommend adding at least 10-20 of the navy to the bottom, before switching to the lighter.
Step 7:
Be sure as you are making these tassels, you tie that finishing knot nice and tight. This will help ensure you don’t have loose strands falling out of your finished piece.
Working in batches of 10 at a time, I make tassels, then tie them onto the spine.
To attach them, I’m using the two ends of string the tassel is secured with and tying it nice and tight around the center with a double knot. Working in a sort of spiral effect around the spine as I work my way up.
For reference, I ended up needing roughly 75 total tassels for each of the tails I made. But I do recommend doing this in batches, since you may decide on an overall tail length different than mine.
Step 8:
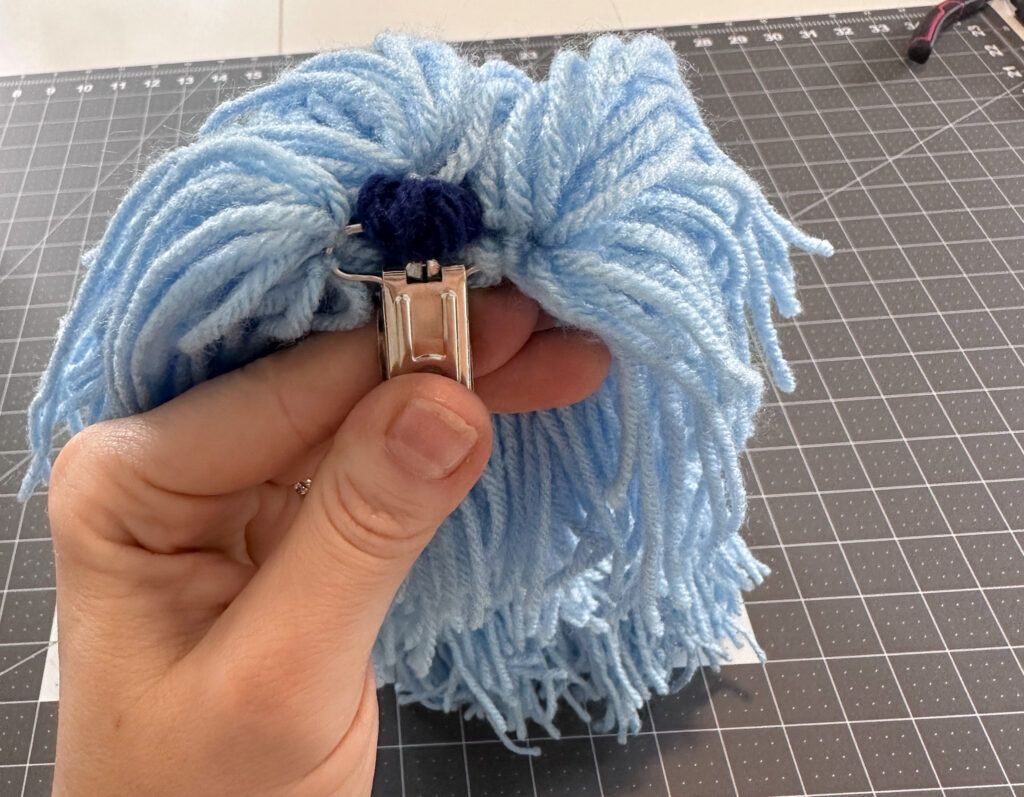
As I got closer to the top, I went ahead and released my piece from the tape to make it easier to work with.
Here you can see how that top looked once I got to the suspender clip. To conceal that bit of navy yarn at the top, I went ahead and tied some tassels onto the clip itself to conceal that.
Step 9:
Now we groom. Blend out your piece by snipping vertically into the length of your tassels. Similar to the method used when hair dressers blend hair. Blending out any spots that look bluntly cut.
I didn’t get any good shots of me doing this, but you can see a little of my process for this in my video.
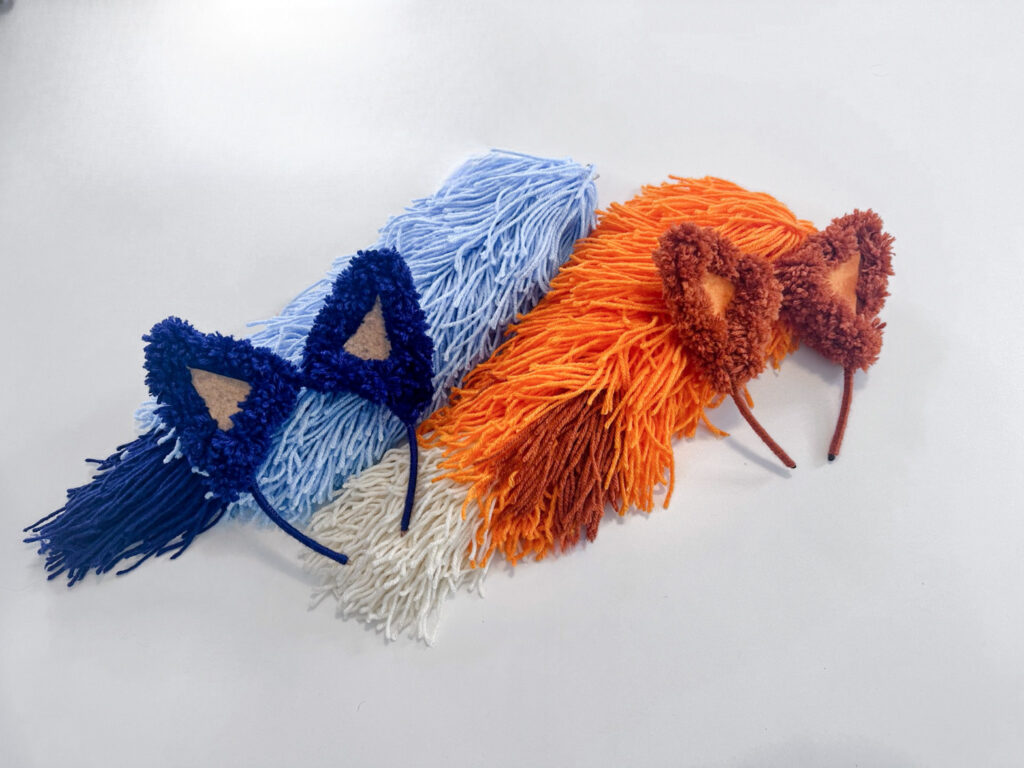
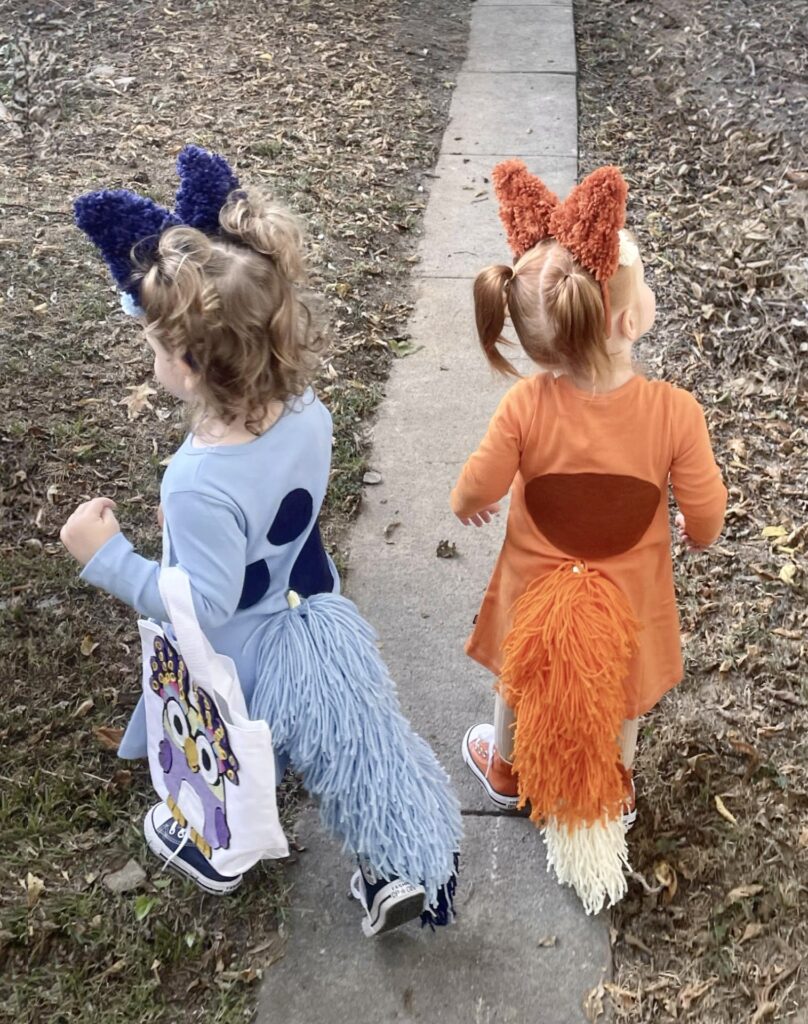
FINISHED!
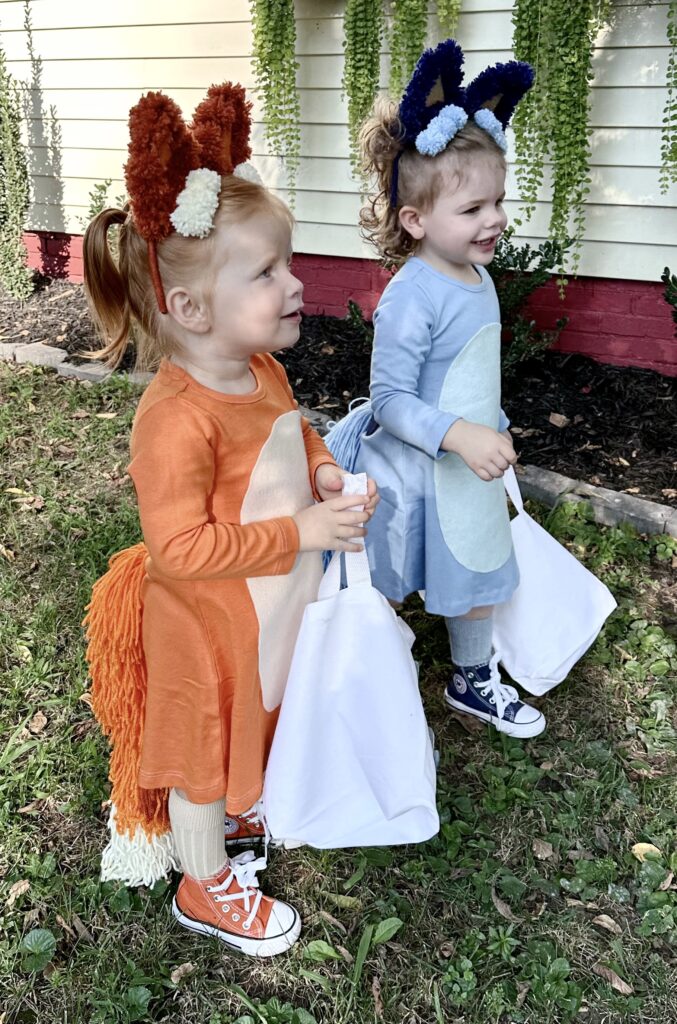
Aren’t these just adorable! Notice I did add one darker spot to Bingo’s tail. I never noticed when watching the show she had that! When delving through still shots online before starting this project, I stumbled on this little gem of info.
My daughter loves putting these pieces on and doing a little Bluey dance while I sing the intro to the show. It’s the cutest!
Be sure to head on over and check out my full video tutorial featuring the bingo inspired set.


I’ve tried to subscribe twice and the ear diagram only comes up as spots. Can you send that to me?
Thanks so much for bringing that to my attention! I’ve just fixed the link. So you should be able to access that correctly now.