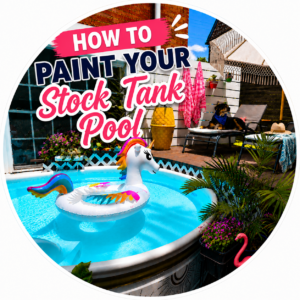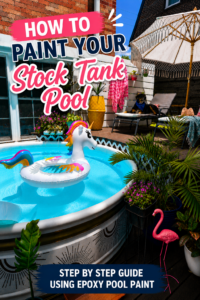
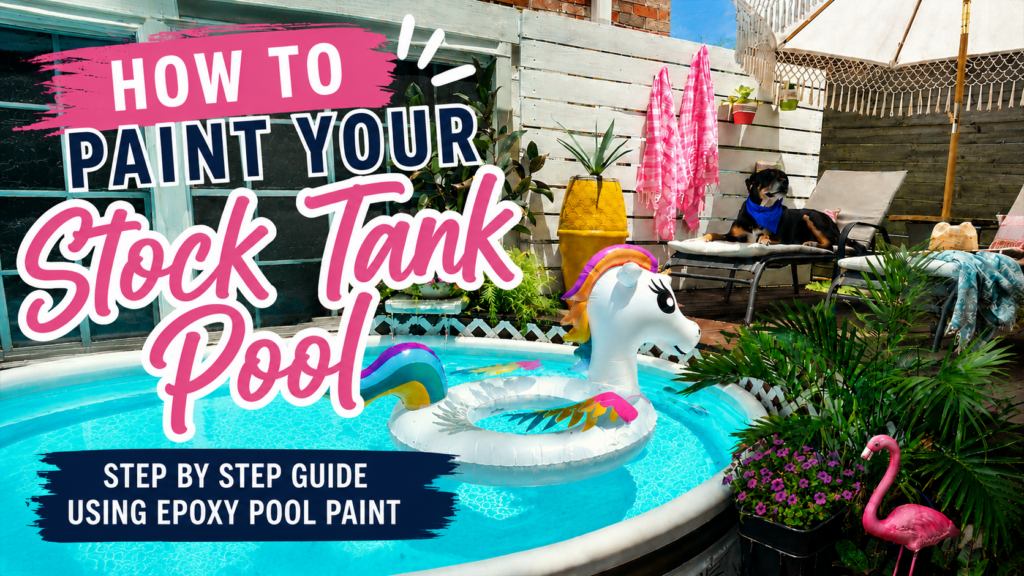
Painting the Inside of My Stock Tank Pool (And Why I Decided to Ditch the Liner)
Ever start a project you’re pretty sure you’re going to regret?
Well… I did it, y’all.
After years of preaching stock tank pool liners, somehow, I went against my own advice and decided to paint the inside of my stock tank pool. If you’ve been searching for information about painting a stock tank pool, using epoxy pool paint, or looking for a stock tank pool liner alternative, here’s exactly how my DIY stock tank pool makeover went.
Since I have one of the most-watched YouTube videos demonstrating how to install a stock tank pool liner, this decision definitely didn’t come easy. In fact, I debated painting my stock tank pool for an entire year before finally committing.
Why I Decided to Paint My Stock Tank Pool
Let’s start with the obvious question.
Why would I paint my stock tank pool when I’ve had such good results with liners in the past?
The answer is simple: my daughter.
Last summer, my daughter went from being a bit apprehensive in water, to going full on daredevil. She spent the summer doing backflips and cannonballs in the tank. Somewhere along the way, tiny toenails managed to create multiple pinhole leaks in not one, but TWO different liners.
The worst part was that the holes were nearly impossible to find. Patching was just not an option after a ridiculous amount of time was spent trying to find these tiny punctures, so I gave up and bought a new liner. I conveniently had to stop and reset my setup just days before her scheduled birthday party. Then it happened again, cutting our summer swim time short because I just didn’t have it in me to setup again for only a couple weeks of use.
Right around the time I tossed the first liner, I came across a post from creator Ali Long (@TheModernMaeve), demonstrating her process for painting with Olympic Zeron Epoxy Pool Paint. I’d done extensive research and witnessed numerous online testimonials over the years from those who had tried and failed with paint. But this was the first time I’d seen applications on metal listed right on the can, so my interest was peaked. I continued to follow her for first hand experience and checked in again this year to see how she was feeling about it. Ultimately, I pulled the trigger.
My Process
This post contains affiliate links. Purchasing from these links may earn me a small commission.
Supplies:
Step 1: Sanding the Pool
Before any paint can touch the metal, we have some major prep work to do.
When I removed my liner, I was left with residue from the flooring underlayment I had used as padding underneath. I also wanted to remove as much of the galvanized coating as possible to give the paint the best chance of adhering.
This step was no joke.
What I thought would take a few hours ended up taking several days broken up in sessions. After what felt like a hundred sheets of sandpaper, I finally had the surface prepped and ready for paint.
If you’re considering this project, just know that preparation is by far the most time-consuming, but essential part.
Step 2: Cleaning and Surface Prep
Once sanding was complete, I needed to remove all of the dust and debris.
I started by wiping everything down with vinegar. Vinegar is often used to help etch metal surfaces, so it felt like a logical first step before painting.
After that, I cleaned the tank thoroughly and paid special attention to the seams, making sure everything was clean and free of residue before moving on.
Step 3: Mixing the Epoxy Pool Paint
For this project, I used Olympic Zeron Epoxy Pool Paint.
Because epoxy begins curing once mixed, I spent quite a bit of time reading reviews before getting started. One tip I saw repeatedly from other stock tank owners was to mix only what you plan to use immediately, and most noted only needing half the can for a good thick coat.
To mix only half, here’s the math: The kit comes with 3qts of paint and 1 qt of catalyst. So using a mixing bucket, I put in 1.5qts of paint, then topped it off with .5qt catalyst. Bringing my level to 2 full qts of mixed epoxy.
Custom Tinting the Paint
Now for the part that made me the most nervous.
I wanted a tropical turquoise color.
After searching online, I couldn’t find a single example of someone tinting this paint with mica powder, but as a long-time crafter, I know that mica powder generally plays well with epoxy products.
So I went for it.
It required way more mica powder than I expected, but eventually I achieved exactly the tropical turquoise color I had been envisioning after dumping the entire can in my first batch.
Was it a little nerve-wracking experimenting on a project this big?
Absolutely.
Would I do it again?
Uhh Yah.
Step 4: Applying the Paint
Since I wasn’t sure how quickly the epoxy would begin setting up, I recruited my husband to help with the application.
Thankfully, the process moved surprisingly fast.
Unfortunately, I made one mistake.
I used foam rollers that didn’t hack it.
The rollers started breaking apart as we worked, leaving tiny pieces of foam embedded in the paint. We went through an entire pack of rollers that I’d purchased, and I picked out as many of the larger bits as I could. But it became obvious that a second coat was going to happen.
After the first coat fully cured, I lightly sanded the surface to smooth out any bumps left behind by the foam fragments.
For the second coat, I switched to a higher-quality flocked foam roller, which worked much better.
Step 5: Adding Texture for Slip Resistance
One concern I repeatedly saw in reviews was that the cured epoxy surface was a bit slippery.
To help combat that, I went back over the paint while it was still tacky using my roller to create a very subtle texture.
The texture is barely noticeable visually, but I’m glad I took this extra step because I don’t find the finished result to be slippery at all.
To finish it off, I went ahead and coated top rim of the pool using the same white oil-based paint I had previously used on the exterior.
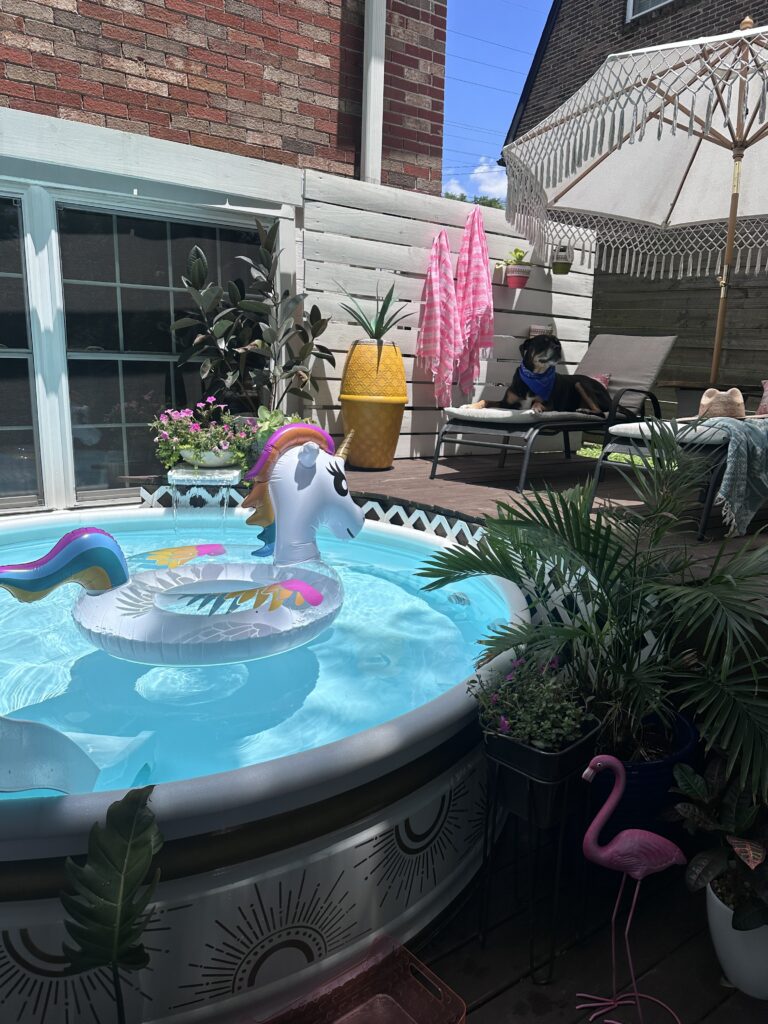
The Final Result
In the end, we decided to keep the pool noodles around the rim.
Originally, I wasn’t sure if I wanted to keep them, because they served the purpose of concealing the liner overlap and I no longer need that.. But with a very active 5-year-old using the pool, we decided the cushion was probably a good idea.
As for the paint itself, only time will tell how well it holds up.
This project was definitely a leap of faith and a bit of an experiment. But after battling multiple torn liners last summer, I was ready to try something new.
I’ll be sure to share updates on how the painted finish performs over time, including durability, maintenance, and whether I’d ultimately recommend this route over a liner. But can we just take a moment to appreciate that dreamy color!? This is a completely unedited image.. That’s no filter y’all!