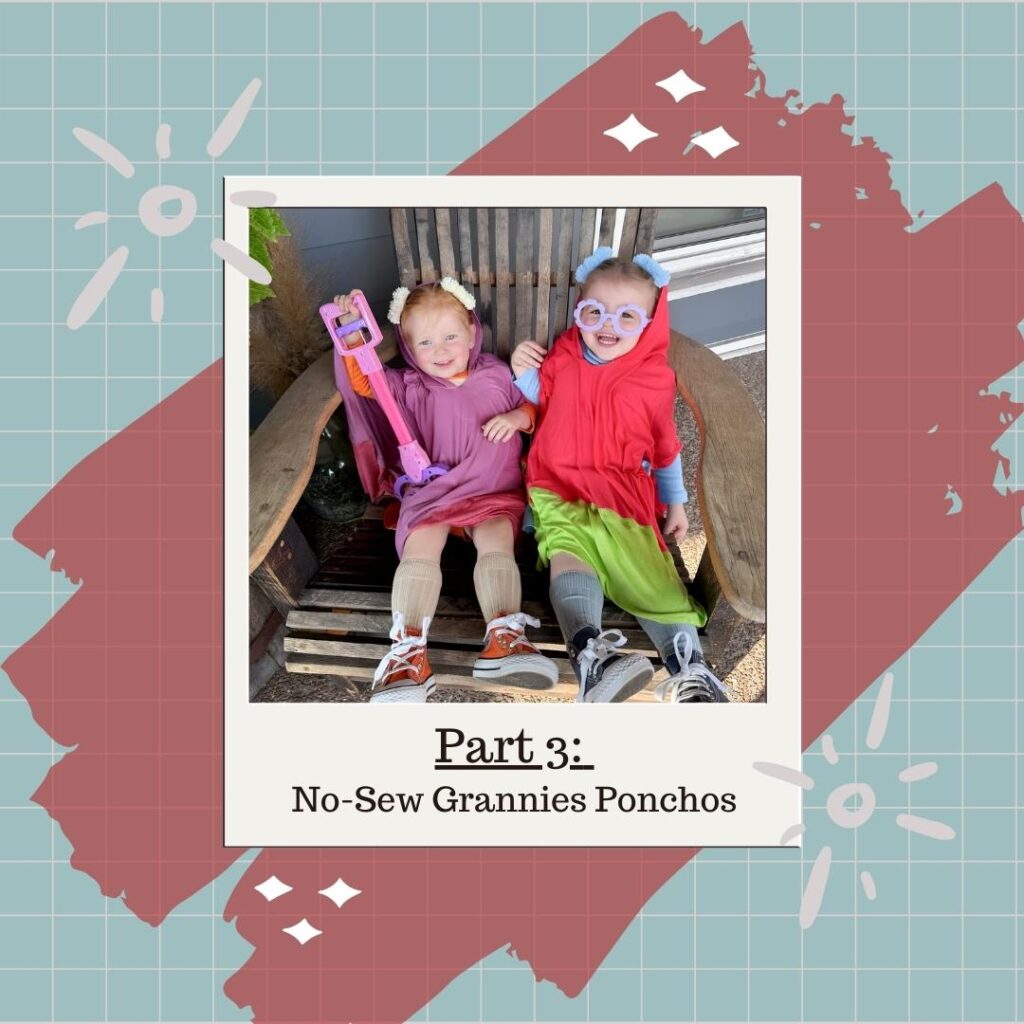
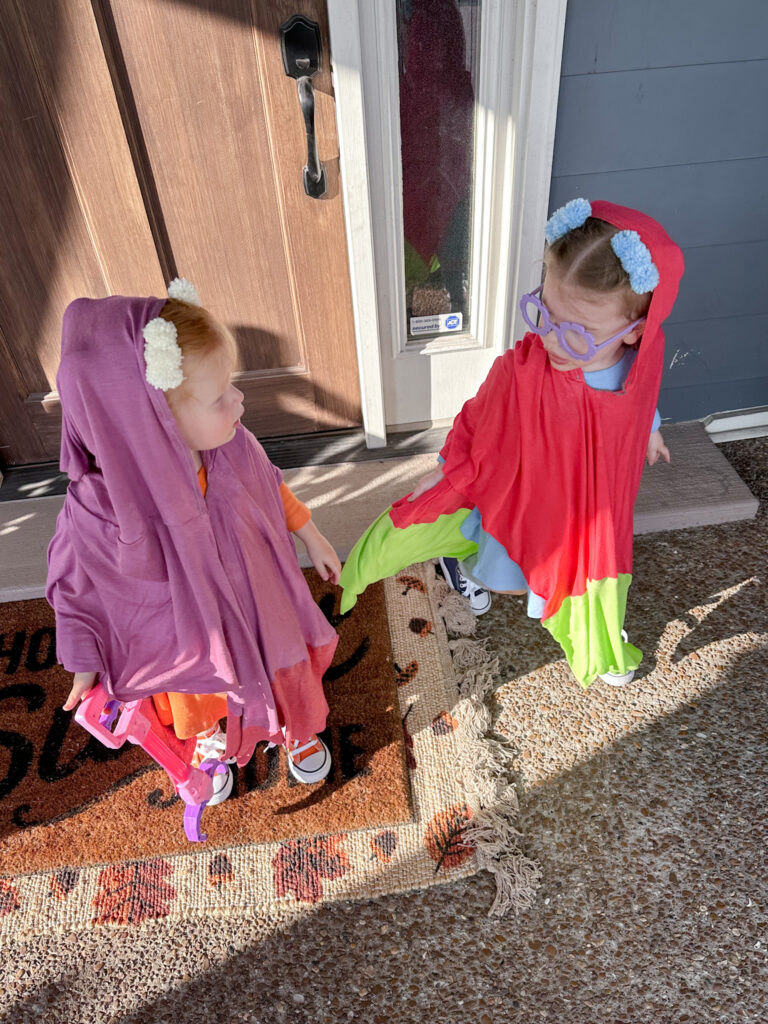
Create these fun Bluey inspired ponchos using a no-sew method with Heat N Bond. Throw this poncho over the top of your costume and ignite you inner Janet and Rita!
This is a no-sew tutorial that can easily be adapted to a sewn method. This is a one size fits most, kids poncho. Featuring super stretchy and lightweight knit material.
Rotary Knife and/or sharp scissors – Click Here for my rotary tool
Quilting Ruler or Yard Stick – Click Here for the link to my rotary mat. & Click Here for my ruler
Binding Clips or Sewing Pins
Pencil
Iron & Ironing Board – Click Here for my mini craft iron
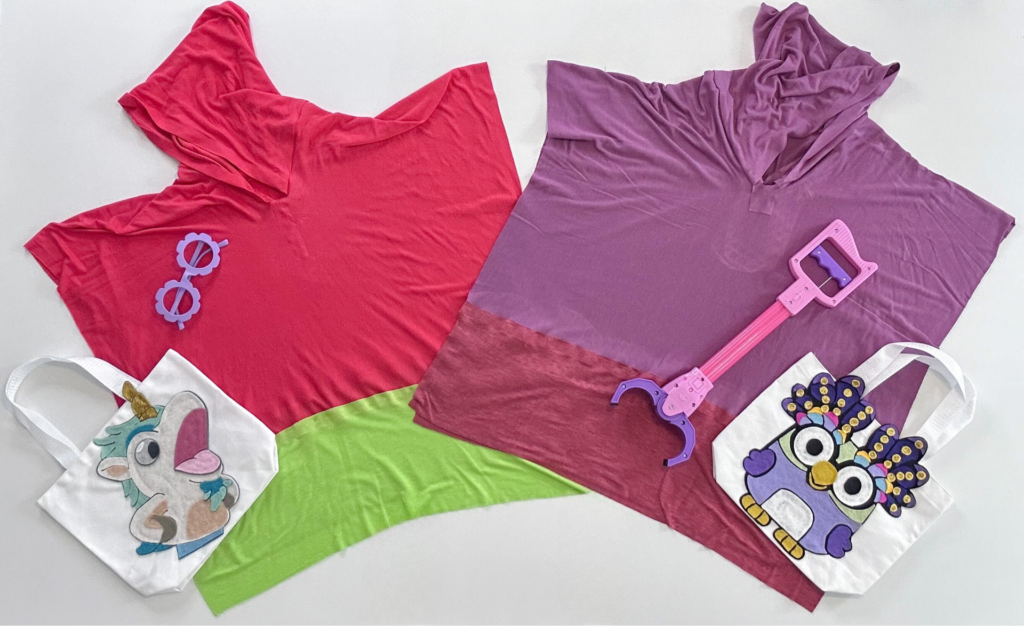
Fabric Cut List
Main Body Color –
36X24″ piece for body
14X21″ piece for hood
Trim Accent Color –
7X24″ piece (cut 2)
Step 1:
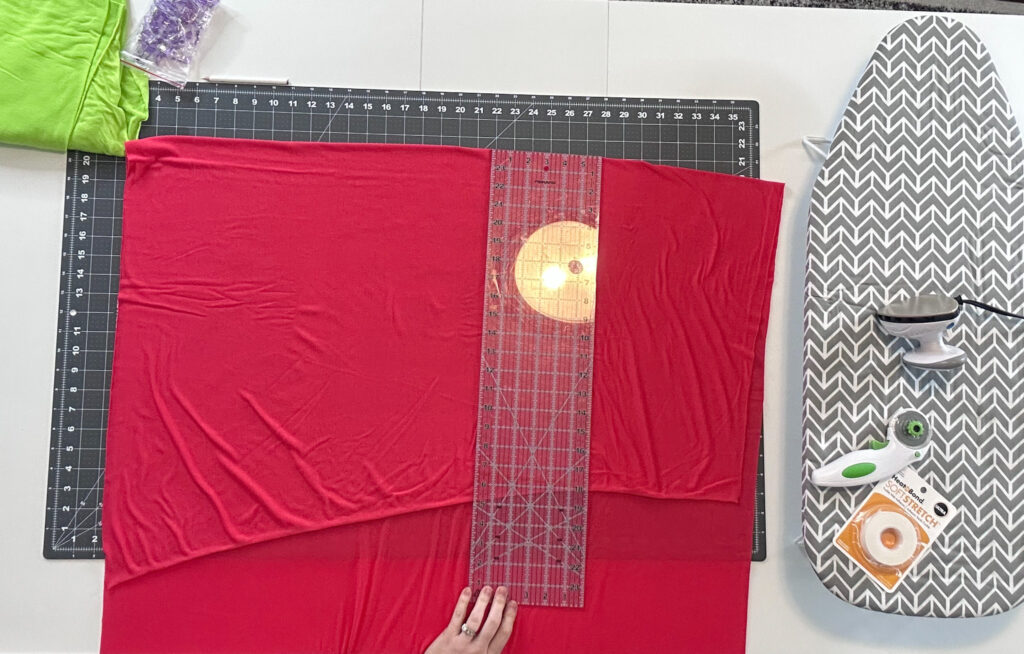
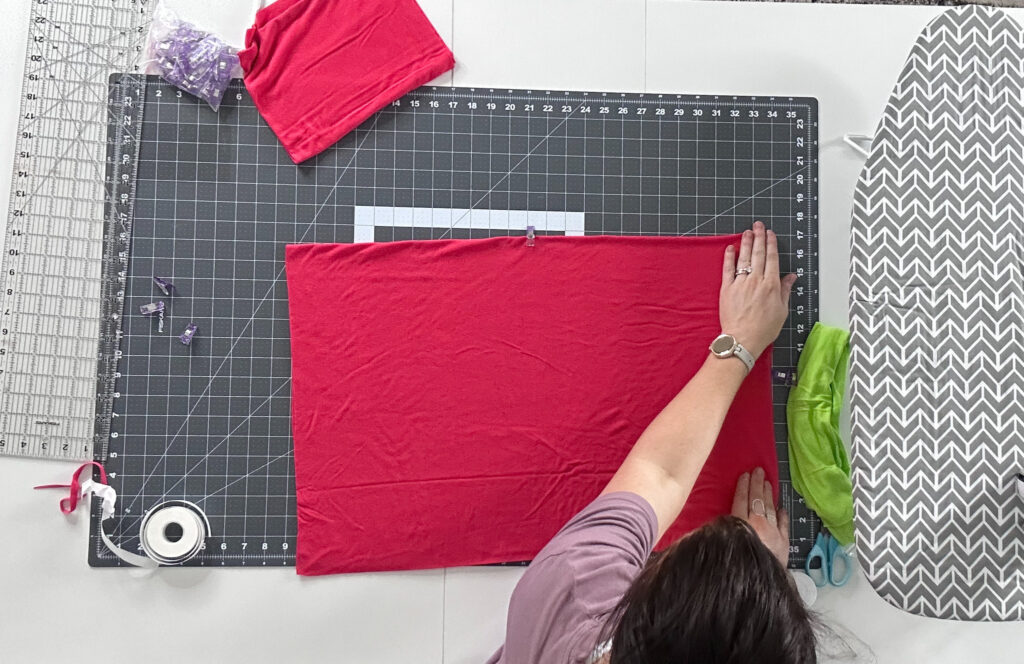
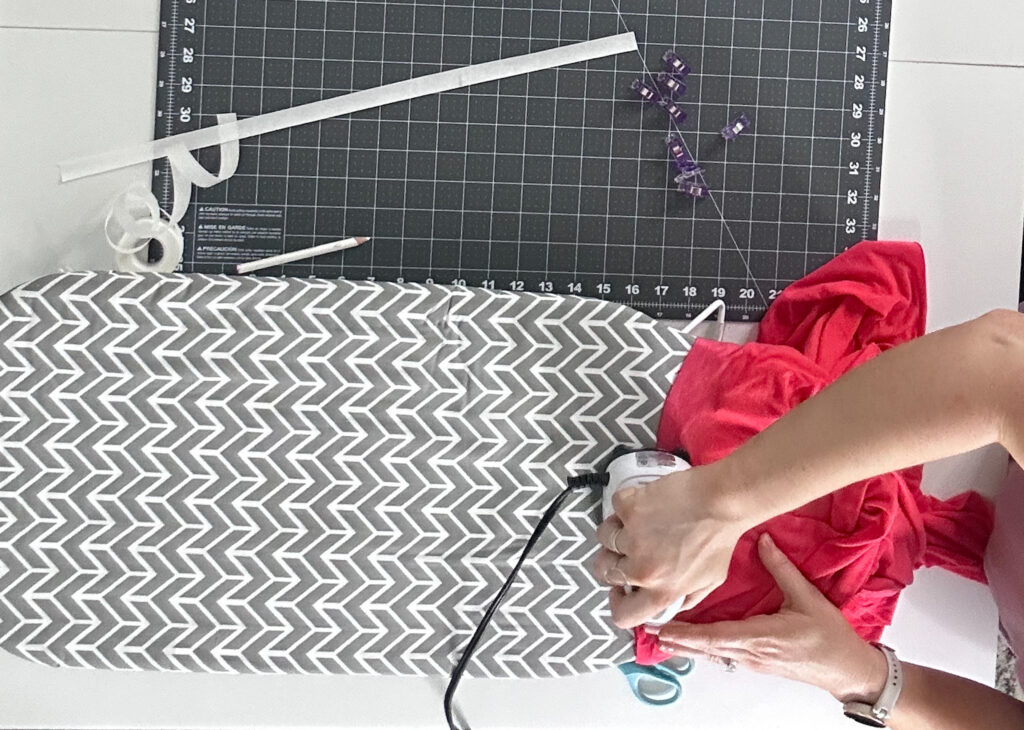
Be sure you’ve pre shrunk your fabric before starting. You can see here just how weird my fabric shrunk up. Pre washing will help eliminate any wonky shrinkage on your finished piece. We are going to start by cutting out all your fabric pieces.
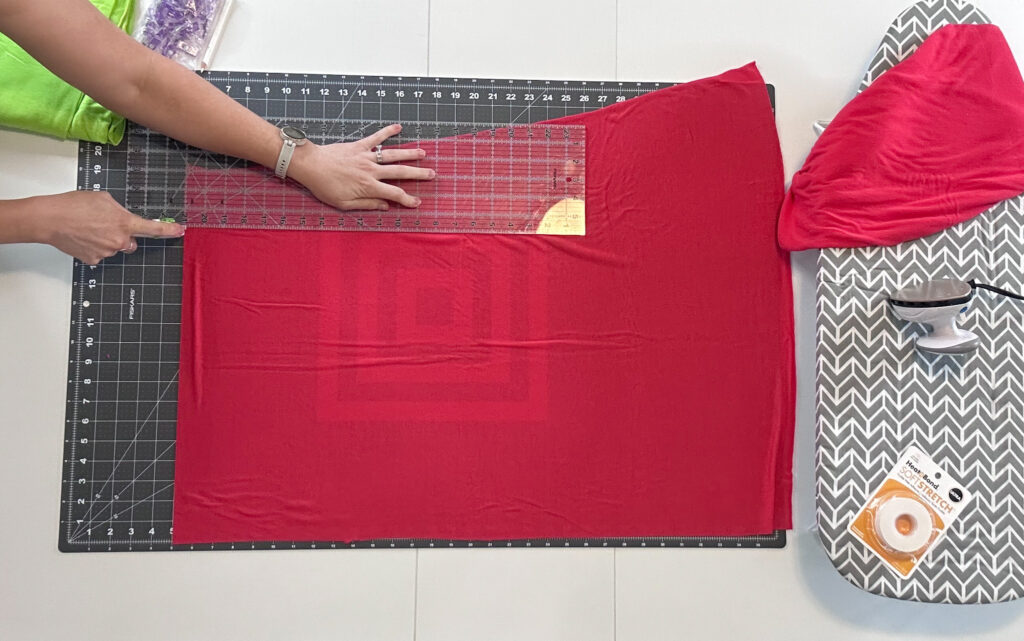
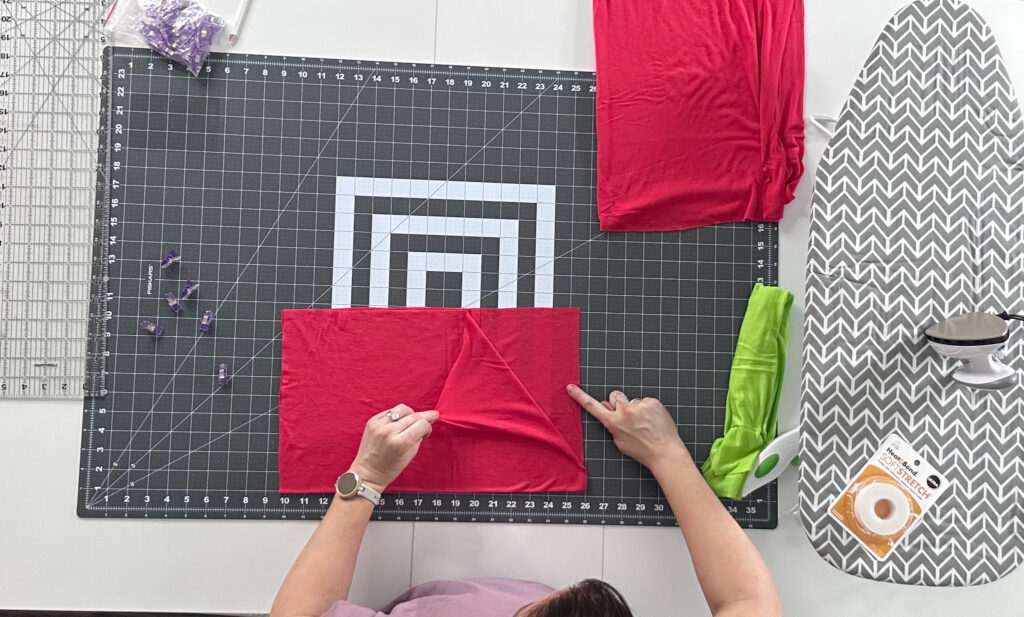
Start by laying out your main body color, attempting to straighten it out as much as possible. Then you want to fold your piece similar to what I’m showing here. I’m folding it over just enough that I can get a solid 24X18″ piece cut through both layers. We will be cutting that piece on the fold so that it is 24X36″ unfolded
Step 2:
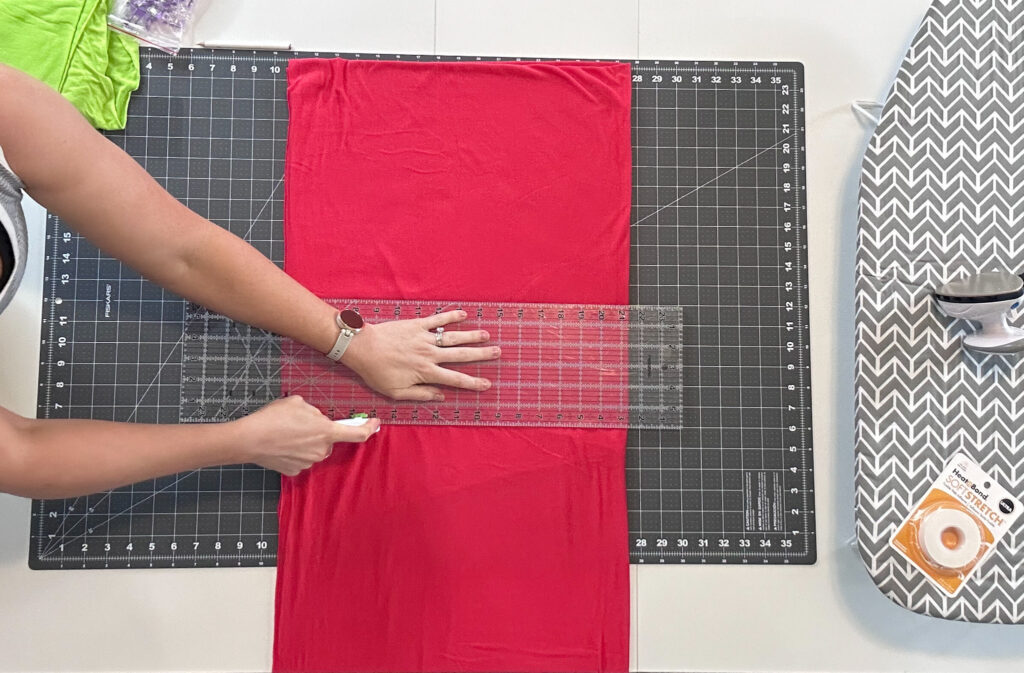
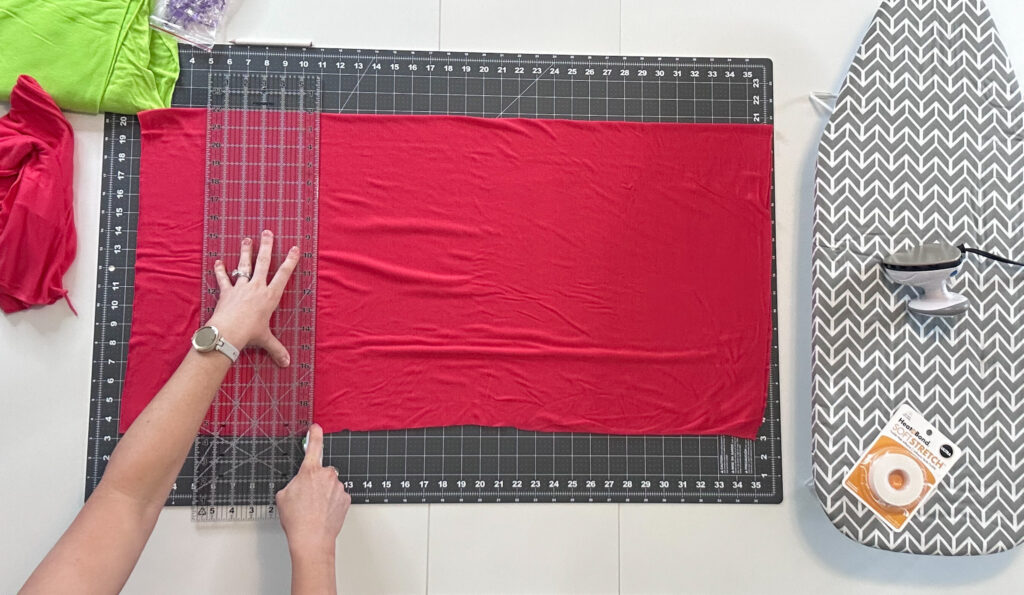
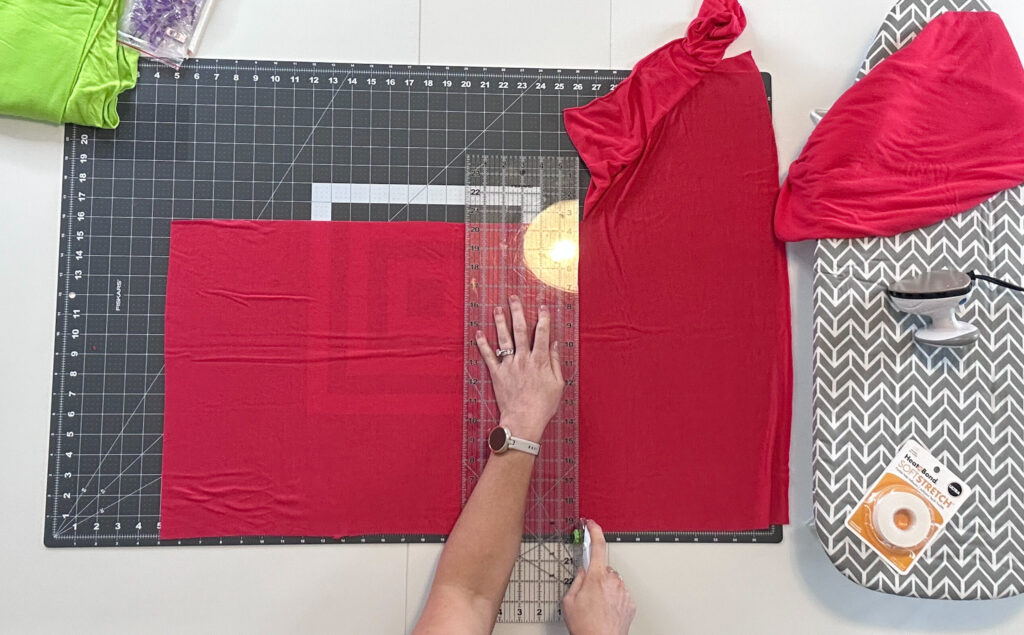
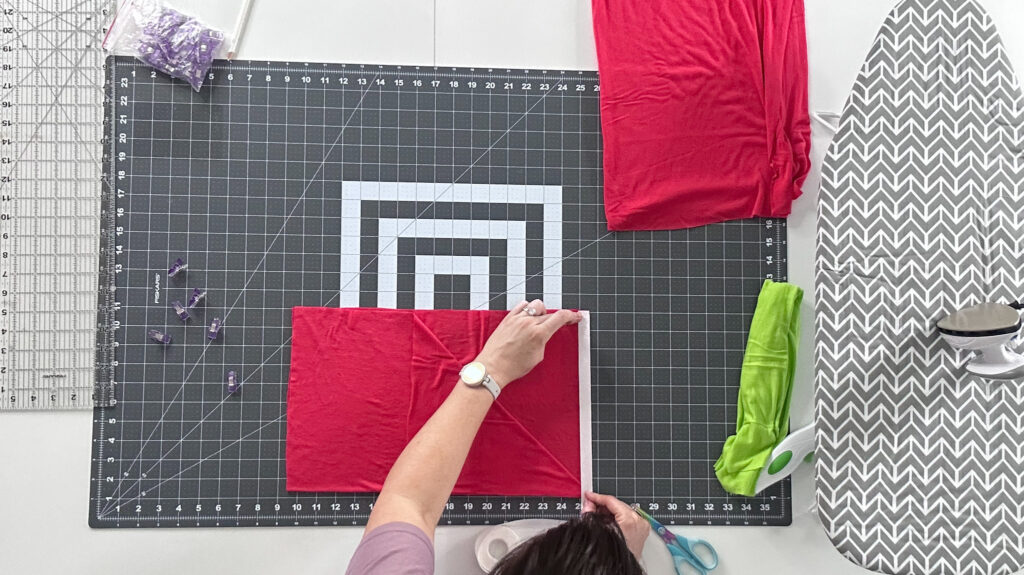
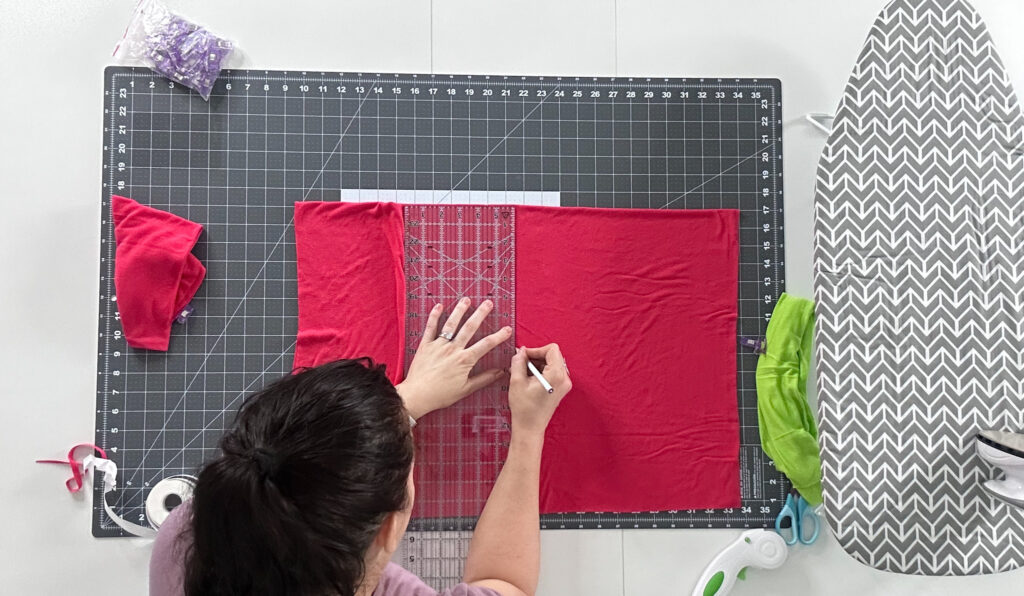
From there, fold the fabric over horizontally. So we will be cutting through 4 layers of fabric. Make your first cut 18″ down from the fold that is parallel to my ruler in this photo.
Next, I unfold that horizontal fold we just did and make my second cut so that the finished piece is 24″ wide. Again, unfolded we now have a 24X36″ piece.
Step 3:
Now let’s cut our hood piece. Laying out the remainder of our main colored fabric, we’ll cut a 14X21″ piece.
Step 4:
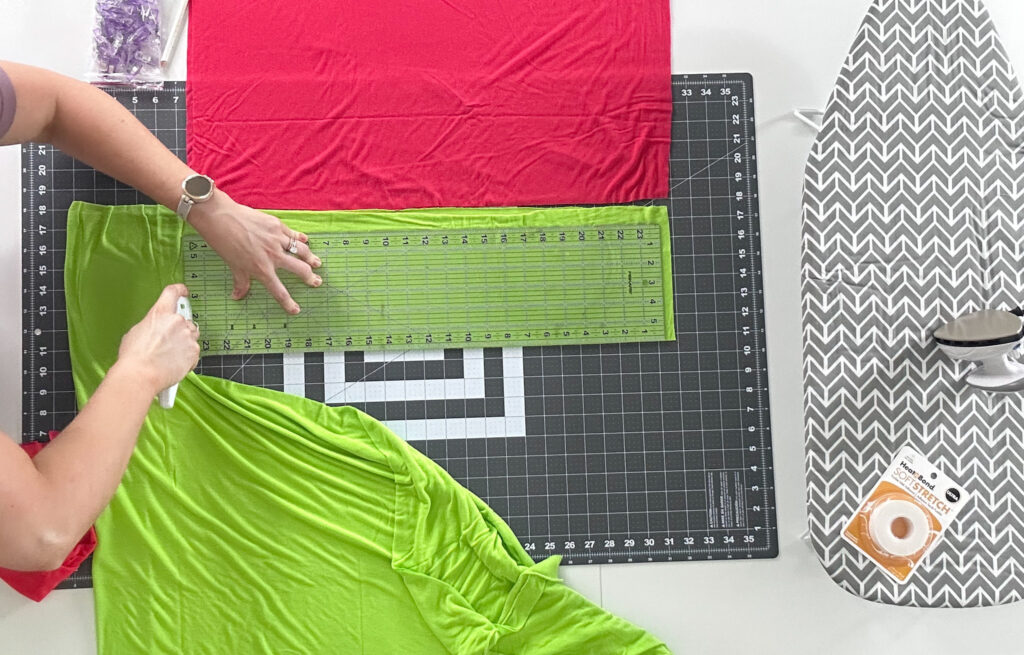
Next we will cut our bottom trim pieces from the accent color.
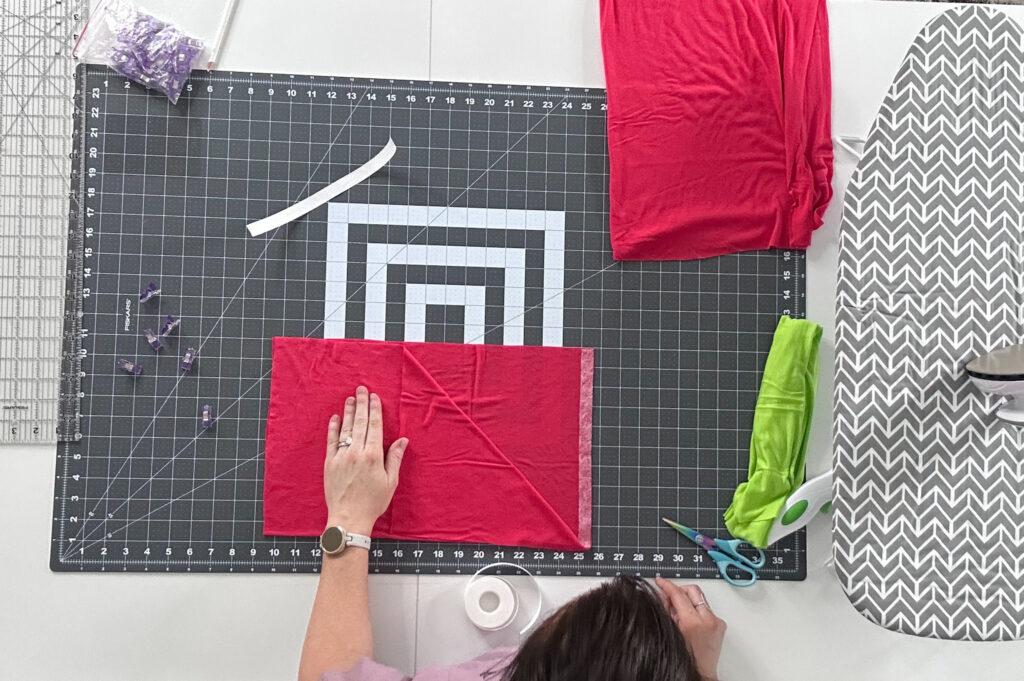
While taking these photos, I was still sort of figuring out what the measurements were going to be. So you see me lining that up against the bottom of the body piece. You don’t need to do that.
To make things easier. Fold your fabric and cut your 7X24″ pieces through both layers of fabric at the same time.
You’ll see me doing it how I just noted in my video tutorial.
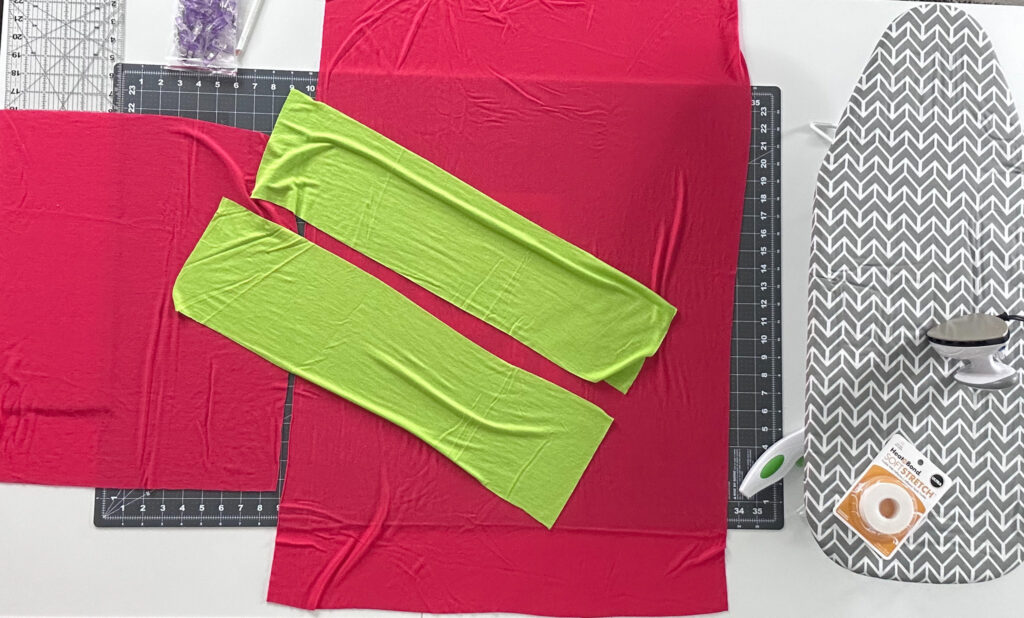
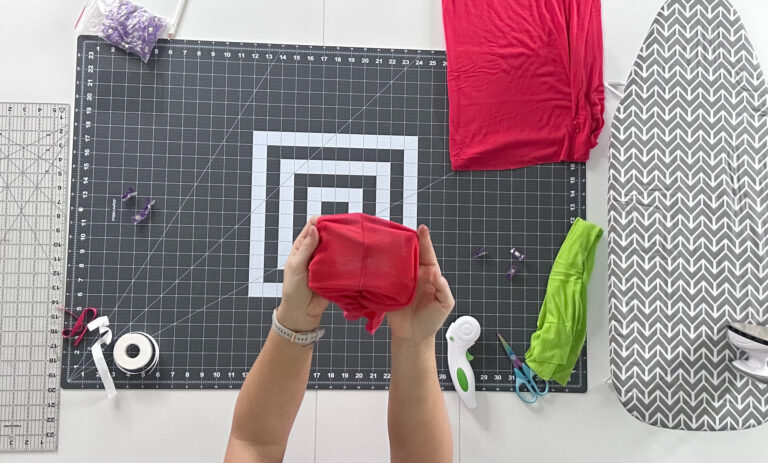
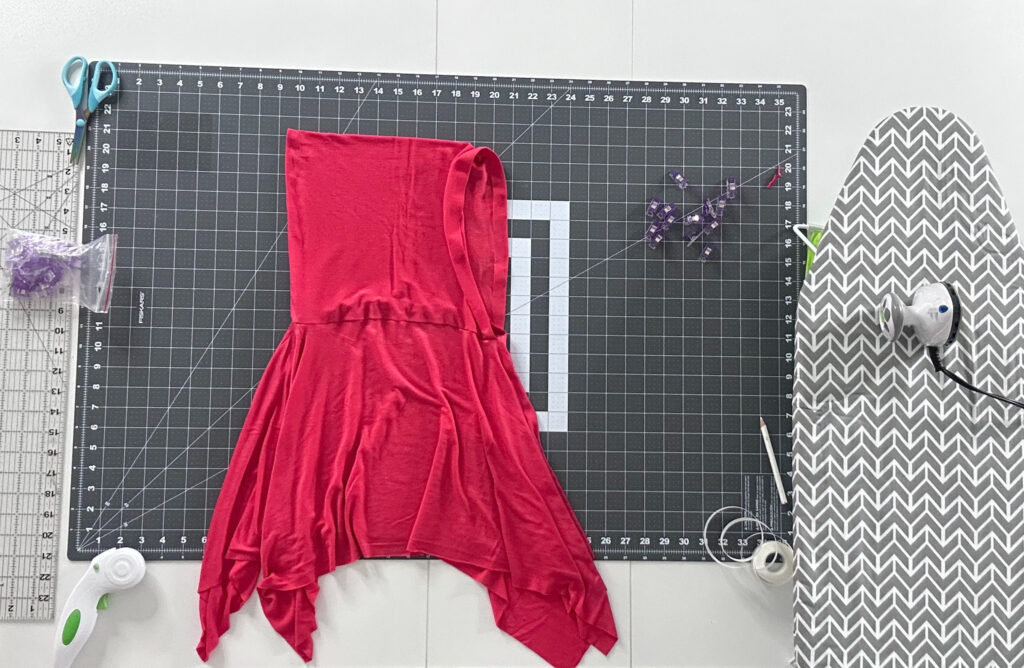
Now all our fabric pieces are cut.
** Note – Looking closely at the measurements in my images will confuse you. So don’t do it ;). As I said, I was trying to figure this thing out as I was taking photos, and had to come back and make some adjustments as I was going along. I ended up cutting this hood piece down a bit after this photo was taken. So just go by the measurements I gave, not what you see in the picture.
Step 5:
Start with fusing the back seam of the hood.
First we will fold our hood piece in half. Folded, we are now looking at a 14X10.5″ piece.
Your fusible tape has adhesive webbing on one side and paper on the other. You can apply this by ironing each layer separately. First ironing paper side up, onto the bottom layer. Then peeling the paper off. Layering your second layer. Then ironing again. OR you can go ahead and peel your paper away from the fusible webbing. Sandwich that between the two layers neatly. And iron once. This is up to you.
You can see here, I did mine by peeling the paper first. I did it separately in my video version.
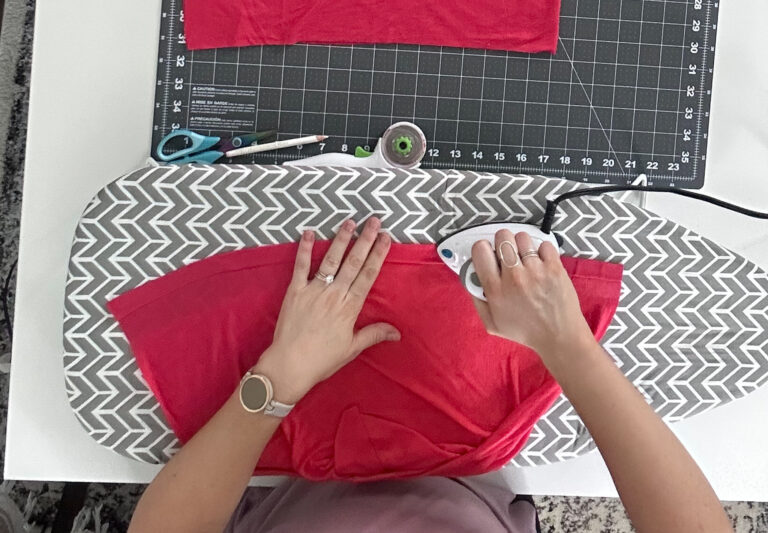
Iron that seam really well. Then, flip and check it from the other side to make sure its fully fused.
You can see in the iron photo here, your fabric will look a tad discolored from the heat. It will return to normal once cooled.
Step 6:
Locate the edge of your hood that’s opposite the back seam we just finished. We are going to finish this, so it’s not a raw edge around the face.
Pay close attention to the orientation of your fabric here. You want this folded over so that the raw edge is inside your hood. So it’ll be oriented on the same side of the fabric that your raw fused back seam is.
Finish the edge by lining up your fusible with the edge. Iron that into place and peel the paper up when it’s cooled. Fold that over neatly and iron again to fuse the fold.
Step 7:
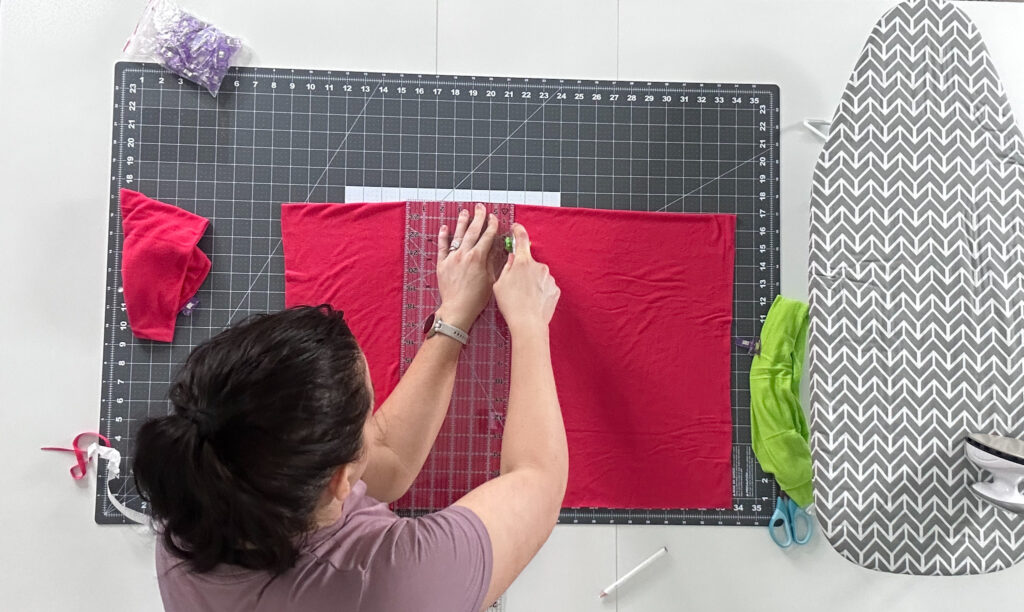
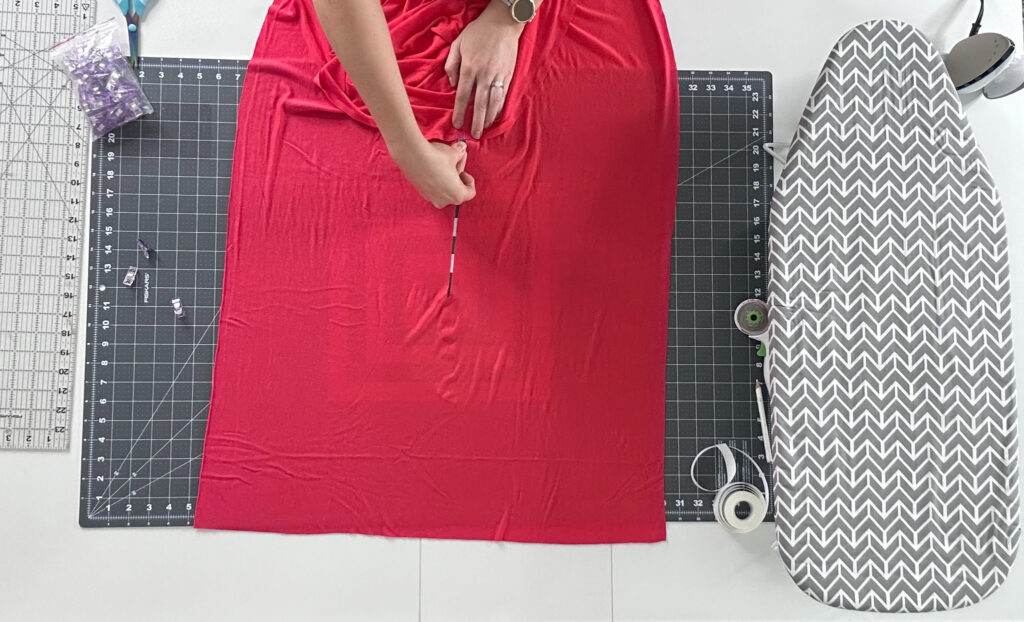
Now we need to locate and mark where we will be cutting our neckline hole. go ahead and fold your body piece in half, so we are looking at a 24X18″ folded piece. From here forward, let’s think of this fold as the shoulders of your piece. We need to find the center point of those shoulders. To do this, you can measure or just fold in half and mark that point with a clip.
I somehow did end up with any photos of this next part, so be sure to check out my video tutorial of the following explanation is unclear. To determine how long your cut needs to be, lay your hood flat, finish side out. Measure the edge of your hood that is not folded or finished. This is the edge that’s going to attach to your neckline hole. Take that measurement and divide by 2. Then subtract that number by 3/4″. These numbers SHOULD be roughly 12.5/2= 6.25 – .75 + 5.5″. But you need to check this because your finished edges may be slightly different than mine.
Now we will mark this length on the front center point of the folded piece.
** Again, follow my numbers, not the measurements you see in this photo. I made this cut too large when I first did it and had to patch it up. Do what I say, not what I do 😉
Step 8:
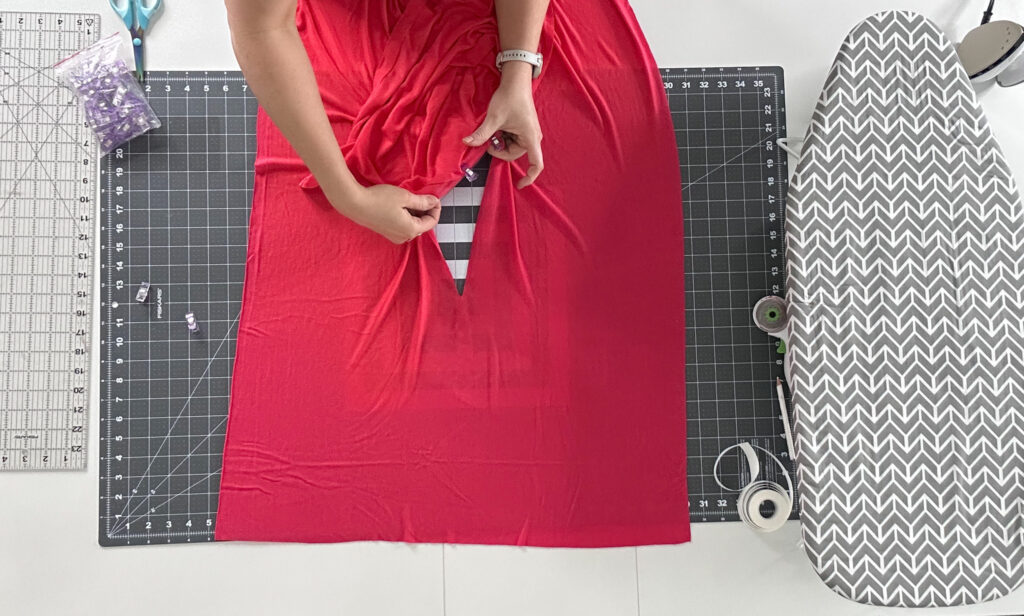
Now we are going to line up the ruler and make our neckline cut. Cutting from the point you measured, through both layers of the folded fabric.
**Check out that patchwork on my mis-measured hole!
Step 9:
Next we will work on fusing the hood to the neckline. The back seam of the hood will line up with the back point of the cut. To do this, we need to sandwich the fusible between the two right sides of each piece. So we first need to apply the tape to the right side of the hood.
Pay close attention to your placement here. The tape will run right across the finished side of that back seam. Iron the fusible down, then peel up the paper when it’s cooled.
**Note – I struggled with the neckline seam repeatedly separating on this one. For the second one we made, we decided to try doubling up on the fusible for just the neckline to see if that helped. The adhesive was noticeably thicker, but it did seem to be a stronger bond. I would recommend trying that. Essentially ironing down one strip, then peeling up the paper, and ironing down a second strip right on top of that one.
Step 10:
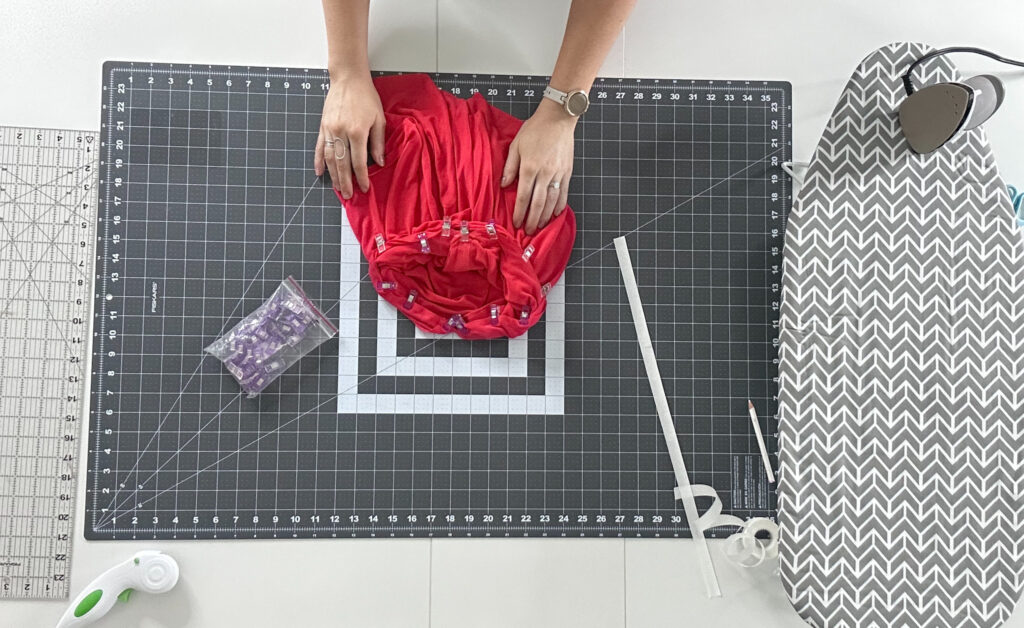
Clip your hood into place. Start by placing a clip or pin ling up that back seam with the back point of the cut. Then, work your way down each side. Again, we are sandwiching the right sides of the pieces here. So you’ll be pinching and lining up the edges as you go.
Here’s how that looks all clipped up.
Step 11:
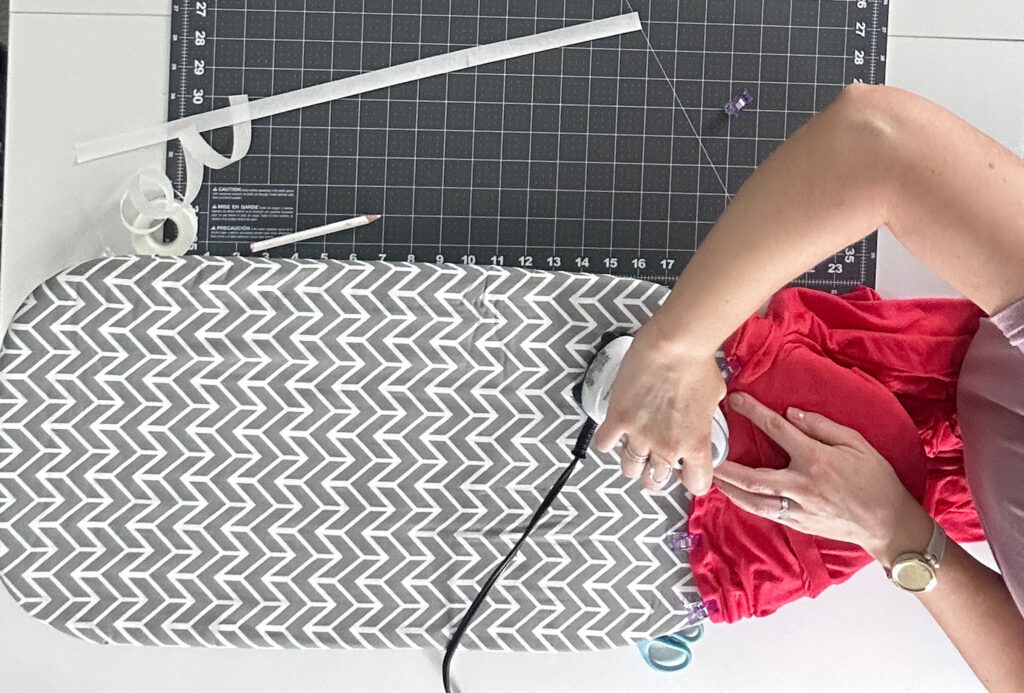
Carefully working in small sections at a time. Remove a clip or a pin at a time and iron. Repeat working in small sections until you’ve fused around the entire neckline.
Here’s how that looks flipped back right side out. Be sure to double check your seam here for any spots that may need to be re-ironed.
Step 12:
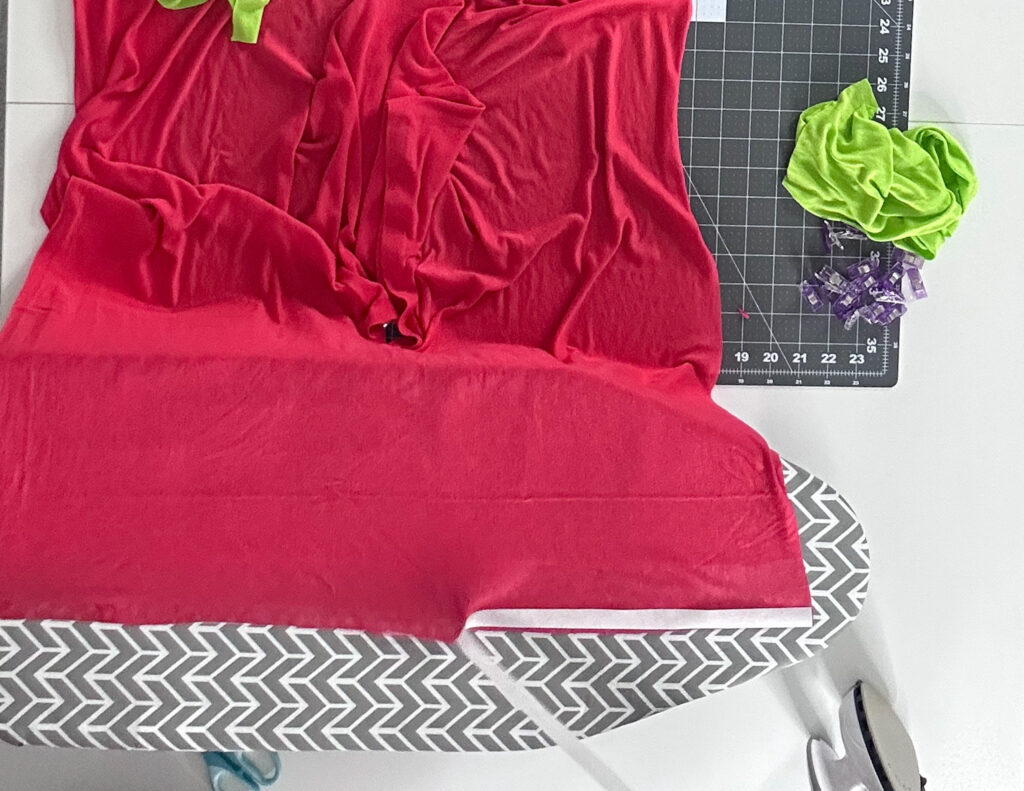
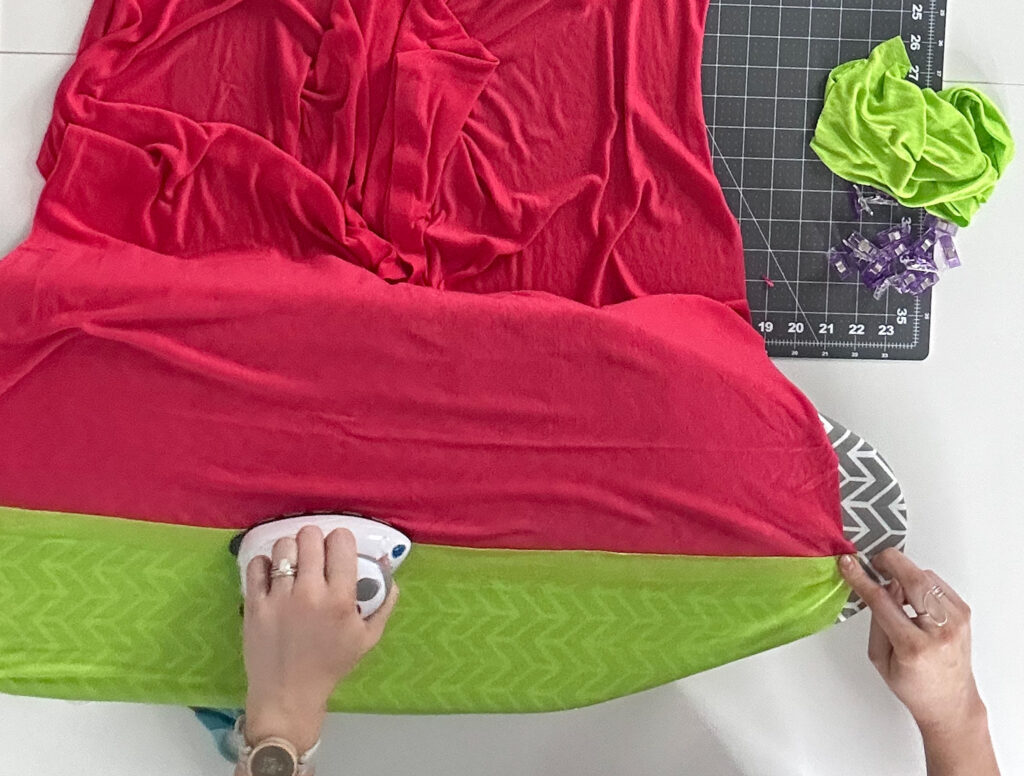
For our last step, we will attach the trim pieces. Applying the fusible to the bottom, front side edge of each side. Then layering the trim piece down on top of that and ironing. I didn’t do a finished seam here. I left that raw edge of the fabric exposed.
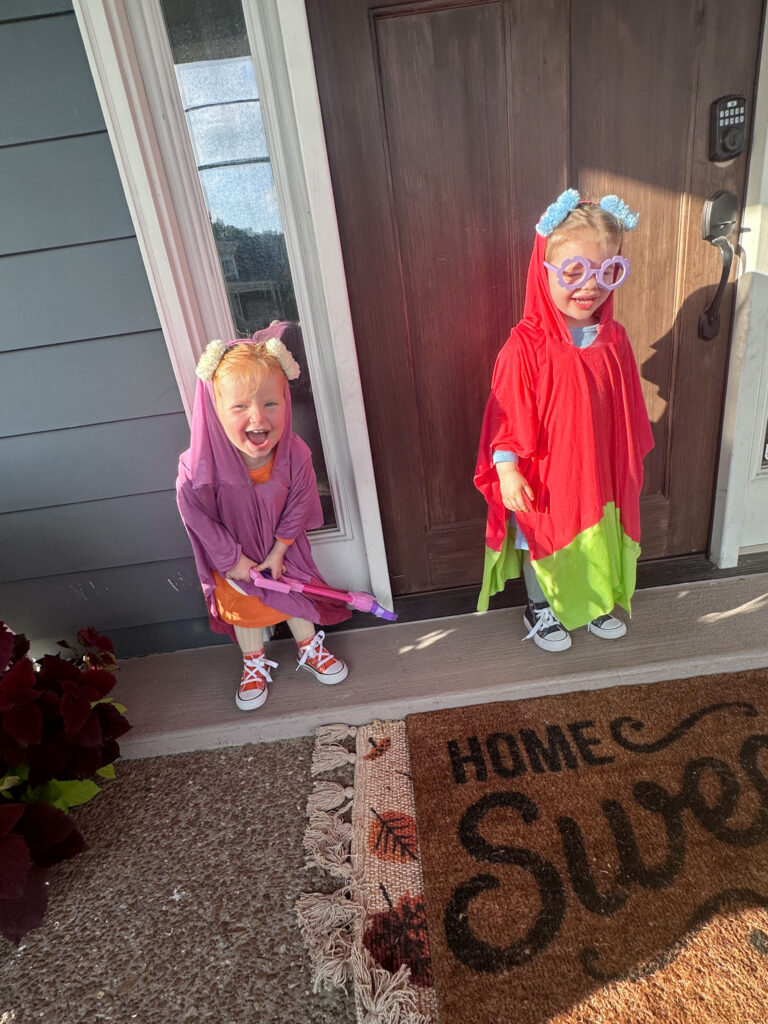
FINISHED!
Here Come The Grannies!!!
I definitely had a few fumbles with this one but I’m really happy with how they turned out overall. I did choose to go ahead and reinforce some of the seams with the sewing machine, because I’m able. So I won’t be able to report back on how well this fusible holds up in the long run. Be sure to leave a comment and let me know how yours does if you try it!